Add actions to barriers
The actions feature helps you prioritise your risk management efforts by adding a sticky note to the elements that need improving.
In this tutorial, we’ll show you how to add an action to an element and link an existing action.
Add an action to an element
Step 1: In your diagram, double-click a barrier, threat or consequence.
Step 2: In the Element Description Box, click ACTIONS.
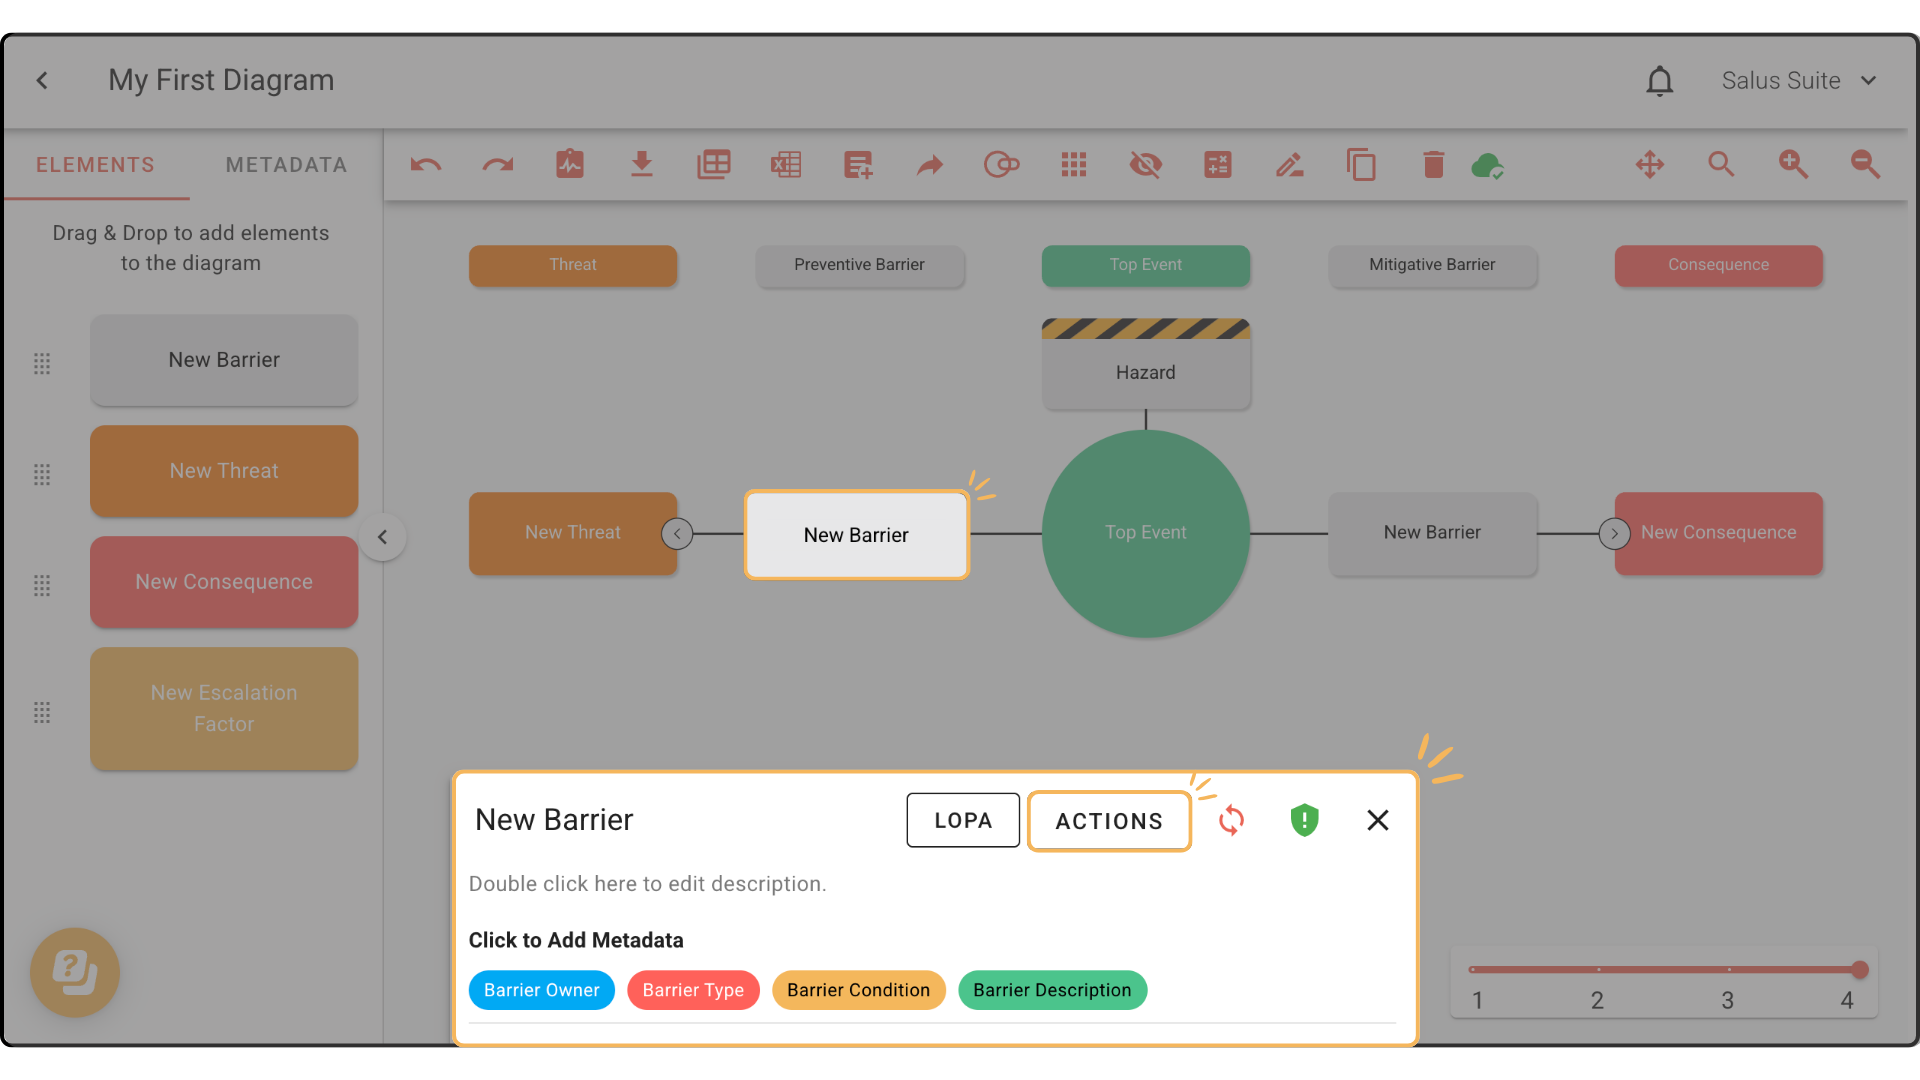
Step 3: Click + QUICK ADD to create one or more actions.

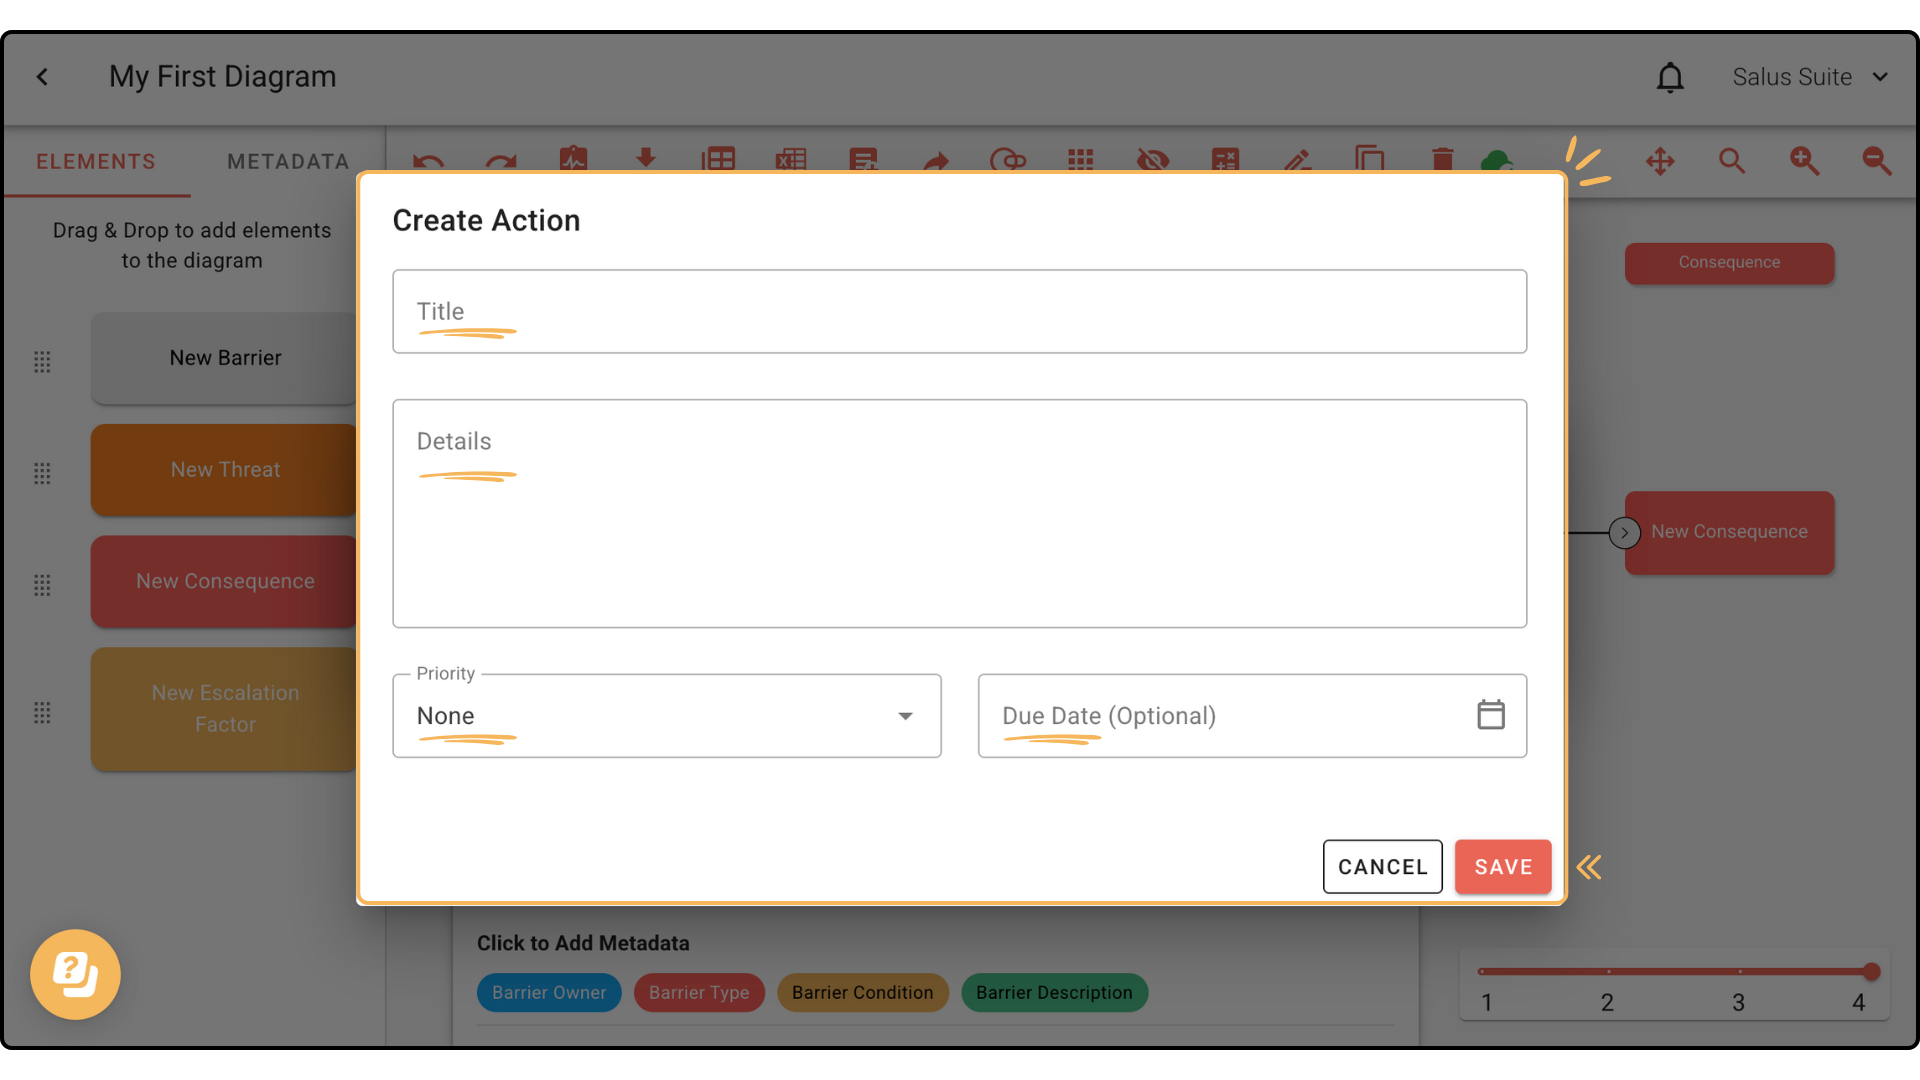
Step 4: Fill in the action details, including the description and date, then click SAVE.
Step 5: Your action appears in the Actions window. Click CLOSE.

An element with an action shows a yellow sticky note:
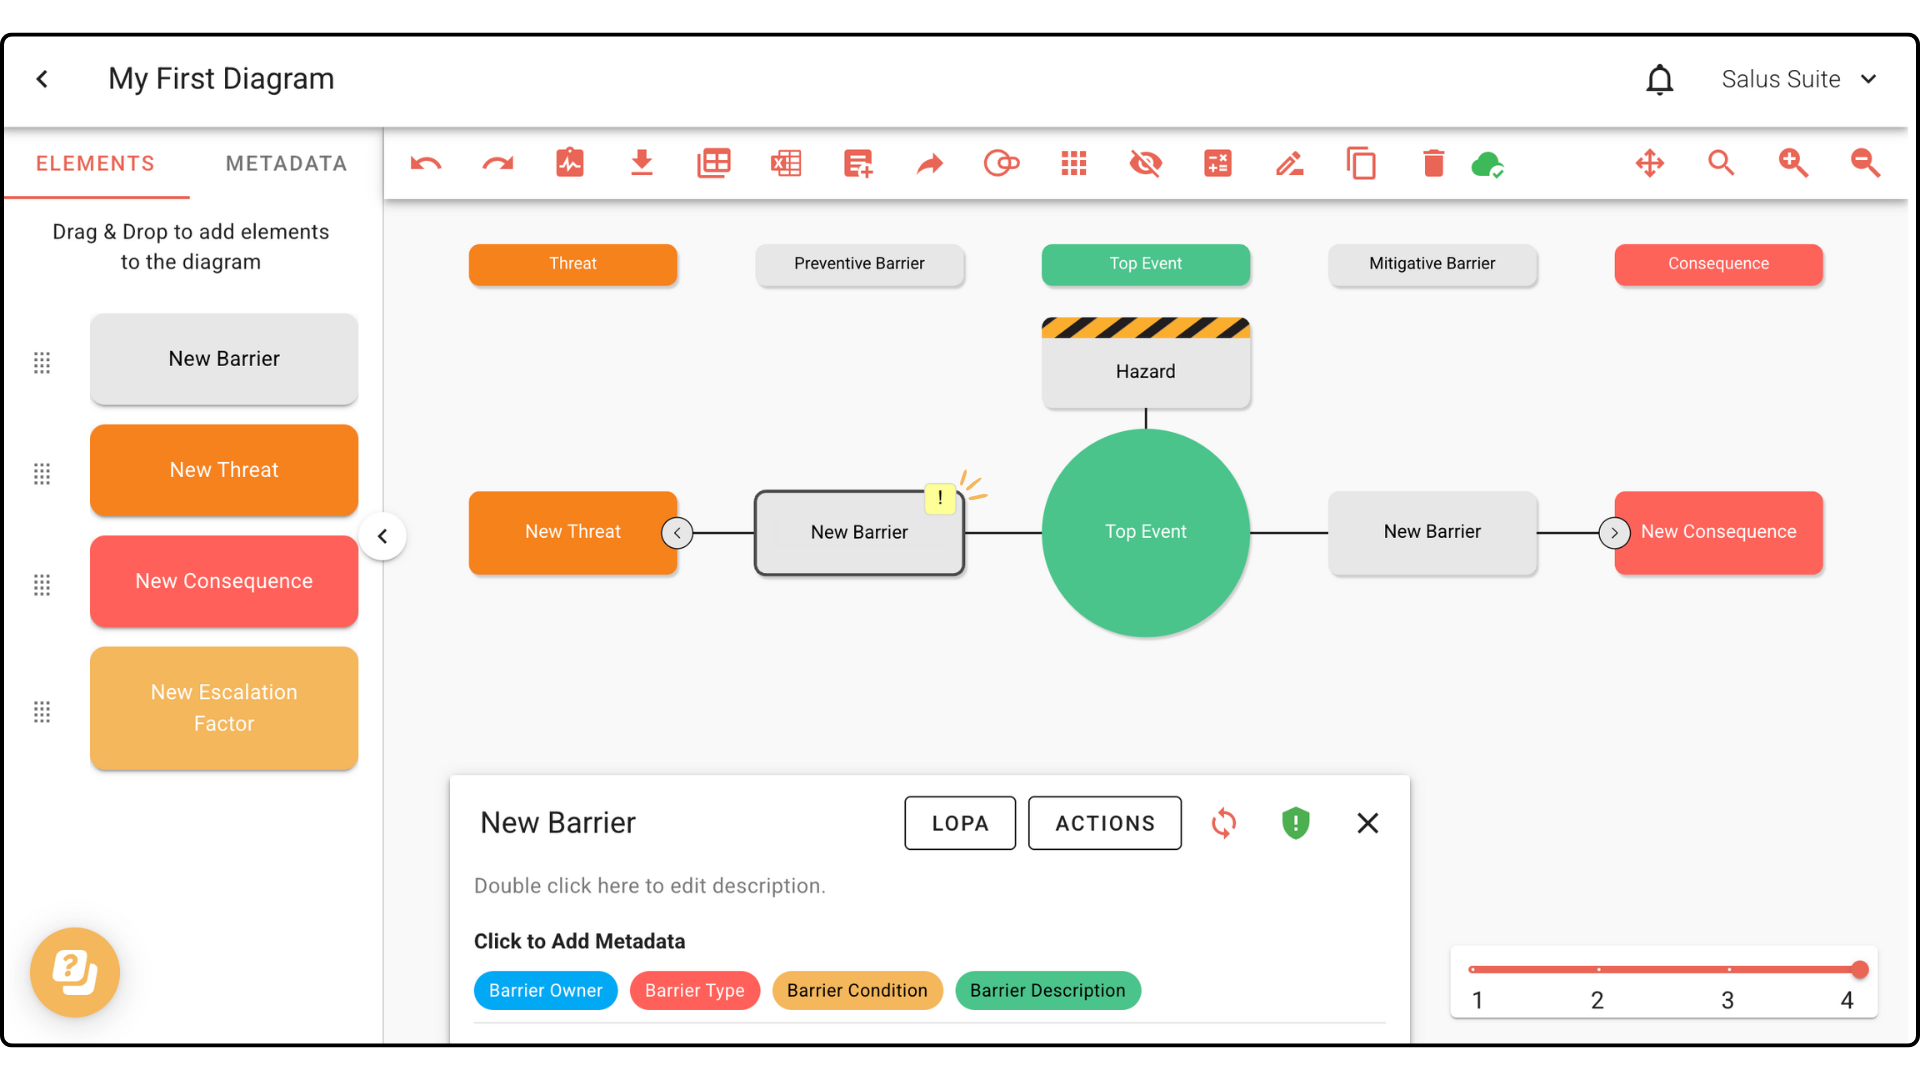
Step 6: To edit an action, repeat Step 2, then click the action.

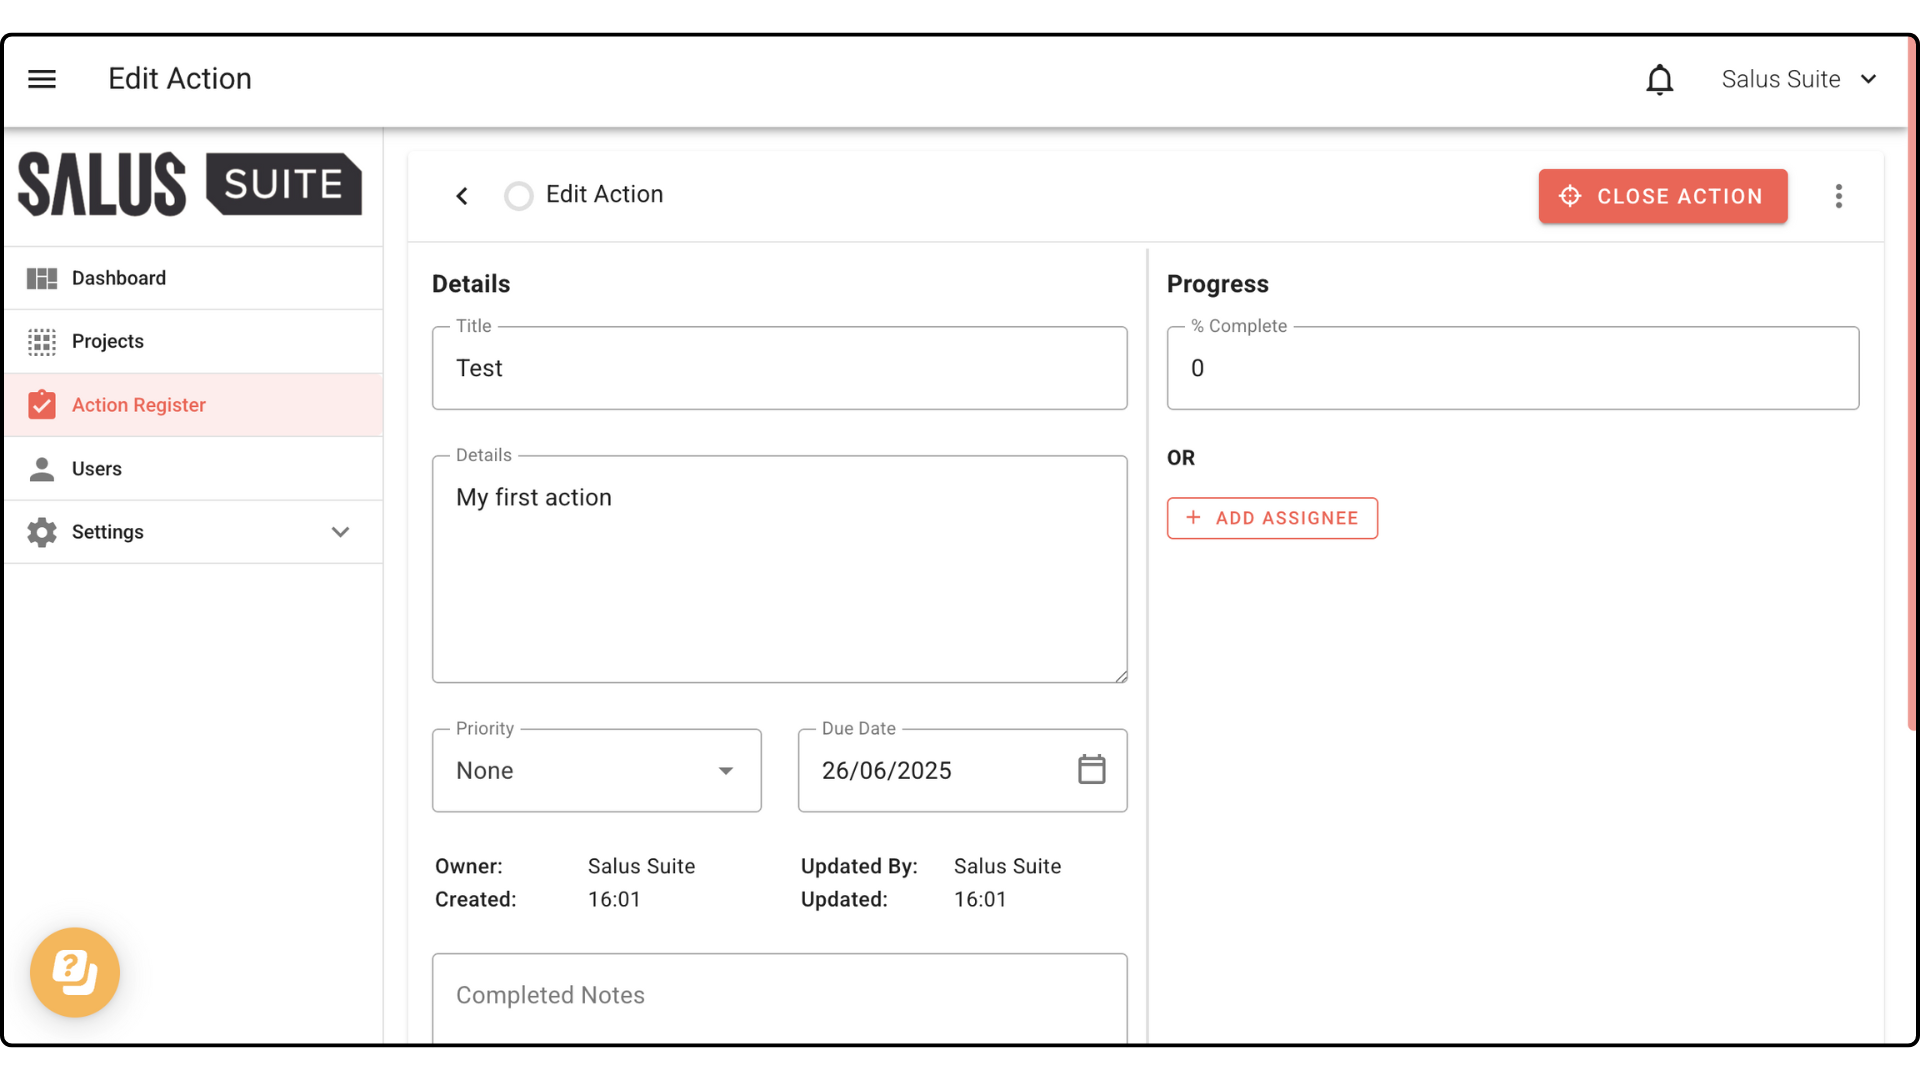
Step 7: You’re redirected to a new tab in the Action Register, where you can edit the action. To learn more, see the Action Register guide.
Link an existing action
Step 1: In your diagram, double-click a barrier, threat or consequence.
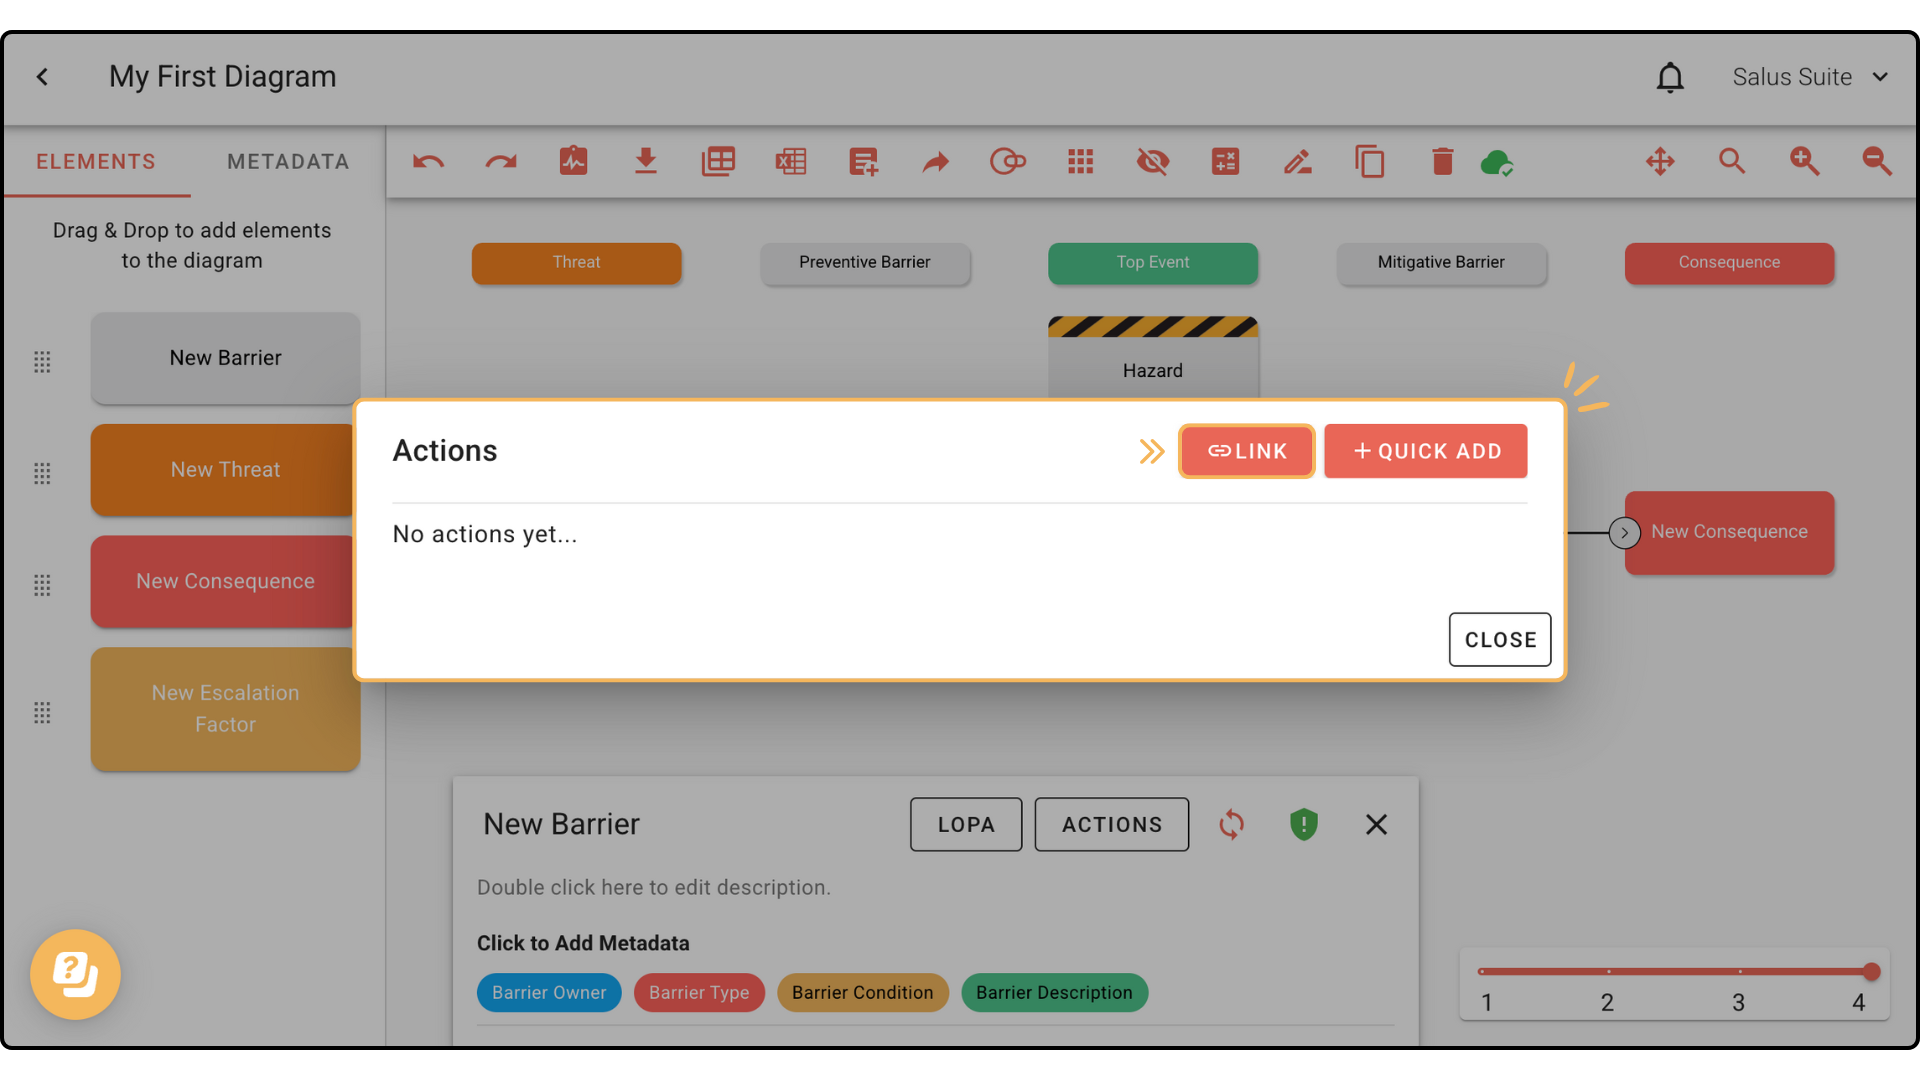
Step 2: In the Element Description Box, click ACTIONS.

Step 3: In the Actions window, click LINK.
Step 4: In the Link Existing Actions window, select the actions you want to link, then click SAVE.
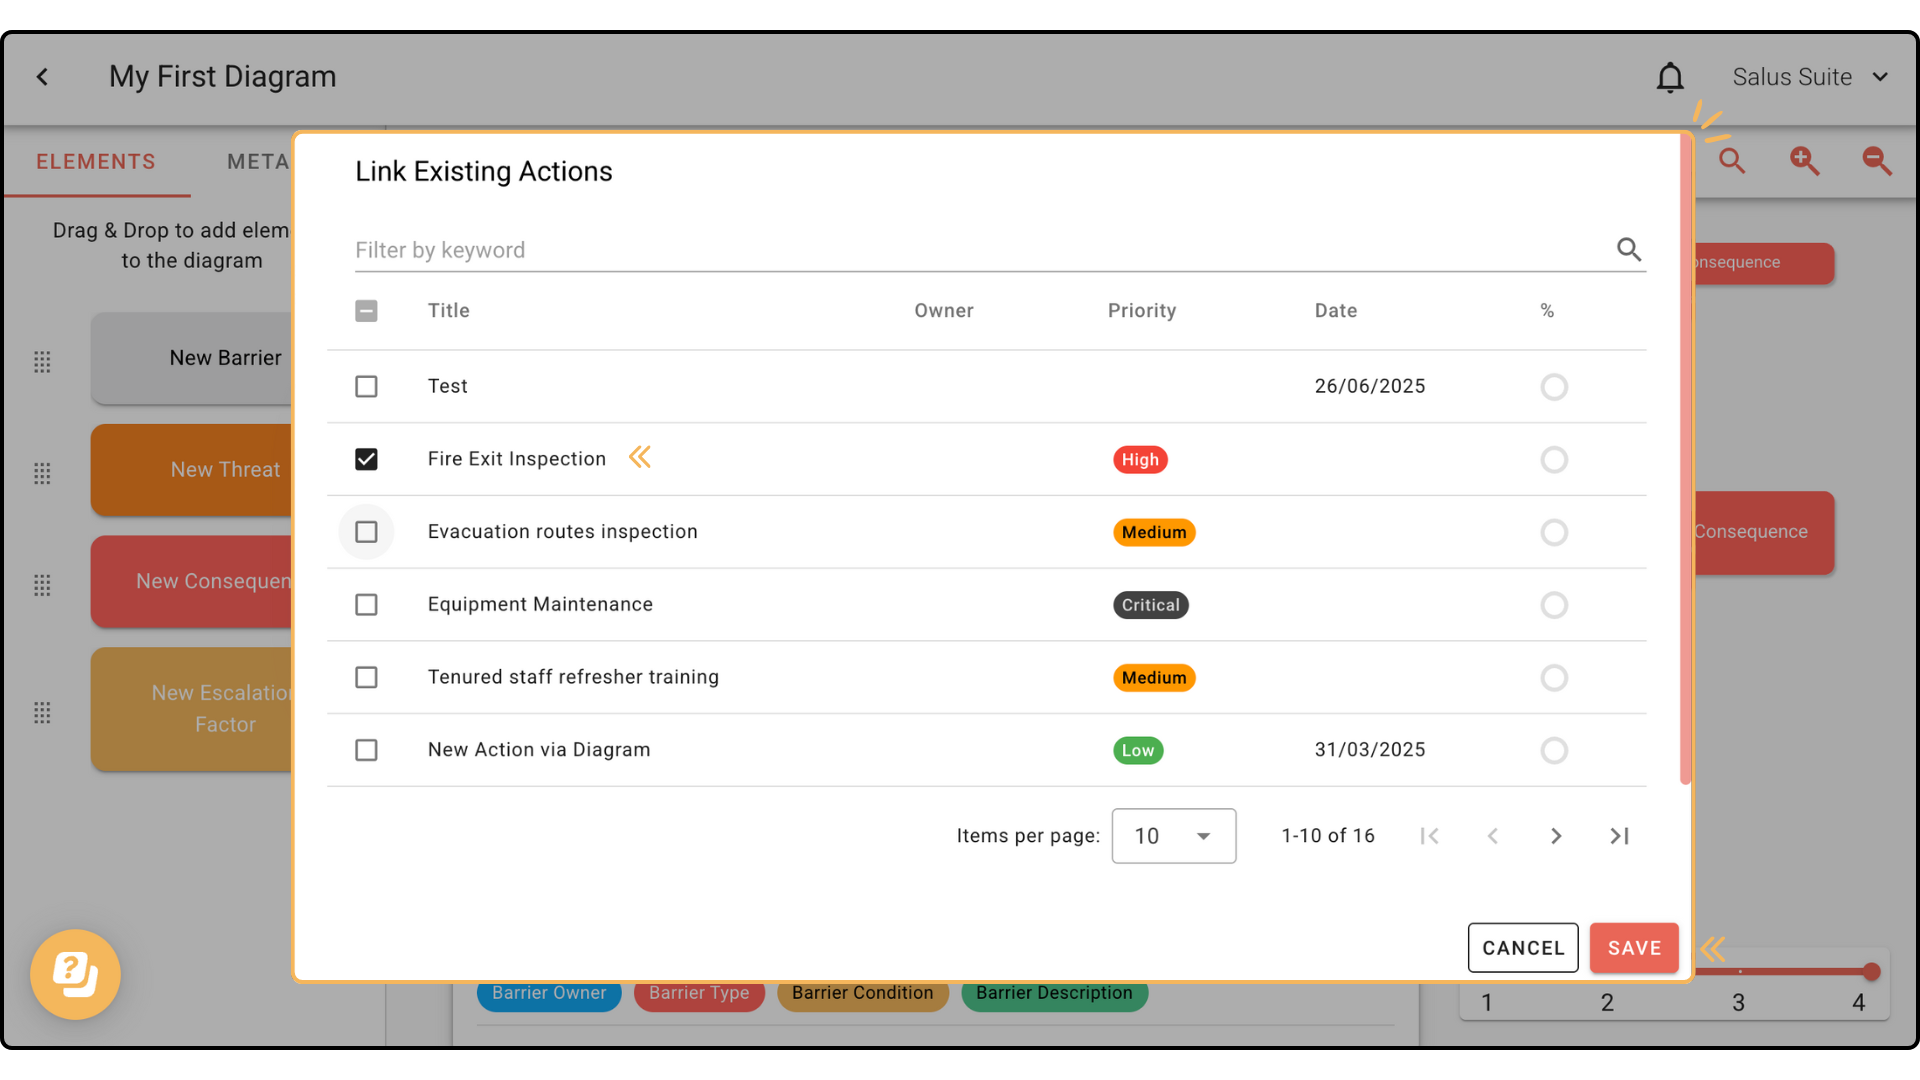
The linked action appears in the element’s Actions window.
