Diagram risk matrix
The Salus Suite lets you apply a risk matrix to both Consequence and Threat elements. By default the matrix applies only to Consequences, but you can change this in the Bowtie Master settings. All accounts have standardised 5×5 risk matrices by default. You can also create a new matrix to suit your organisation’s needs.
Add a risk value to a consequence
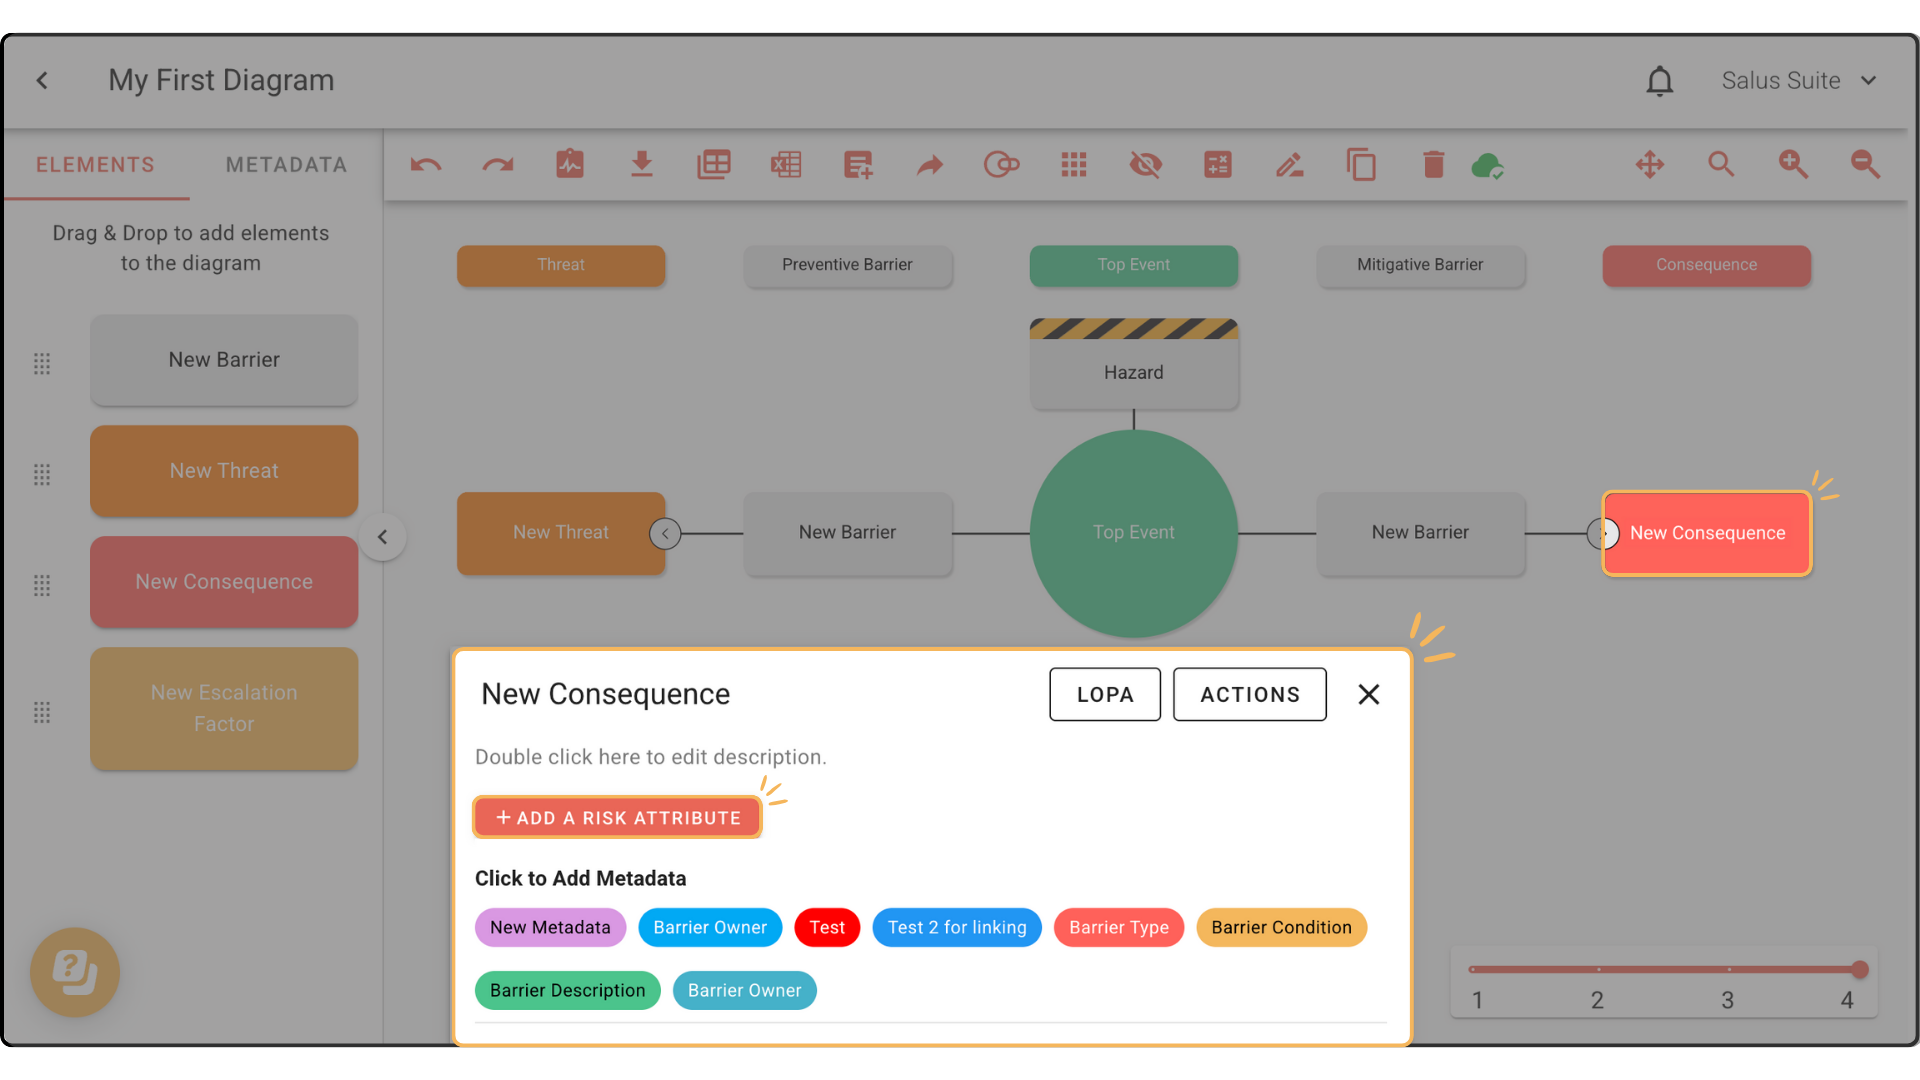
Step 1: Double-click the consequence you want to assess.
Step 2: In the Element Description Box at the bottom of the Diagram Editor, click + ADD A RISK ATTRIBUTE.
Step 3: Choose the type of risk to display: Initial or Residual.
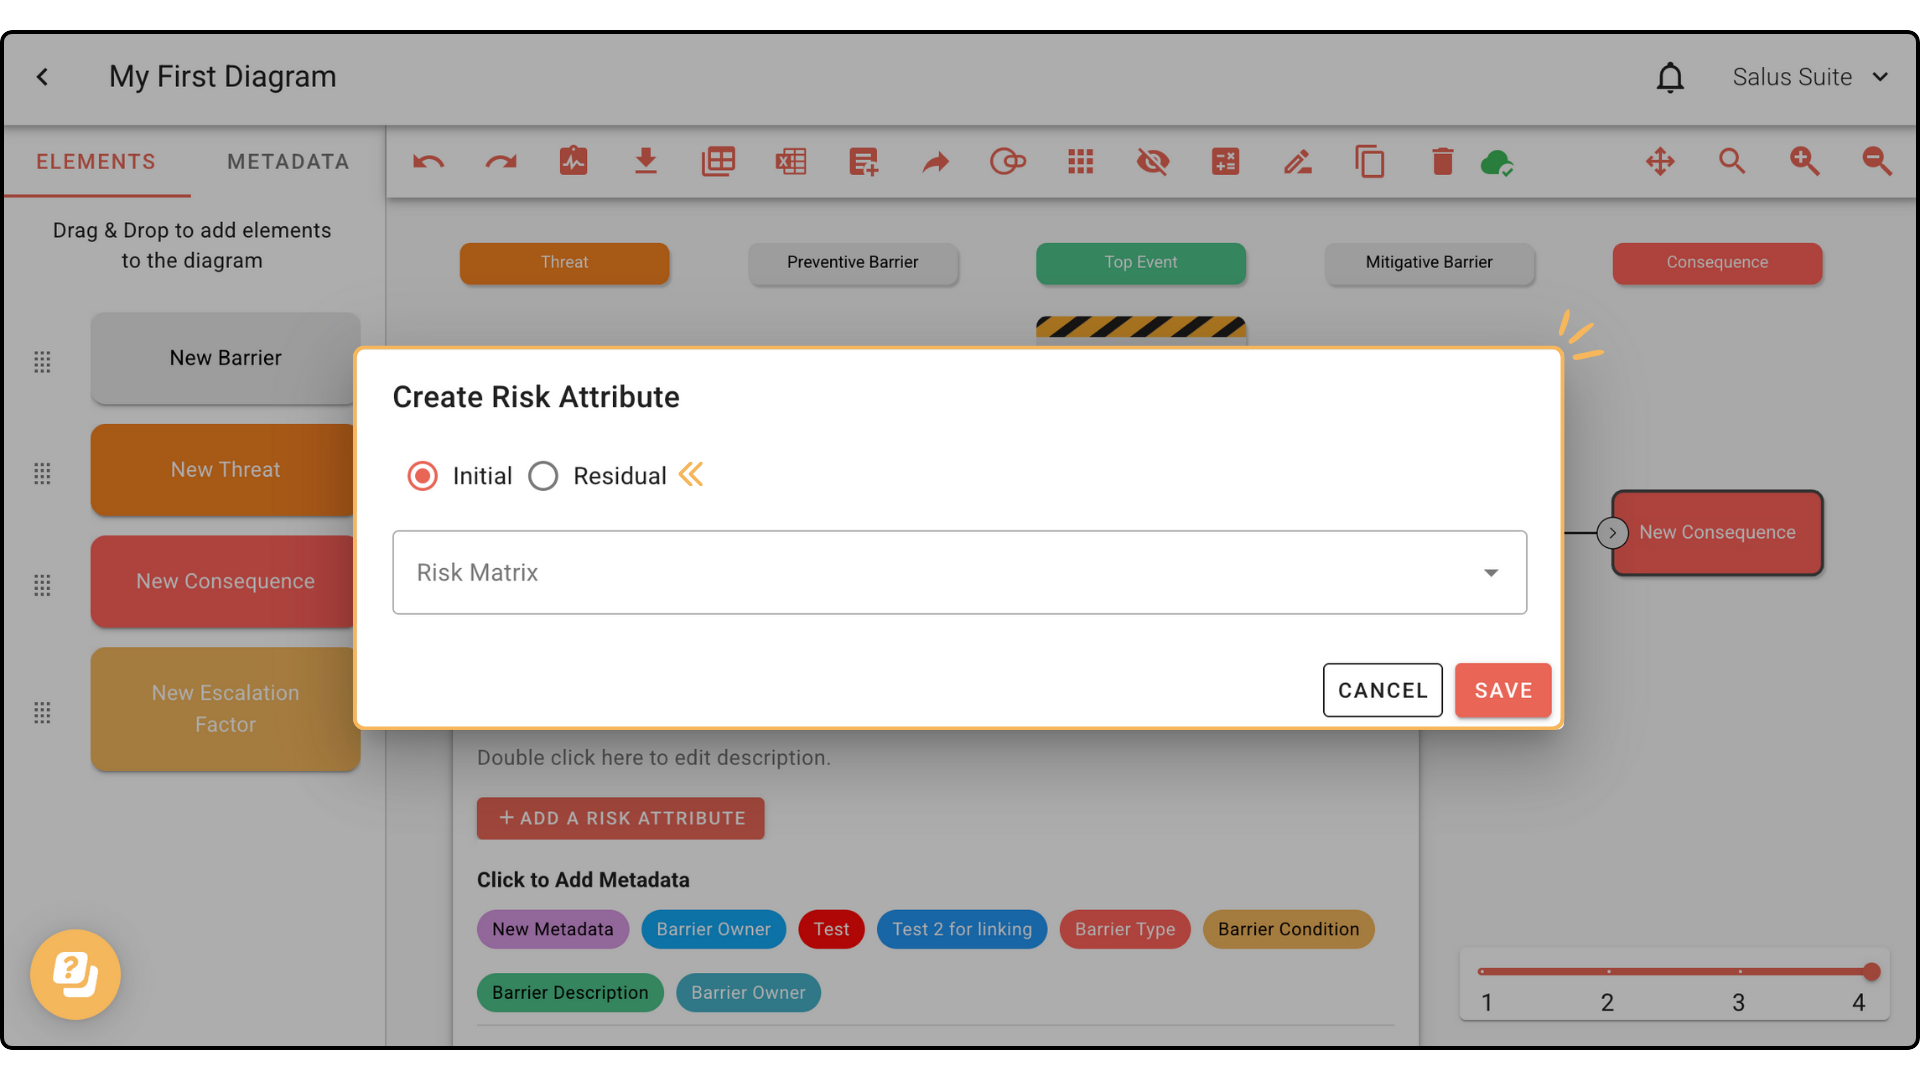
Step 4: Choose a category from the dropdown - for example People, Asset, Environment or Reputation. Custom risk matrices also appear here.
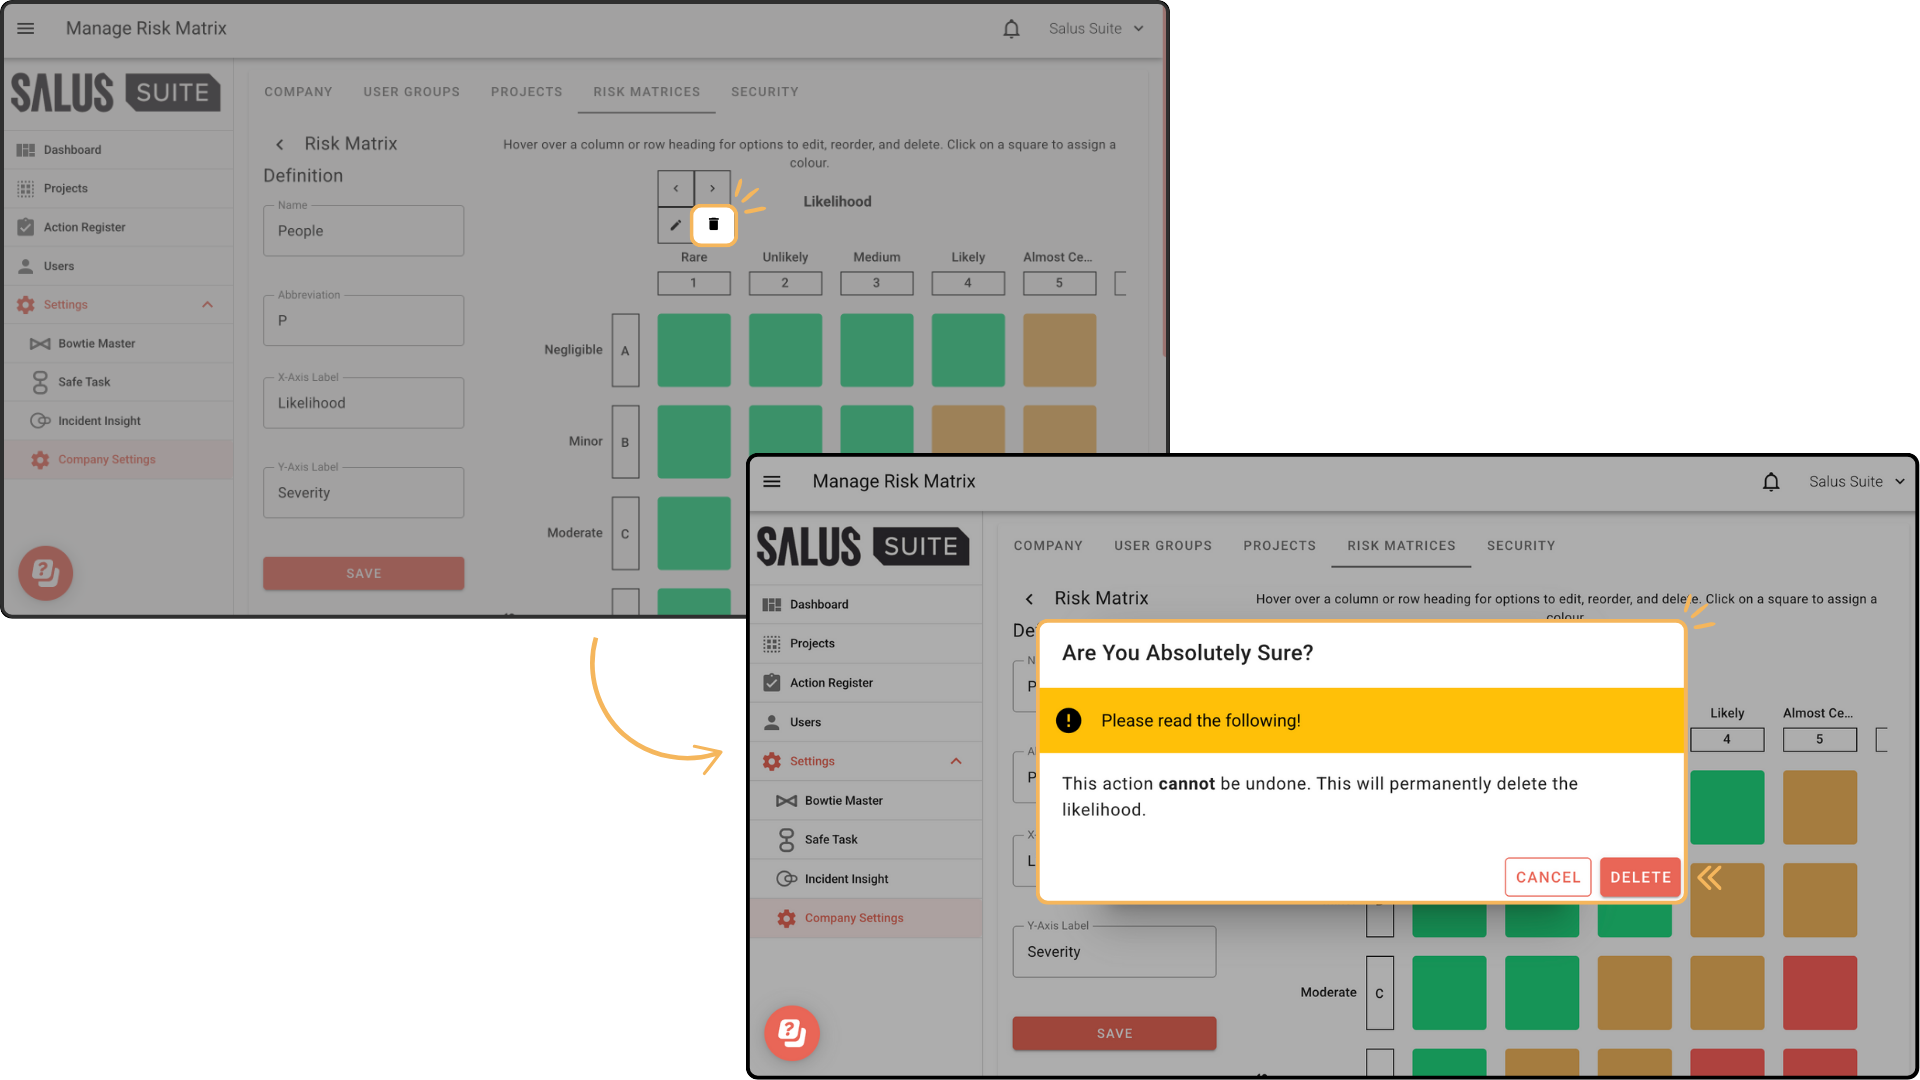
A risk matrix created after a diagram won’t appear in that diagram’s dropdown. New matrices apply only to diagrams created after they’re saved. For more, see Create and edit a risk matrix.
Step 5: Click the level of risk for the chosen category, then click SAVE.
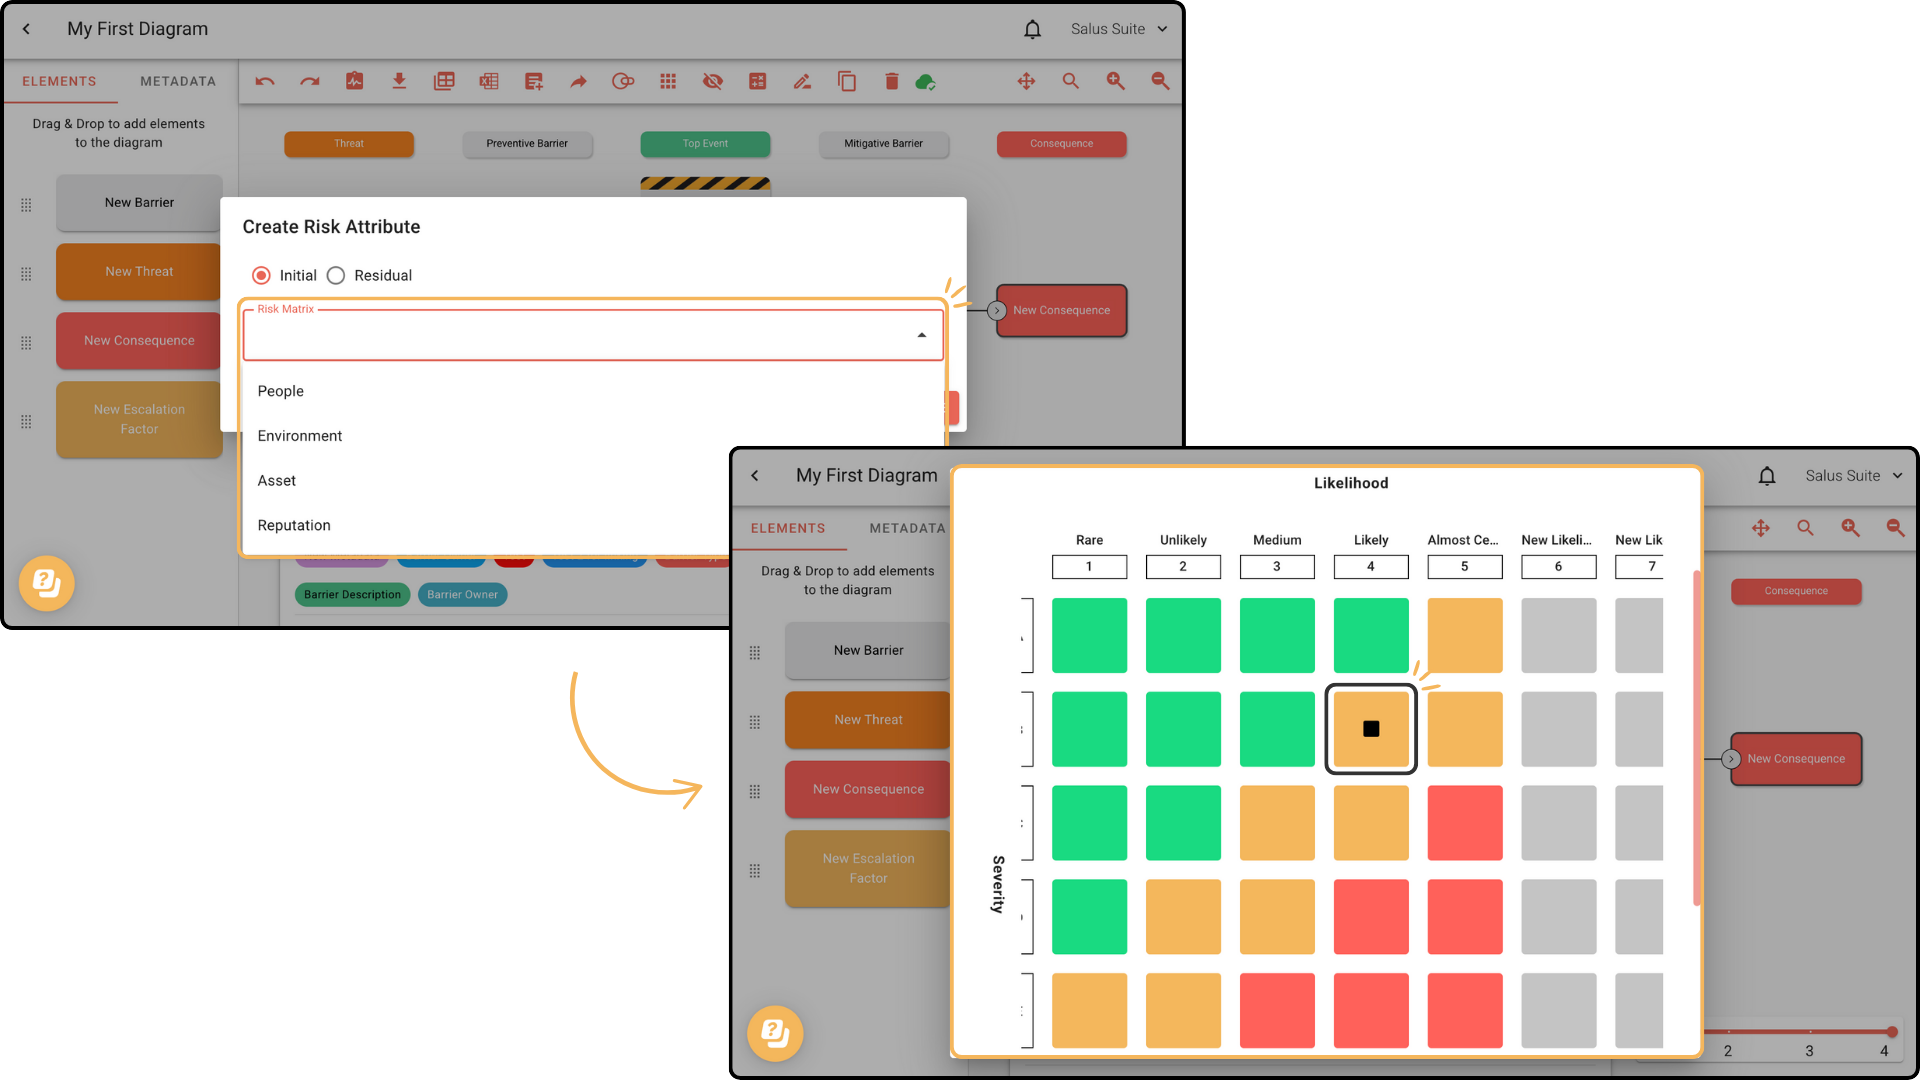
In this example the level of risk is People: P and Initial Risk: B4. These values appear on the consequence element.
The process is the same when applying a risk matrix to a Threat.

Delete a risk category
Double-click the consequence element, go to the Element Description Box and click the X next to the level of risk you want to delete.
Apply a risk value to a threat
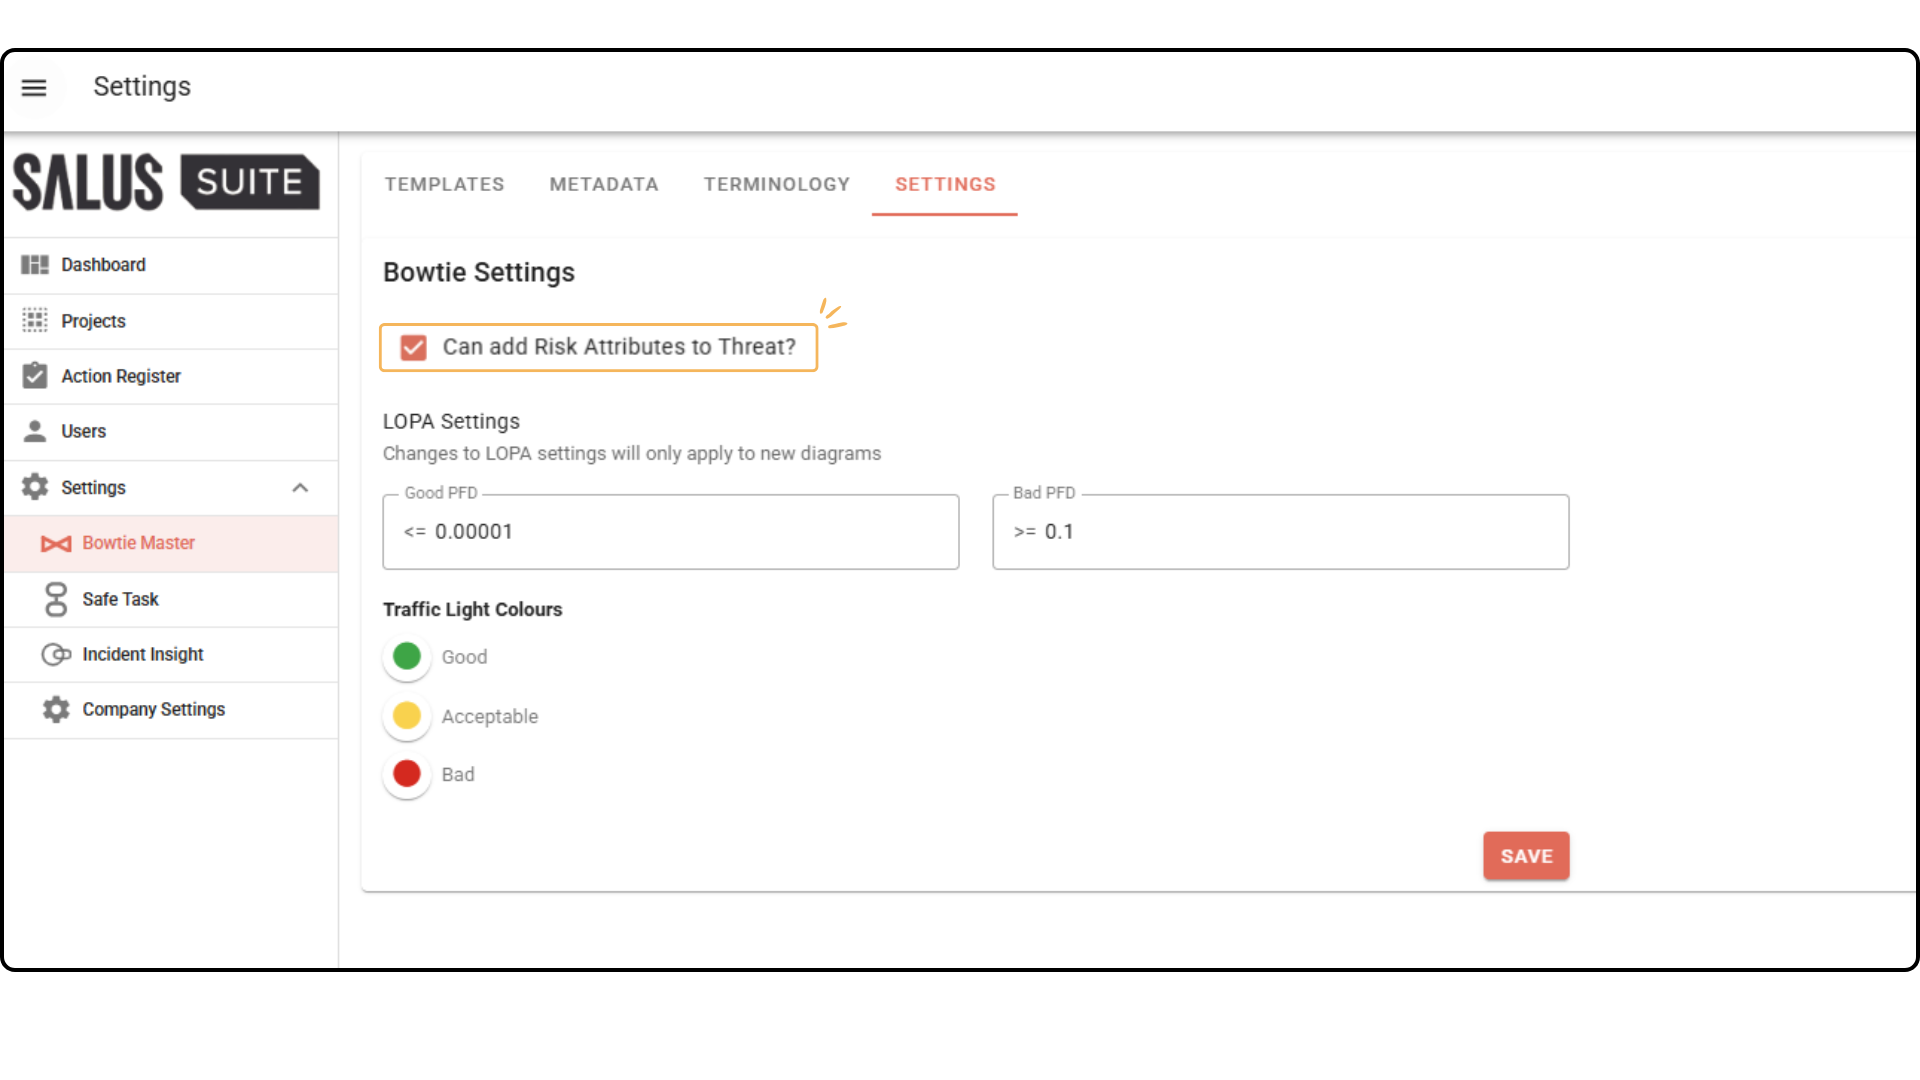
Risk matrices are available on Consequences by default, but must be turned on for Threats.
Step 1: In the left-hand menu, go to Settings.
Step 2: Select Bowtie Master, then SETTINGS in the top toolbar.
Step 3: Tick CAN ADD RISK ATTRIBUTES TO THREAT.
Once ticked, risk matrices and their values are available on all threat elements, across both new and existing diagrams.