Create a project
Projects are the top-level way to organise your work in the Salus Suite - every diagram lives inside one. This guide shows you how to create a project.
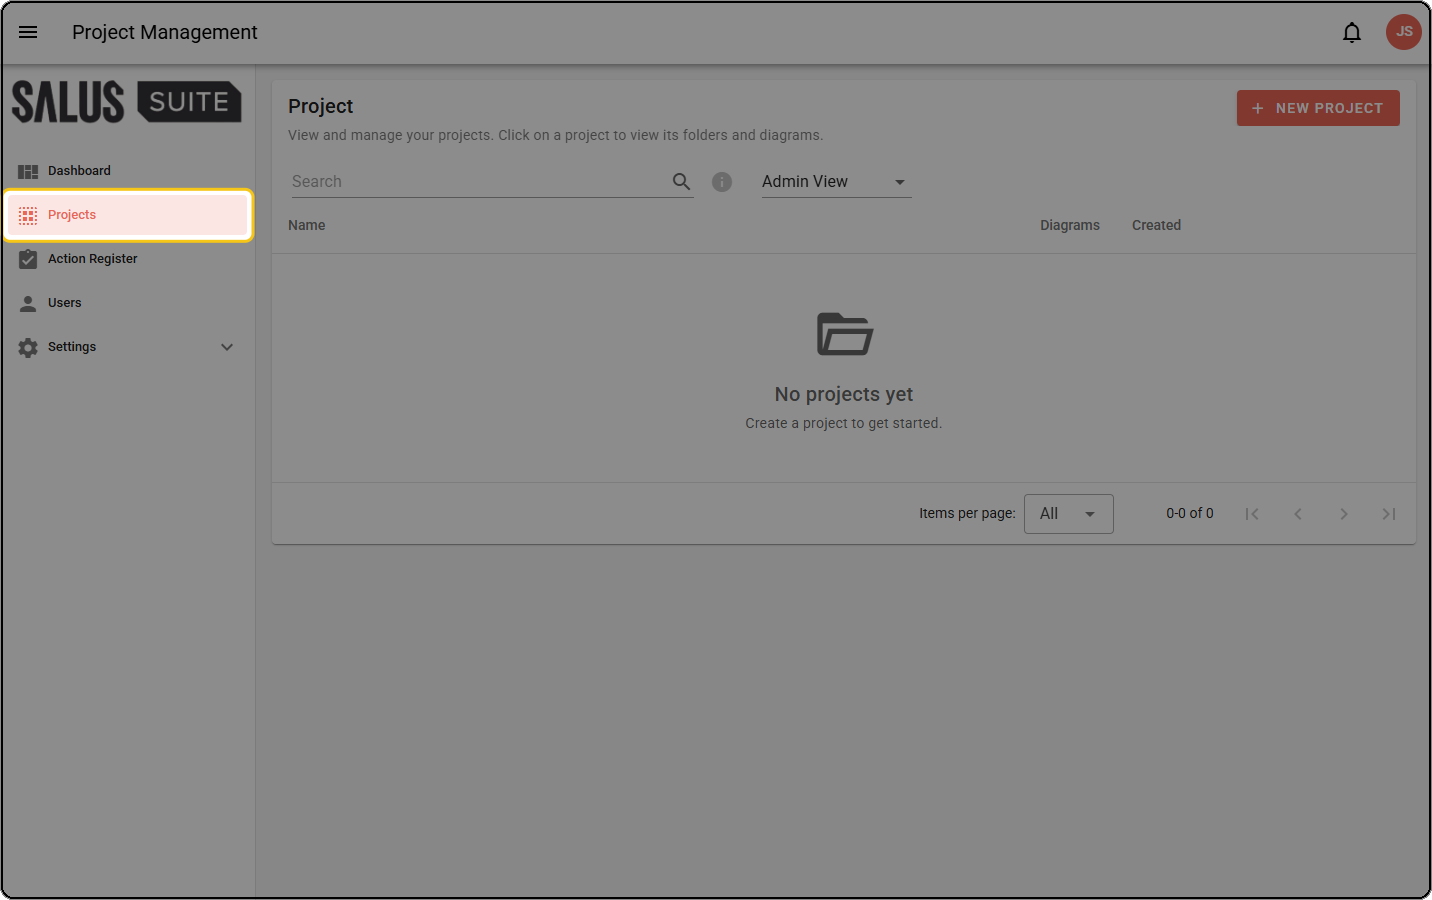
Step 1: Open Projects from the left-hand menu.
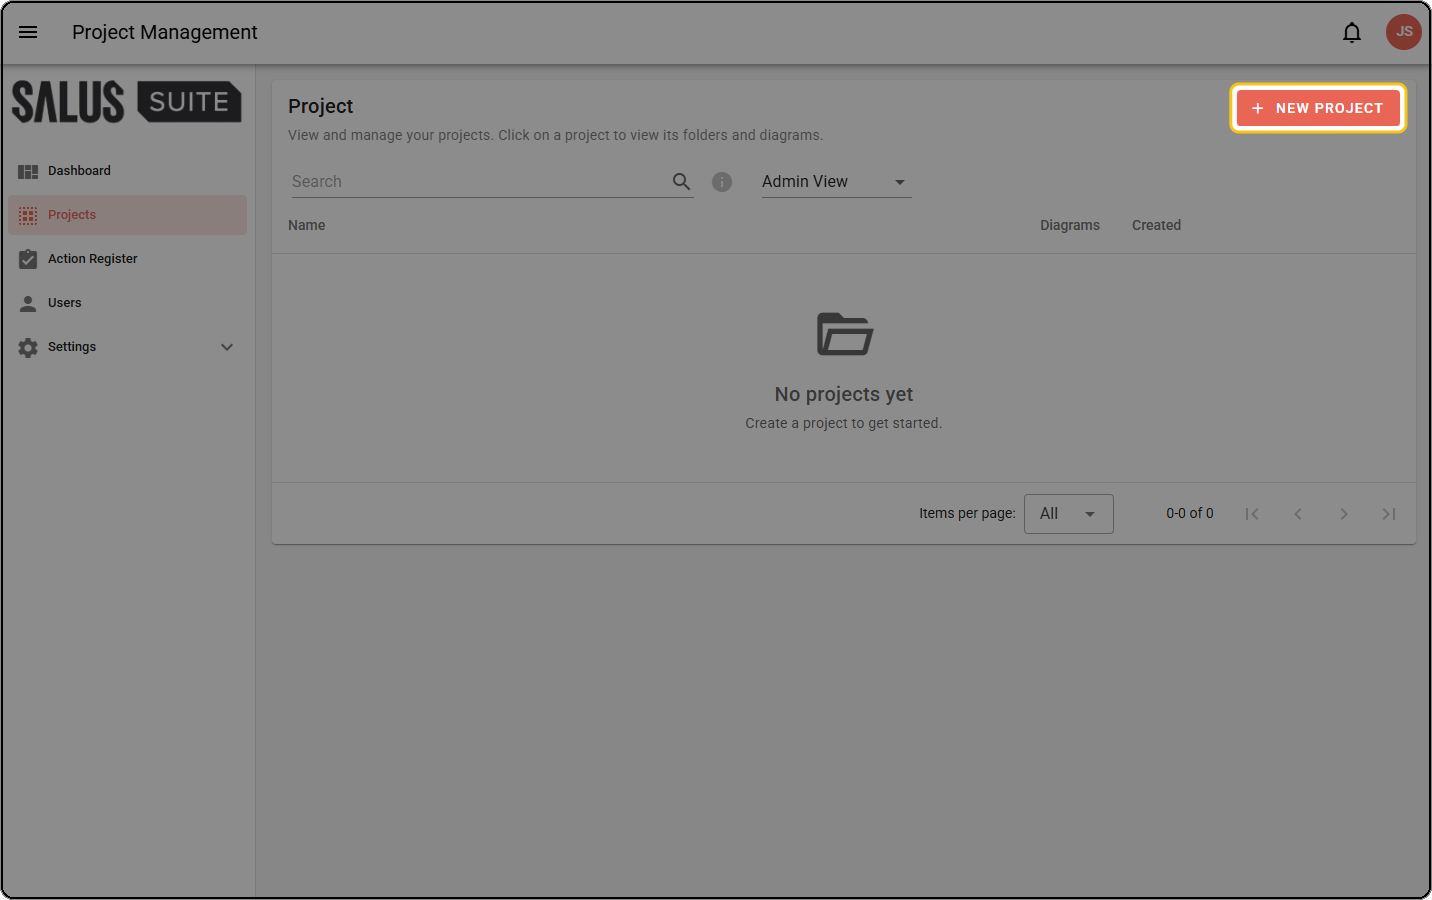
Step 2: Click + NEW PROJECT. This button only appears if you have the Organisation Admin or Diagram Editor role.
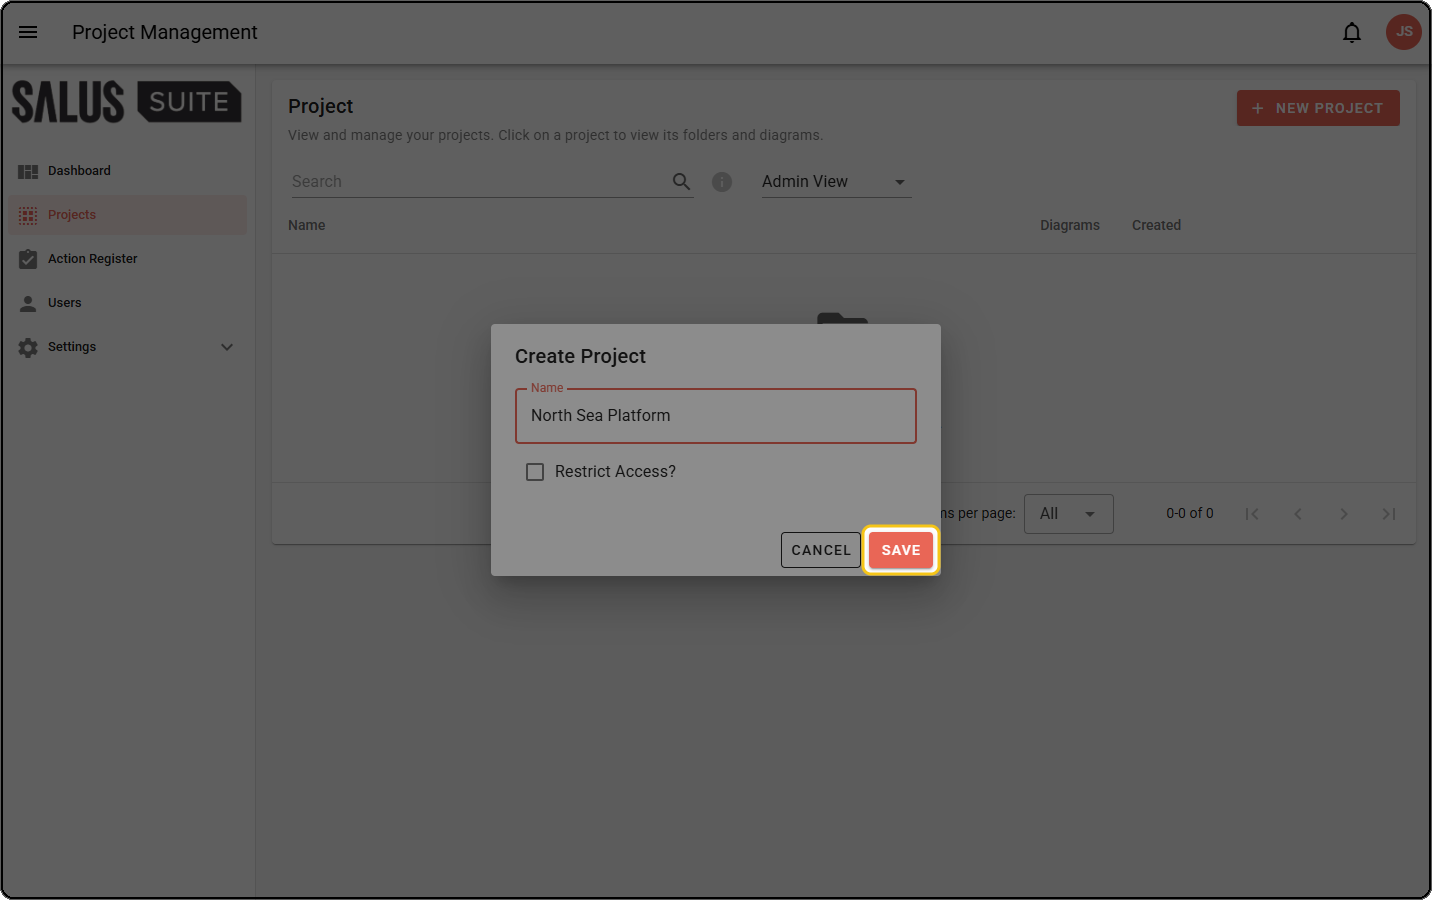
Step 3: In the Create Project dialog, enter a Name (required).
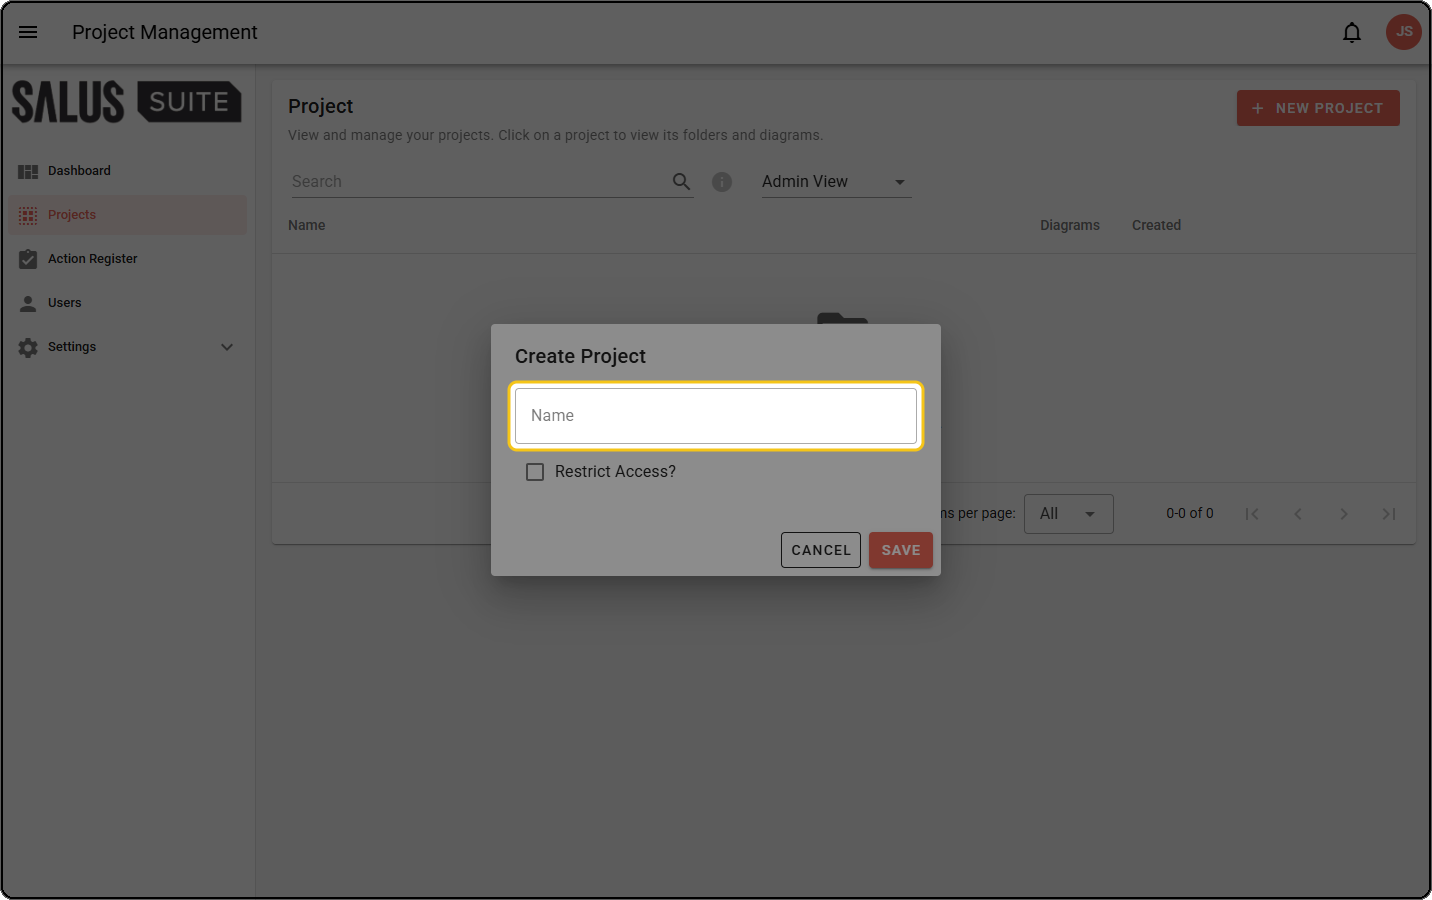
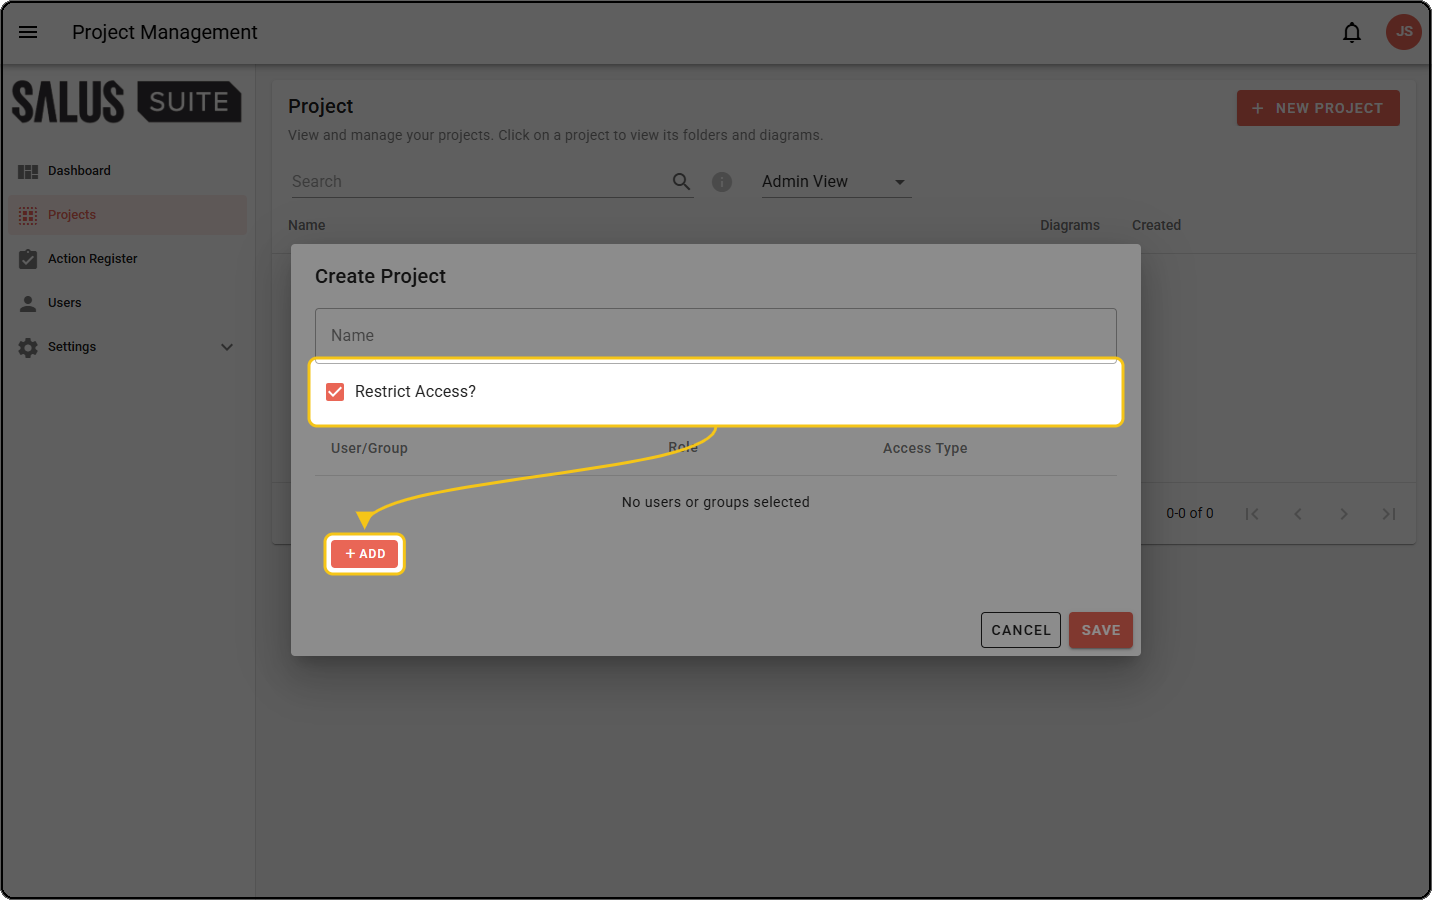
Step 4: (Optional) Tick RESTRICT ACCESS? to limit who can see the project, then click + ADD to choose users or groups in the Select Users dialog and set their access type. Leave it unticked to make the project visible to everyone in your organisation. For more detail, see Access controls.
Step 5: Click SAVE. A “Project Created” confirmation appears and you’re taken straight into the new project, ready to add folders or diagrams.