Build your first diagram
In this tutorial, we’ll show you how to create a diagram, add, edit, delete and clone elements and add attachments.
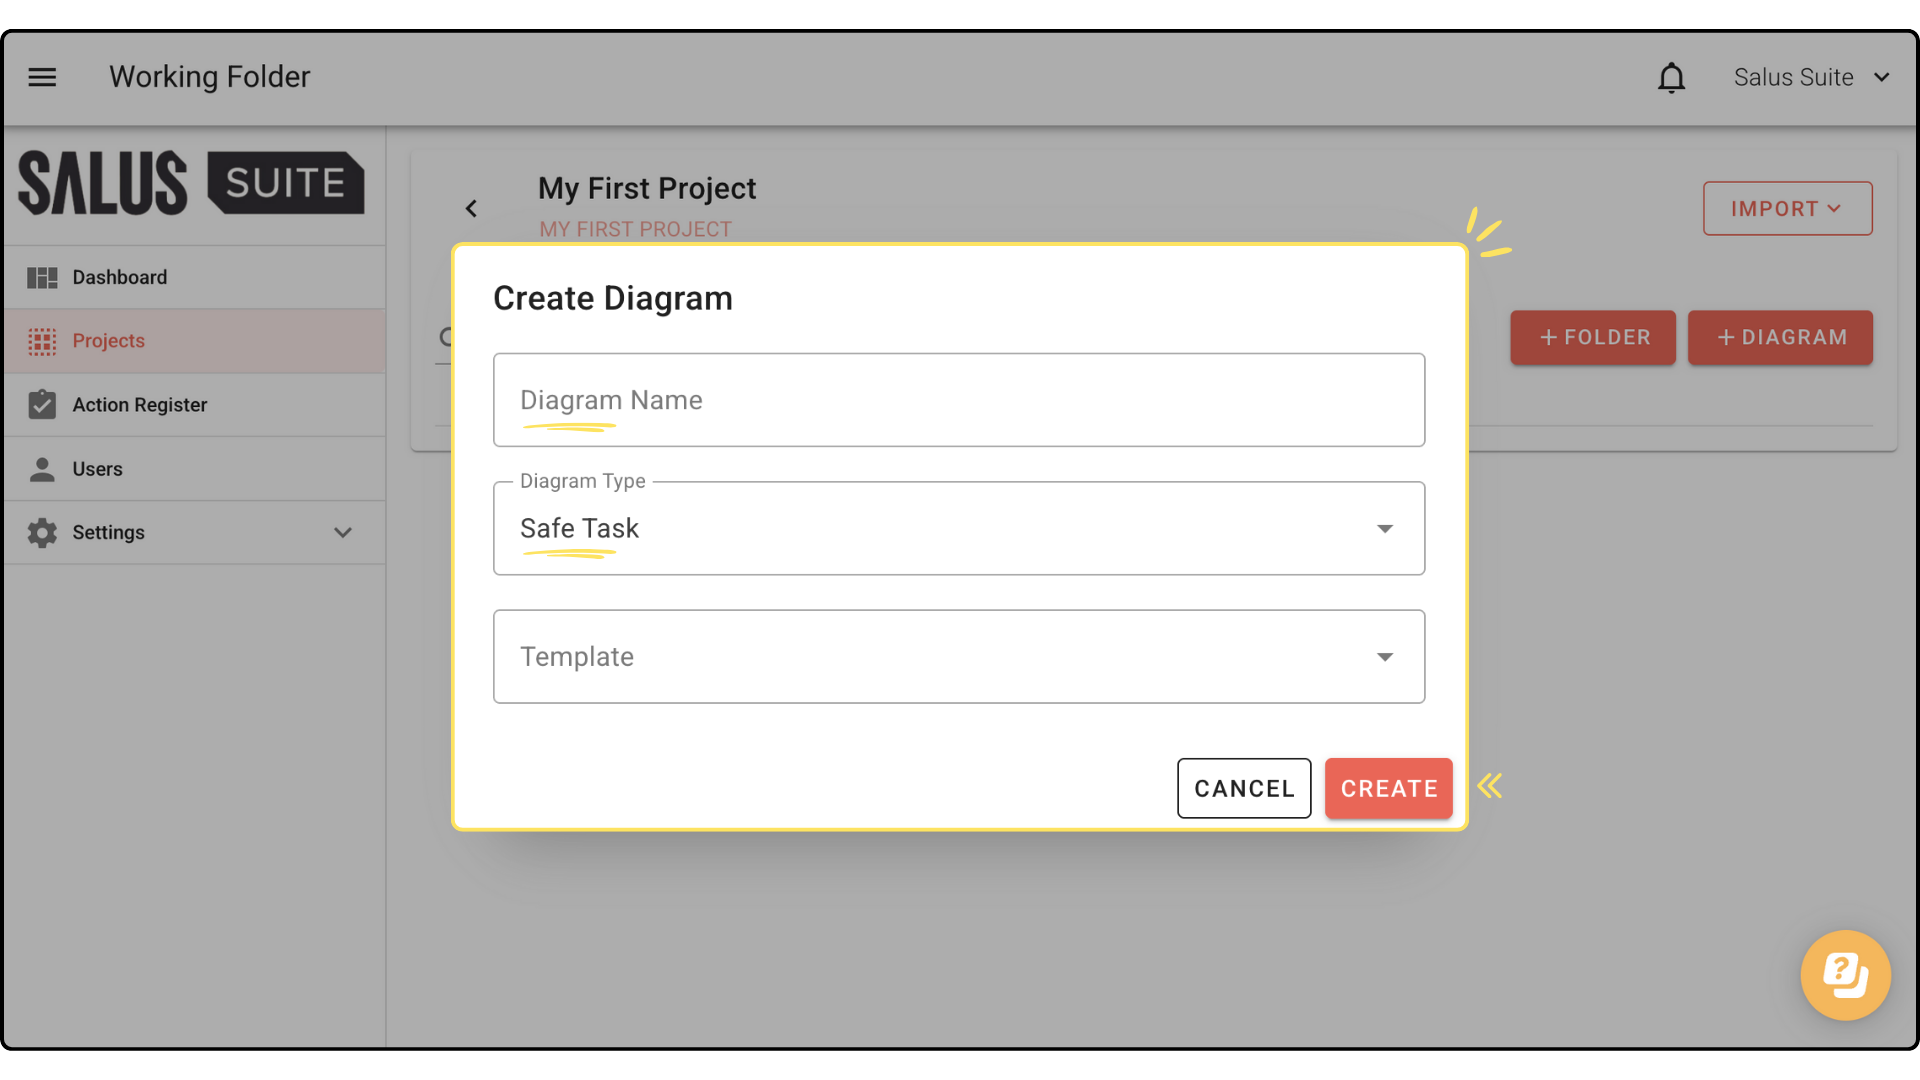
In the new project, click + NEW DIAGRAM. Enter a Diagram Name, select Safe Task in Diagram Type and choose a template if you have one. Click CREATE.
Add a task
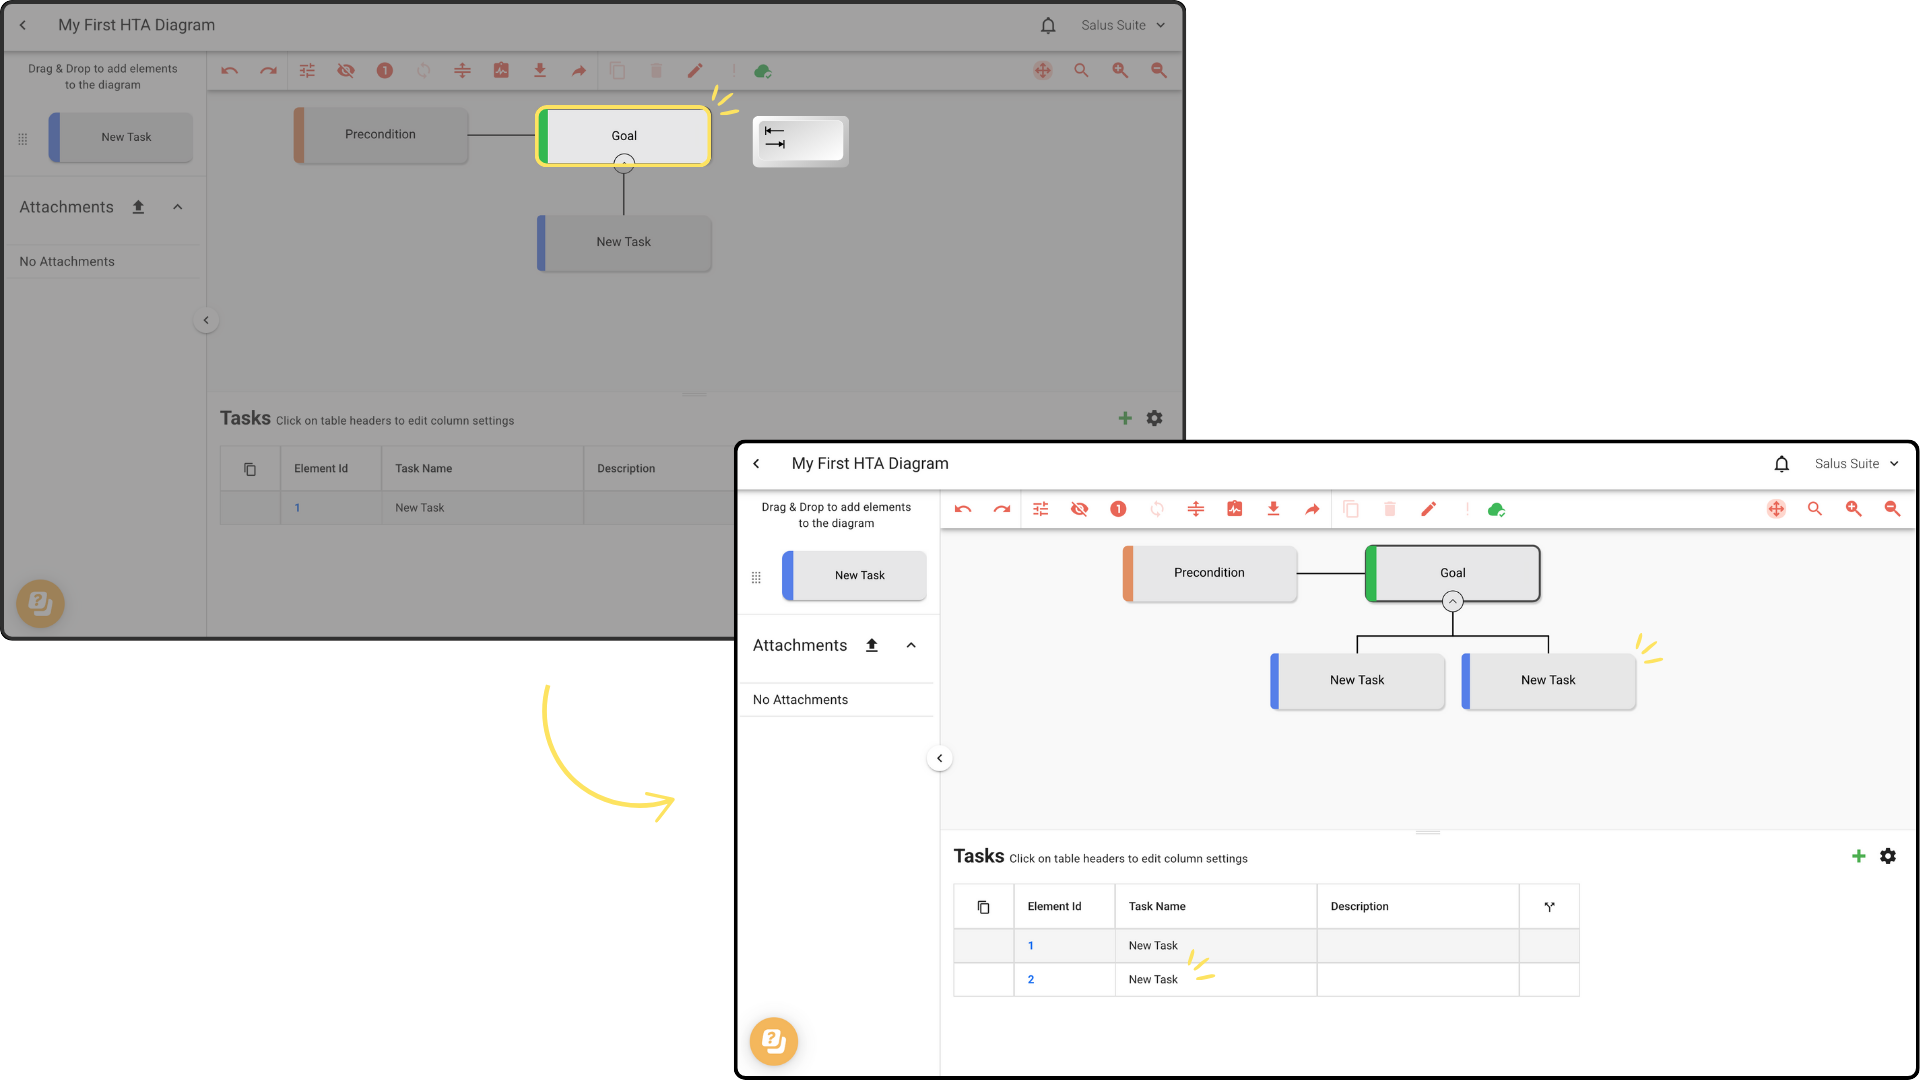
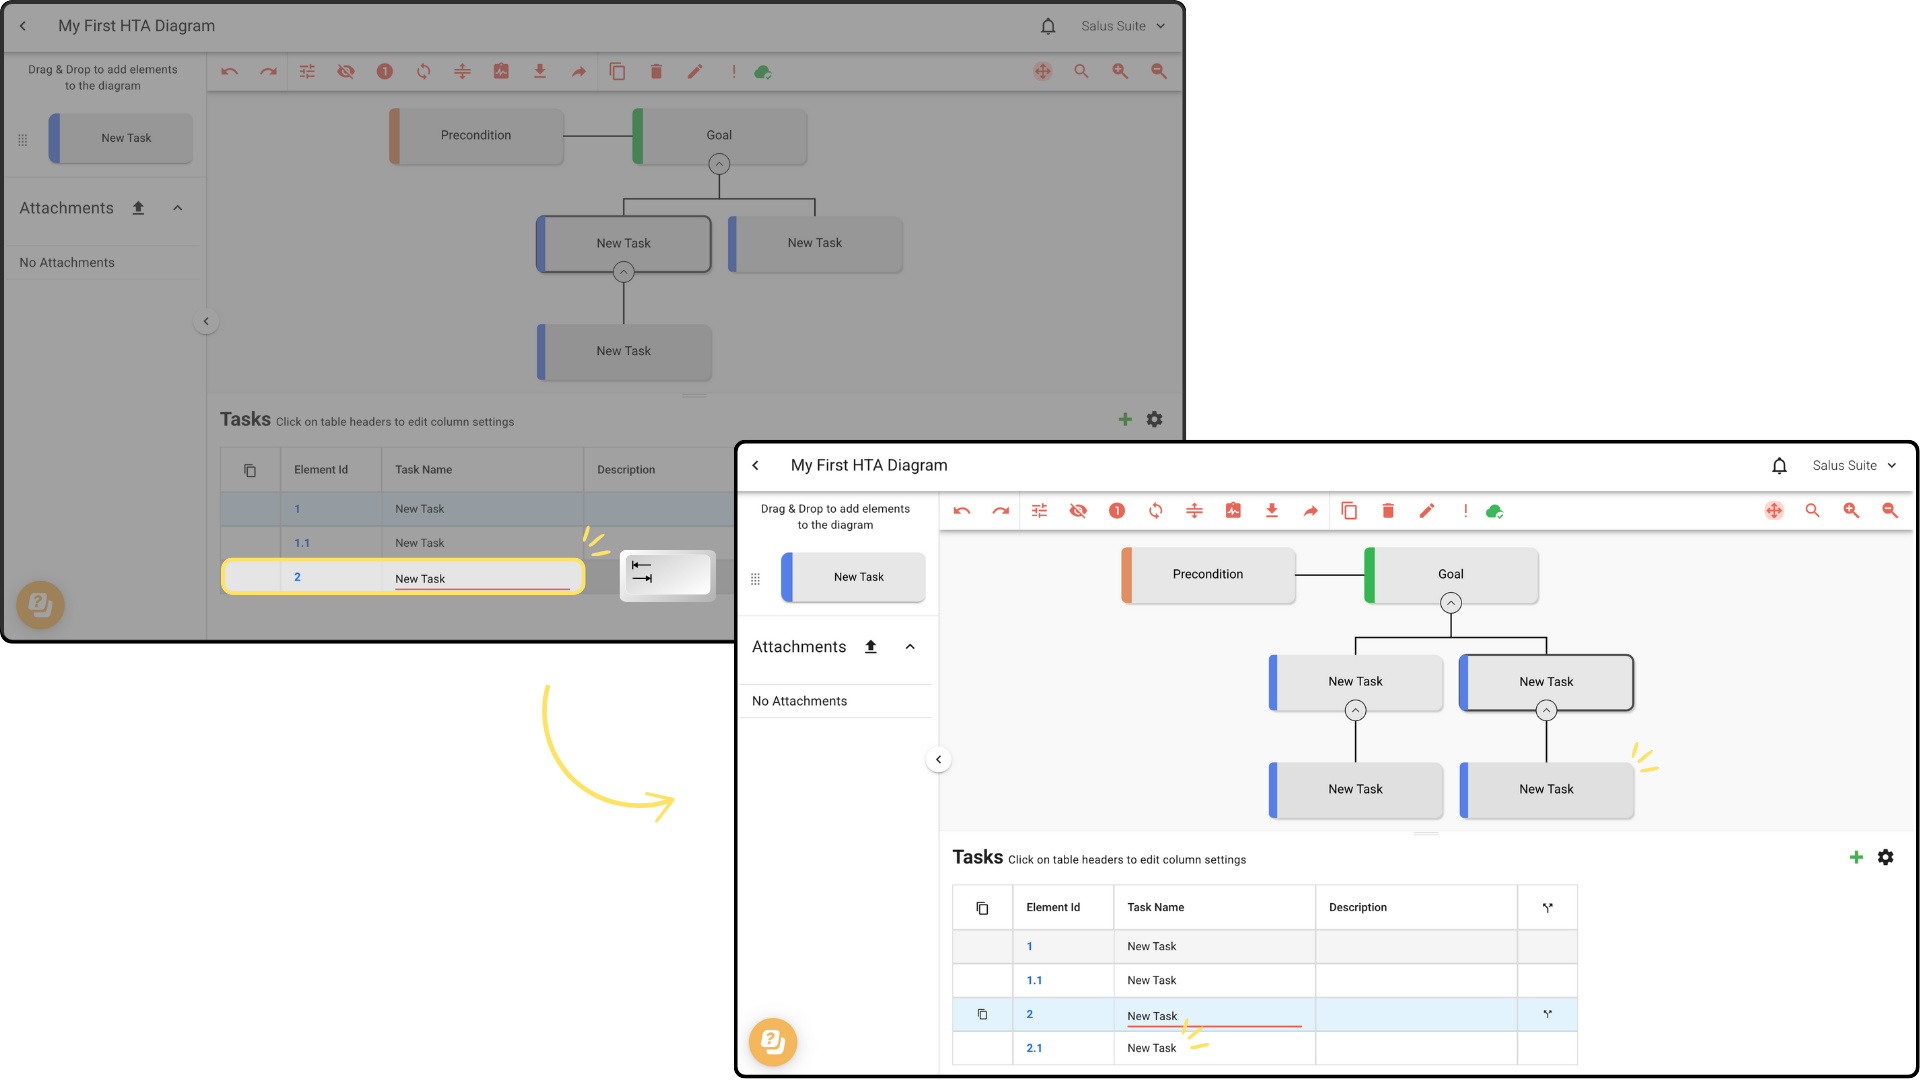
Step 1: Drag elements from the left of the Diagram Editor into the diagram. Start by placing a New Task below the Goal.
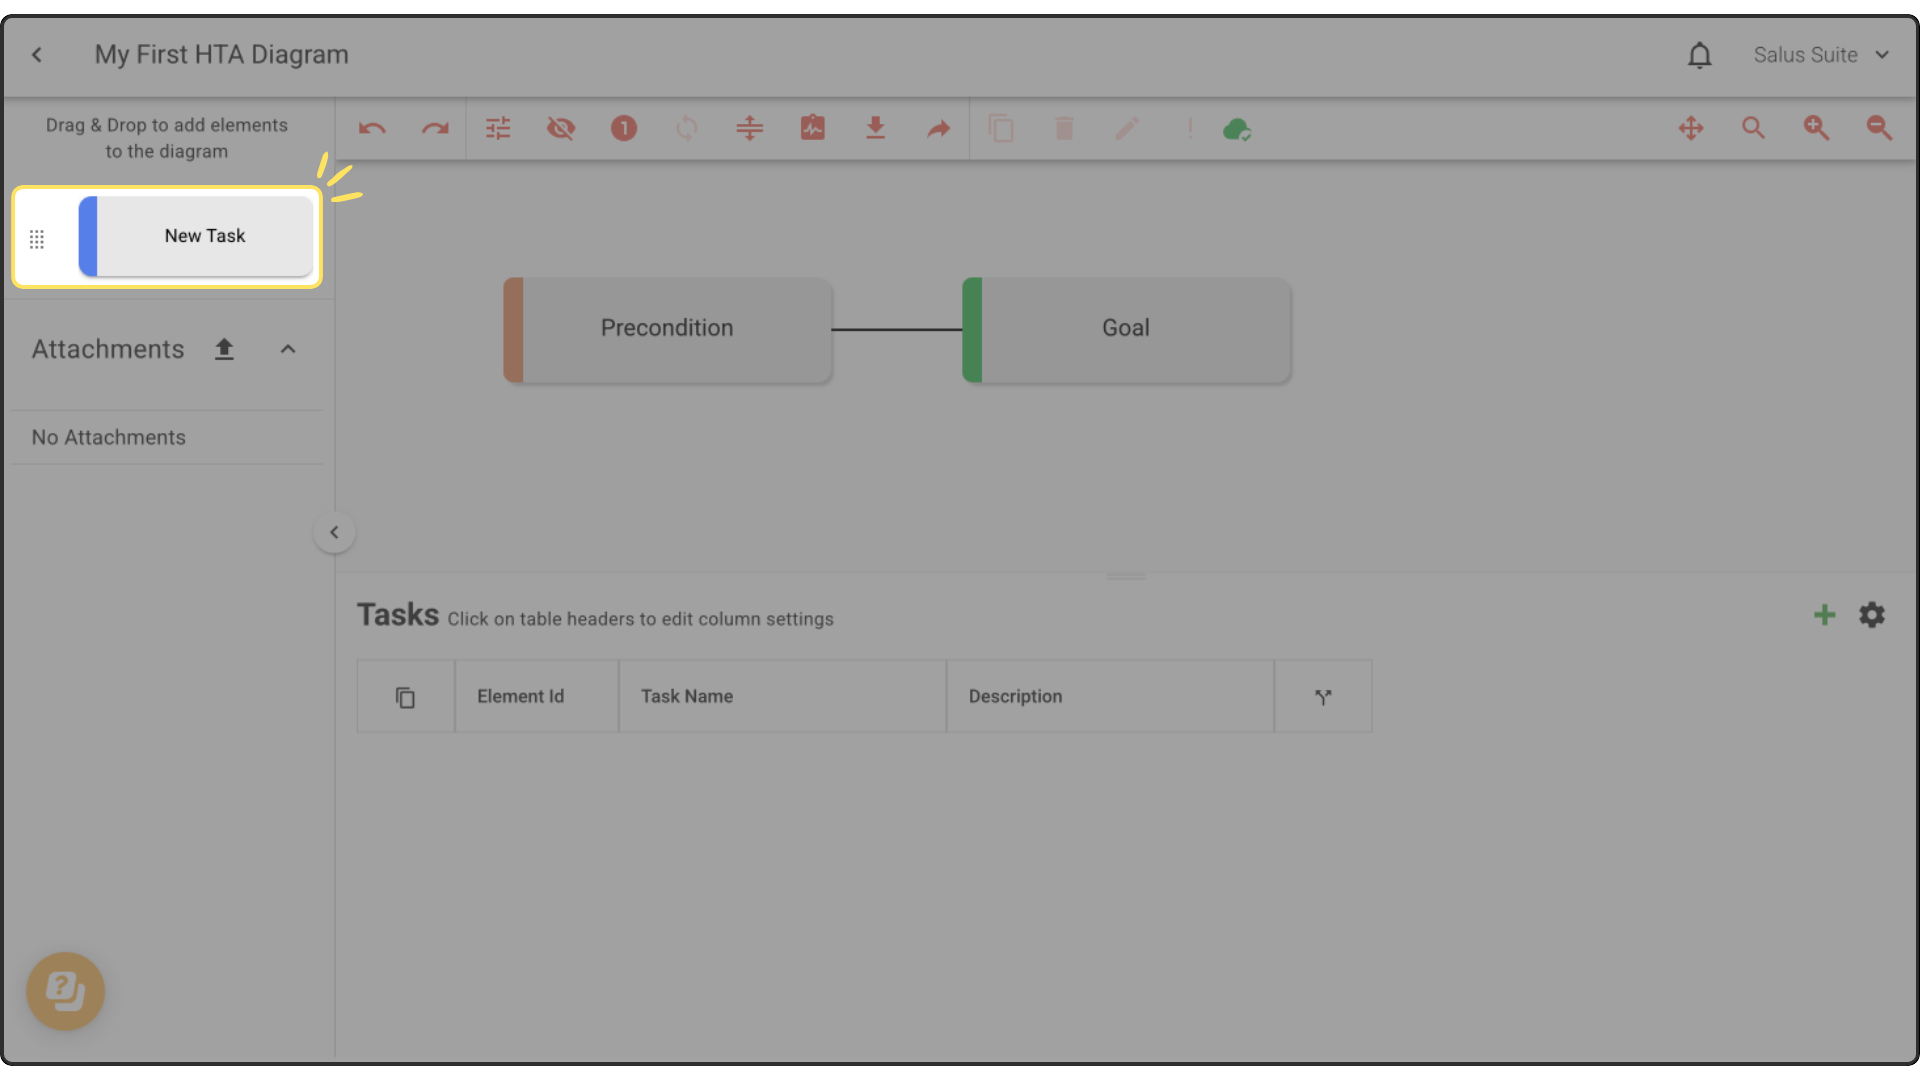
A quicker way to add a task is the Tab key. Select the Goal or a Task and press Tab to add a child. You can also do this in the table - click a Task and press Tab.
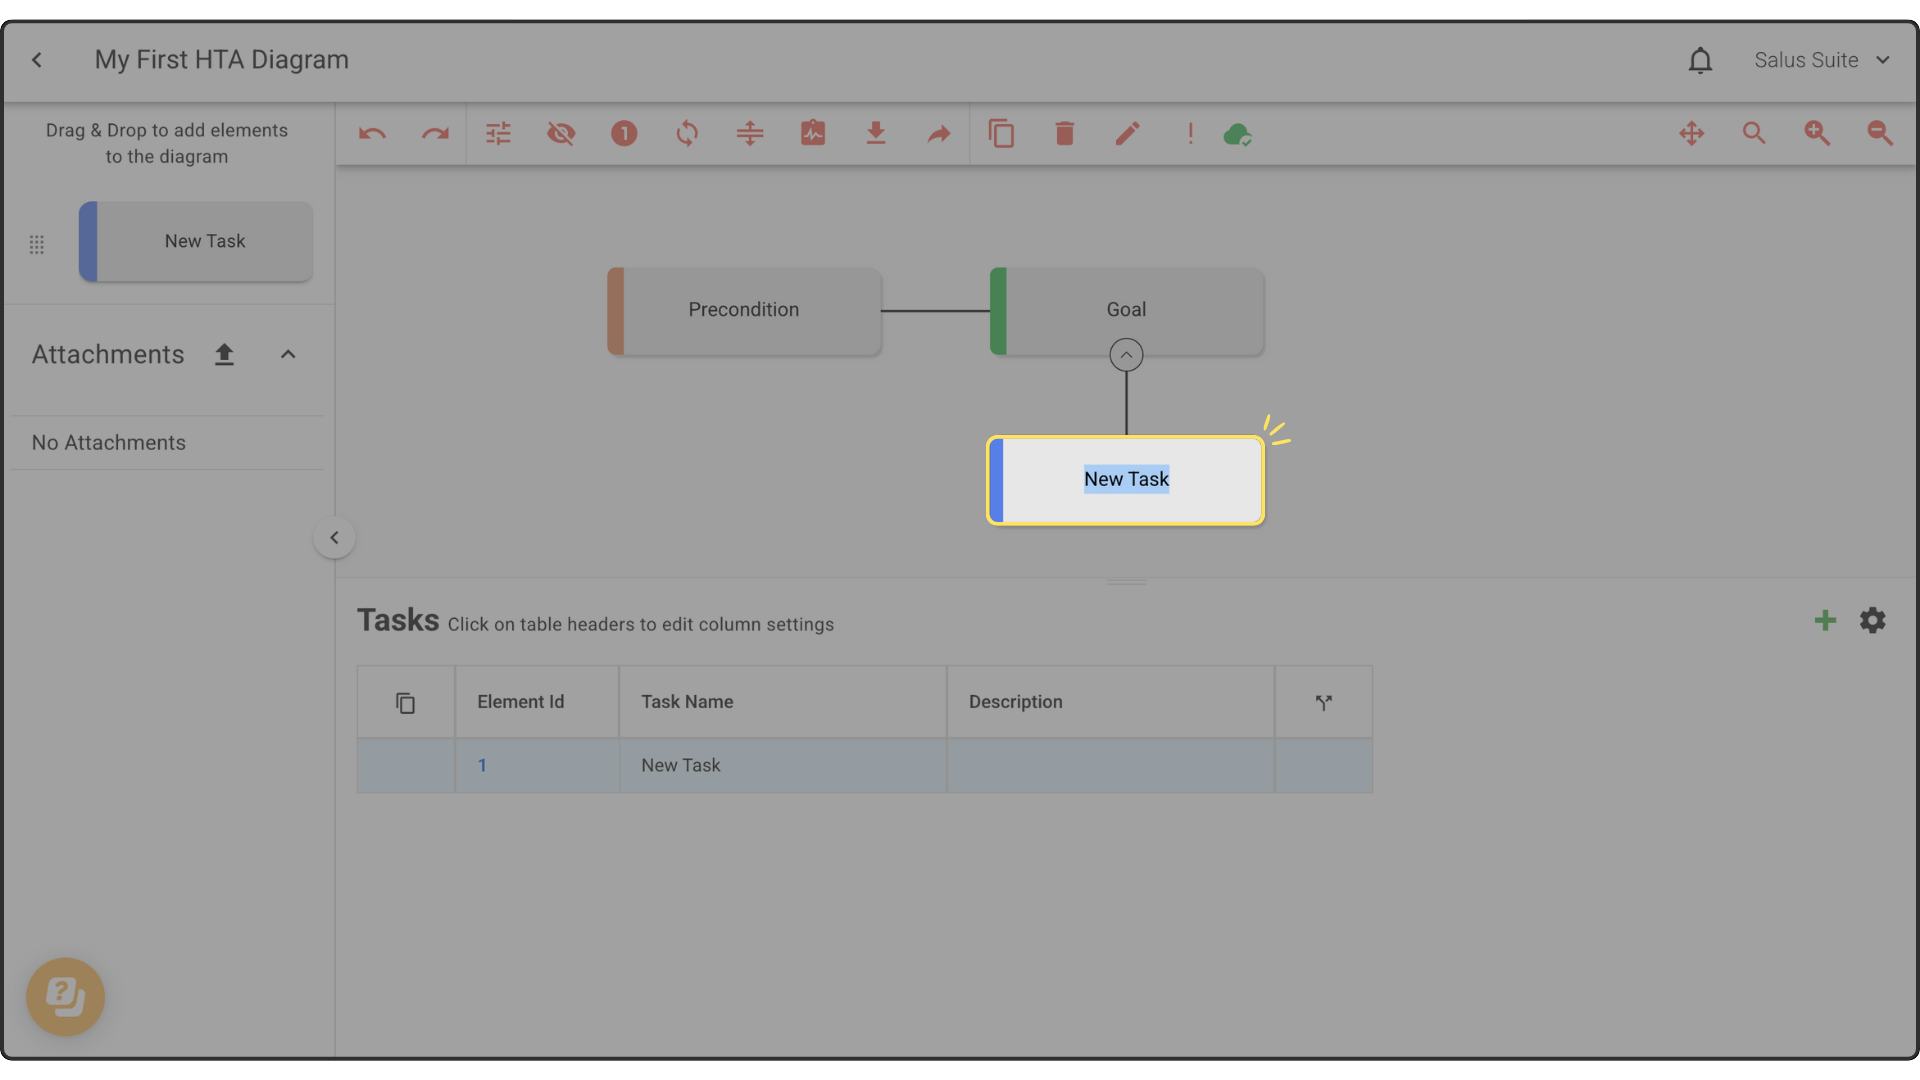
Step 2: To edit an element, double-click it and rename it.
Delete an element
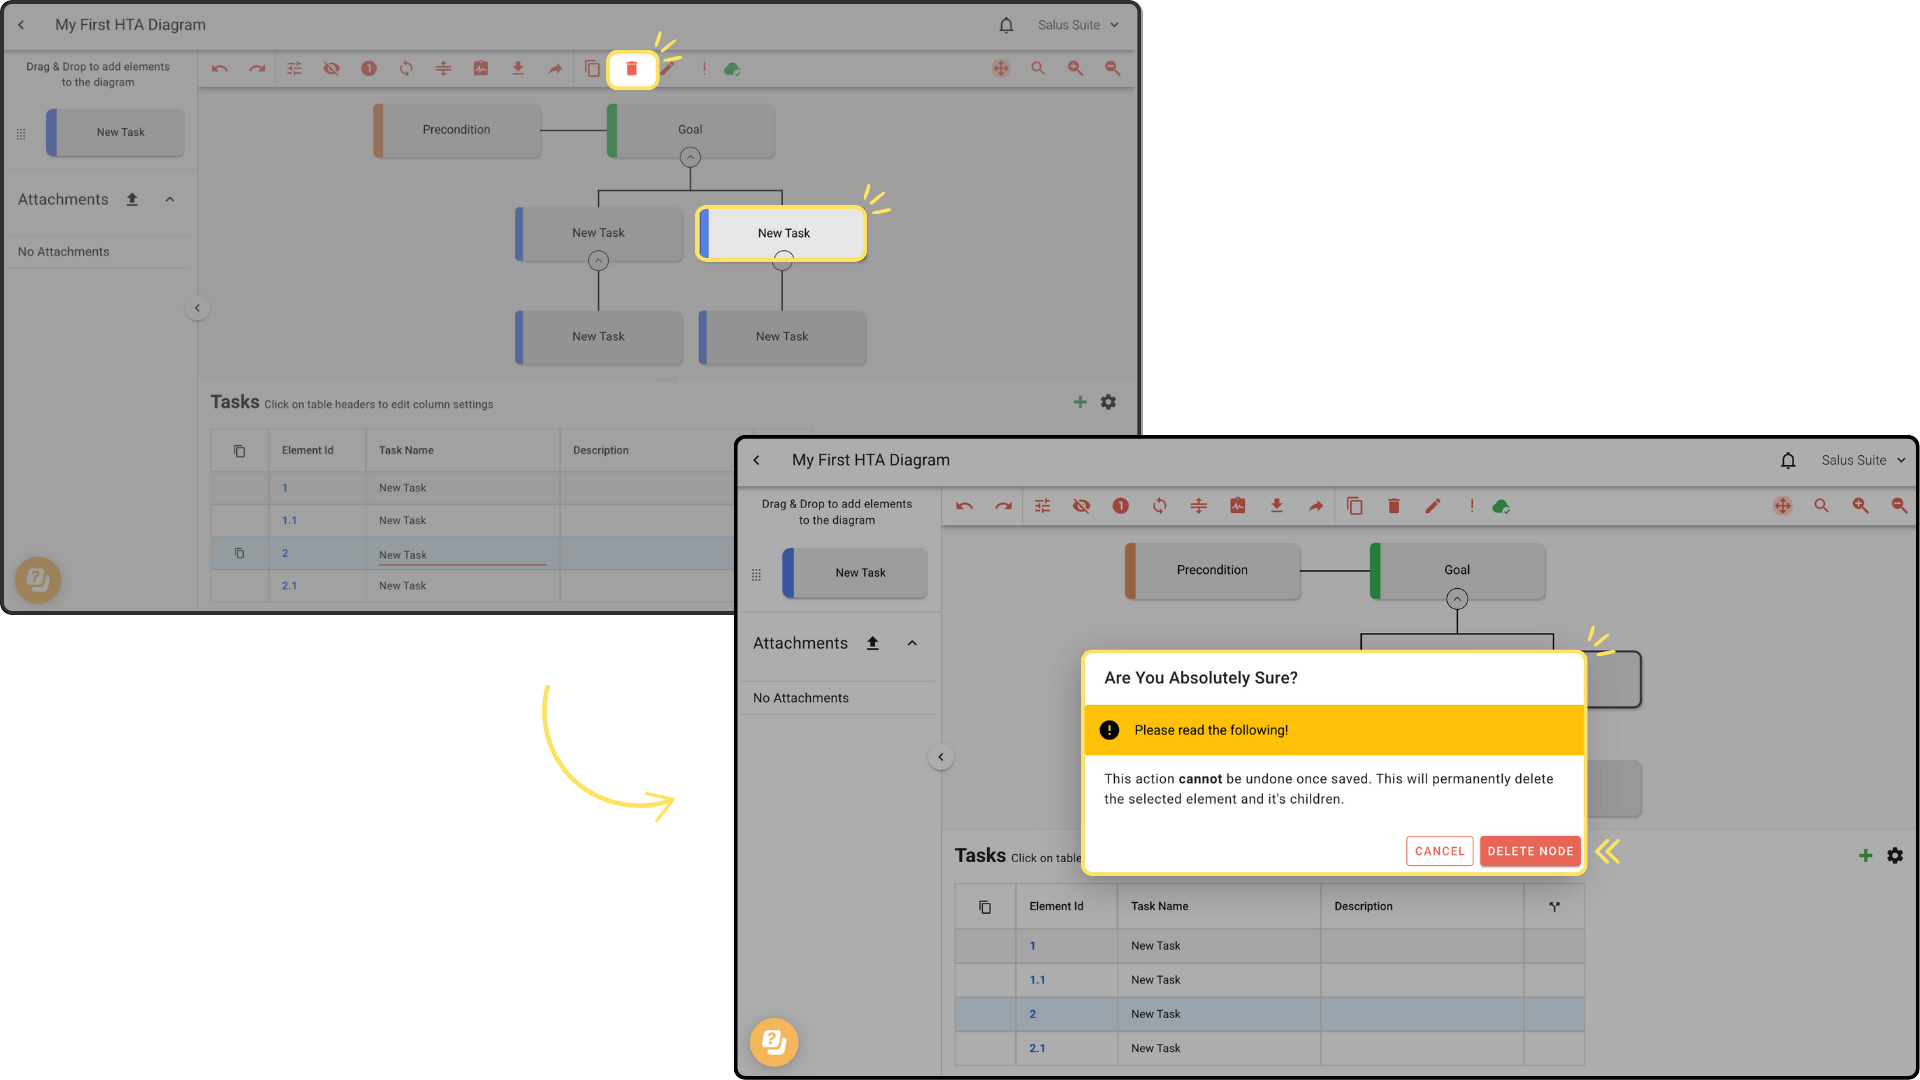
Step 1: Double-click the element you want to delete, then click the trash can icon in the toolbar.
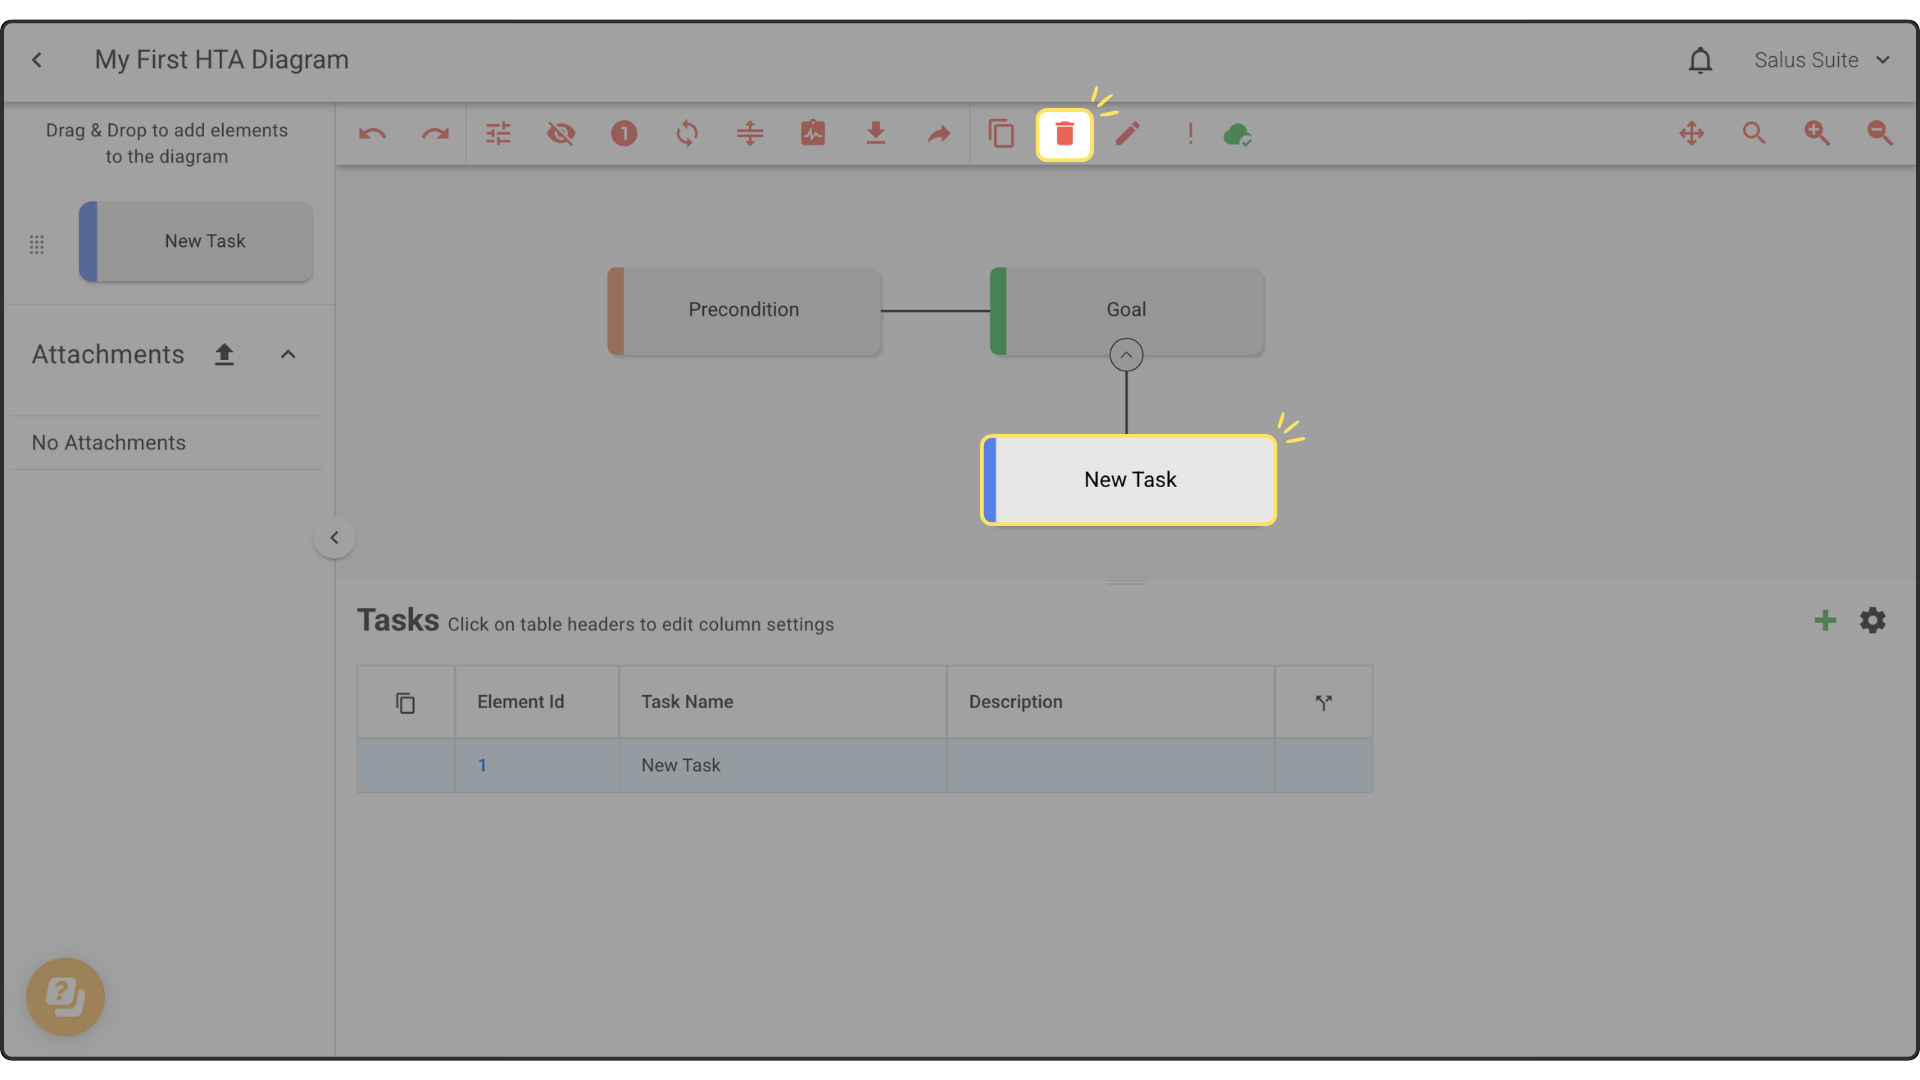
Step 2: To delete an entire node, double-click any element in the node, then click the trash can icon in the toolbar. This permanently deletes the selected element and its children, and cannot be undone once saved.
Clone an element
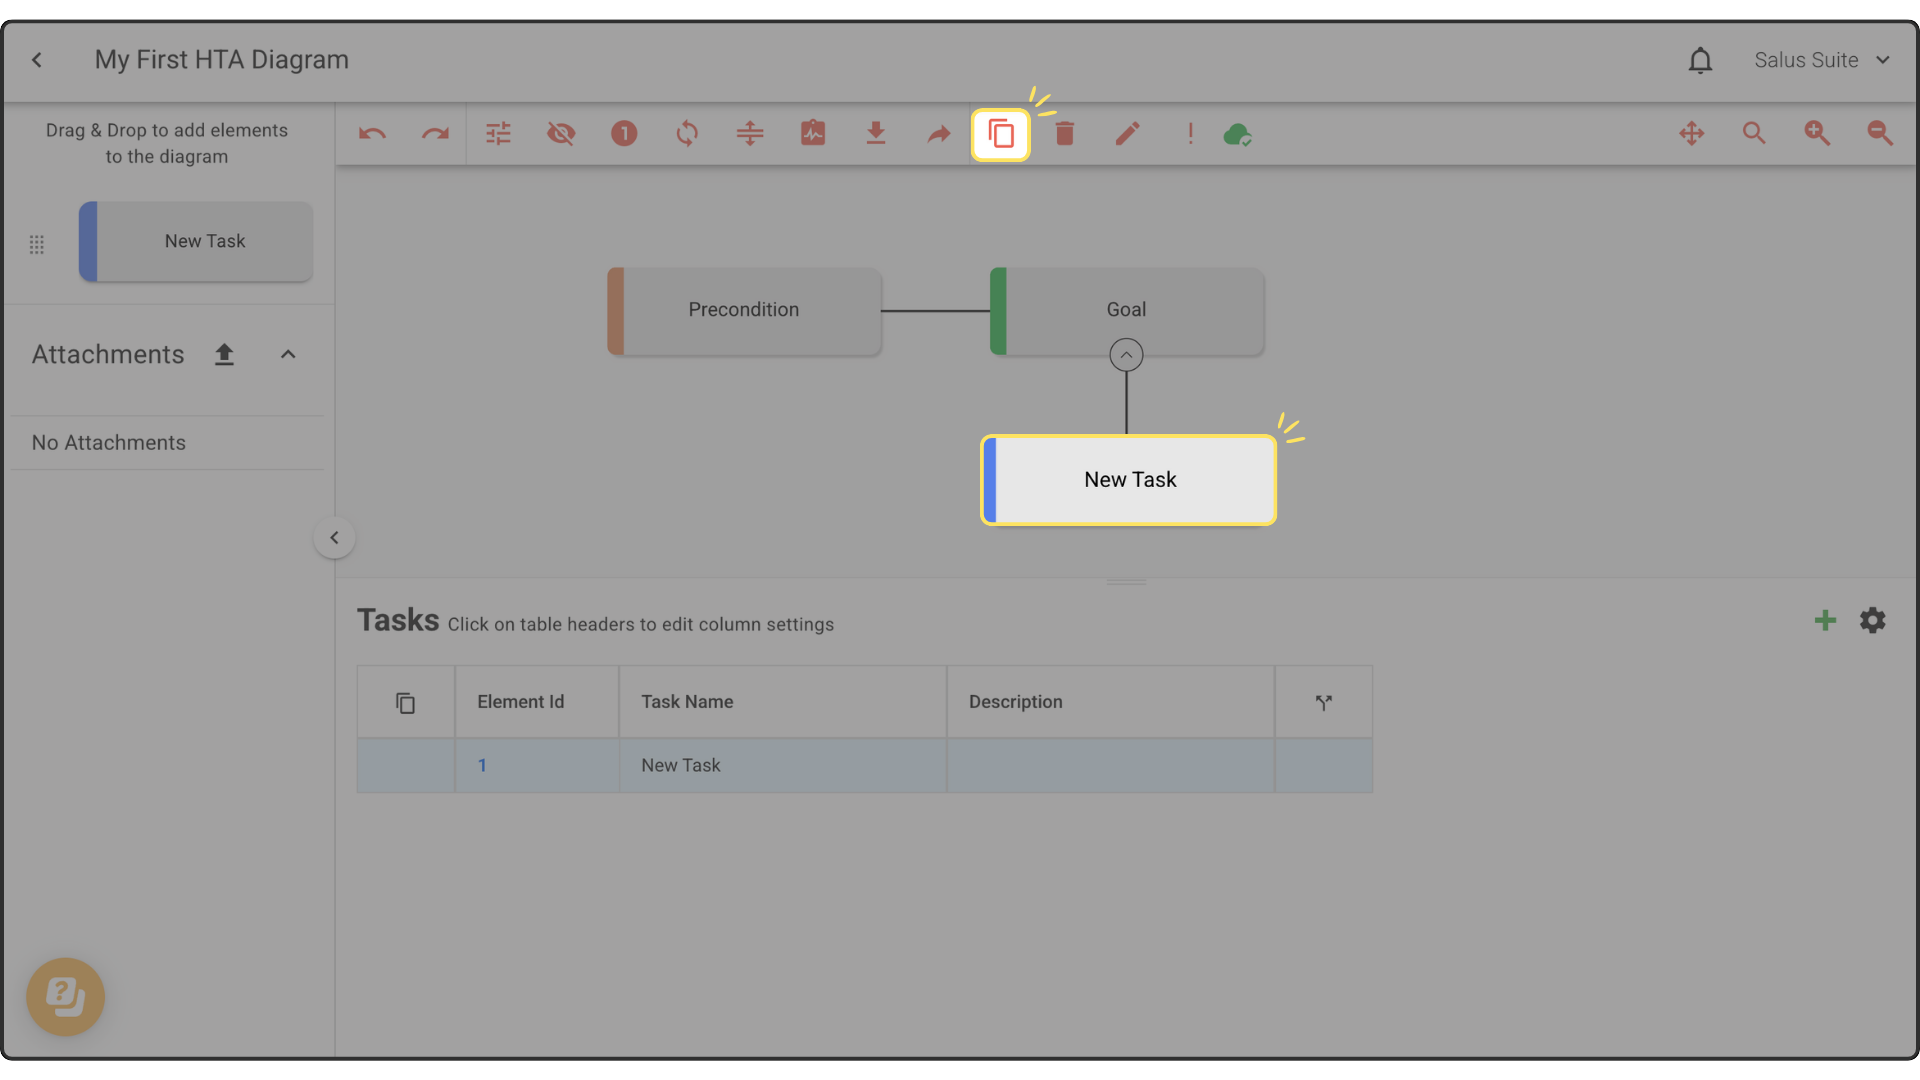
Step 1: Double-click the element you want to clone, then click the copy icon in the toolbar.
Add an attachment
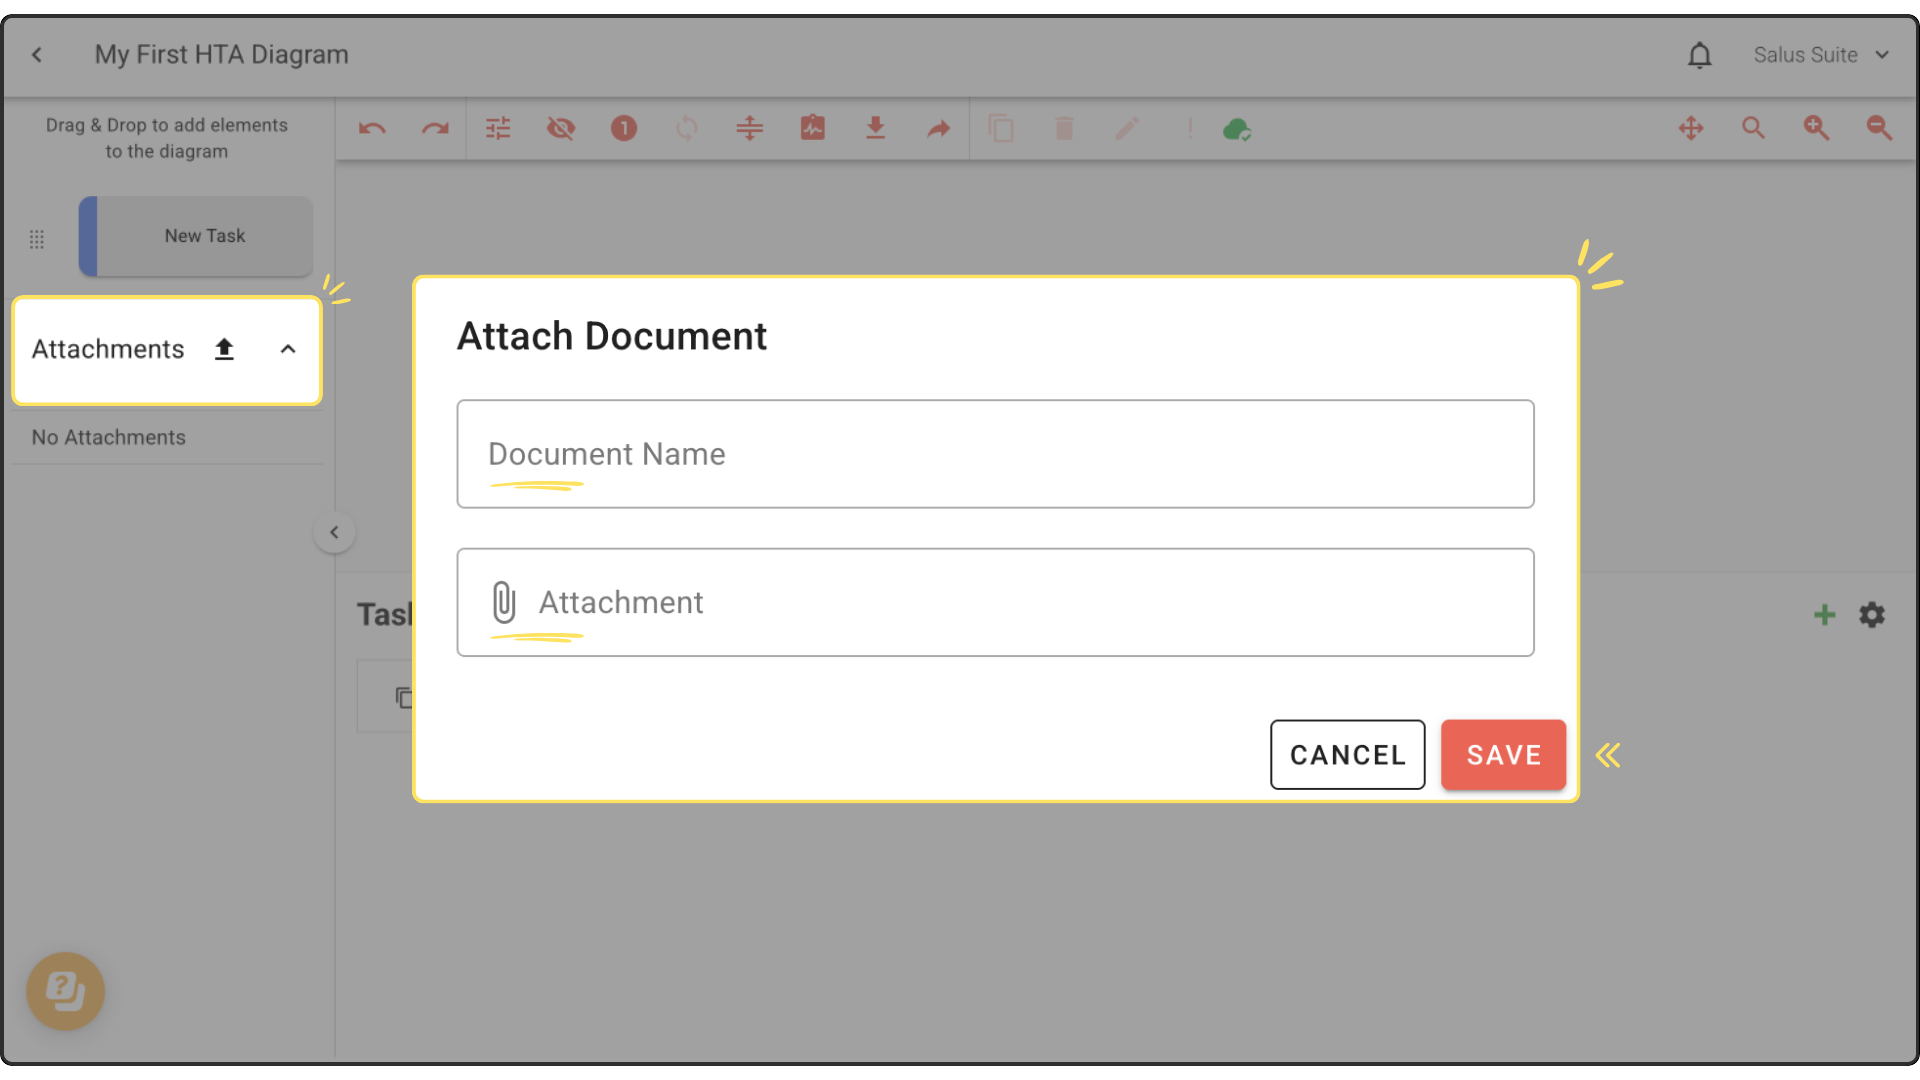
Step 1: Click the upload icon in the left sidebar.
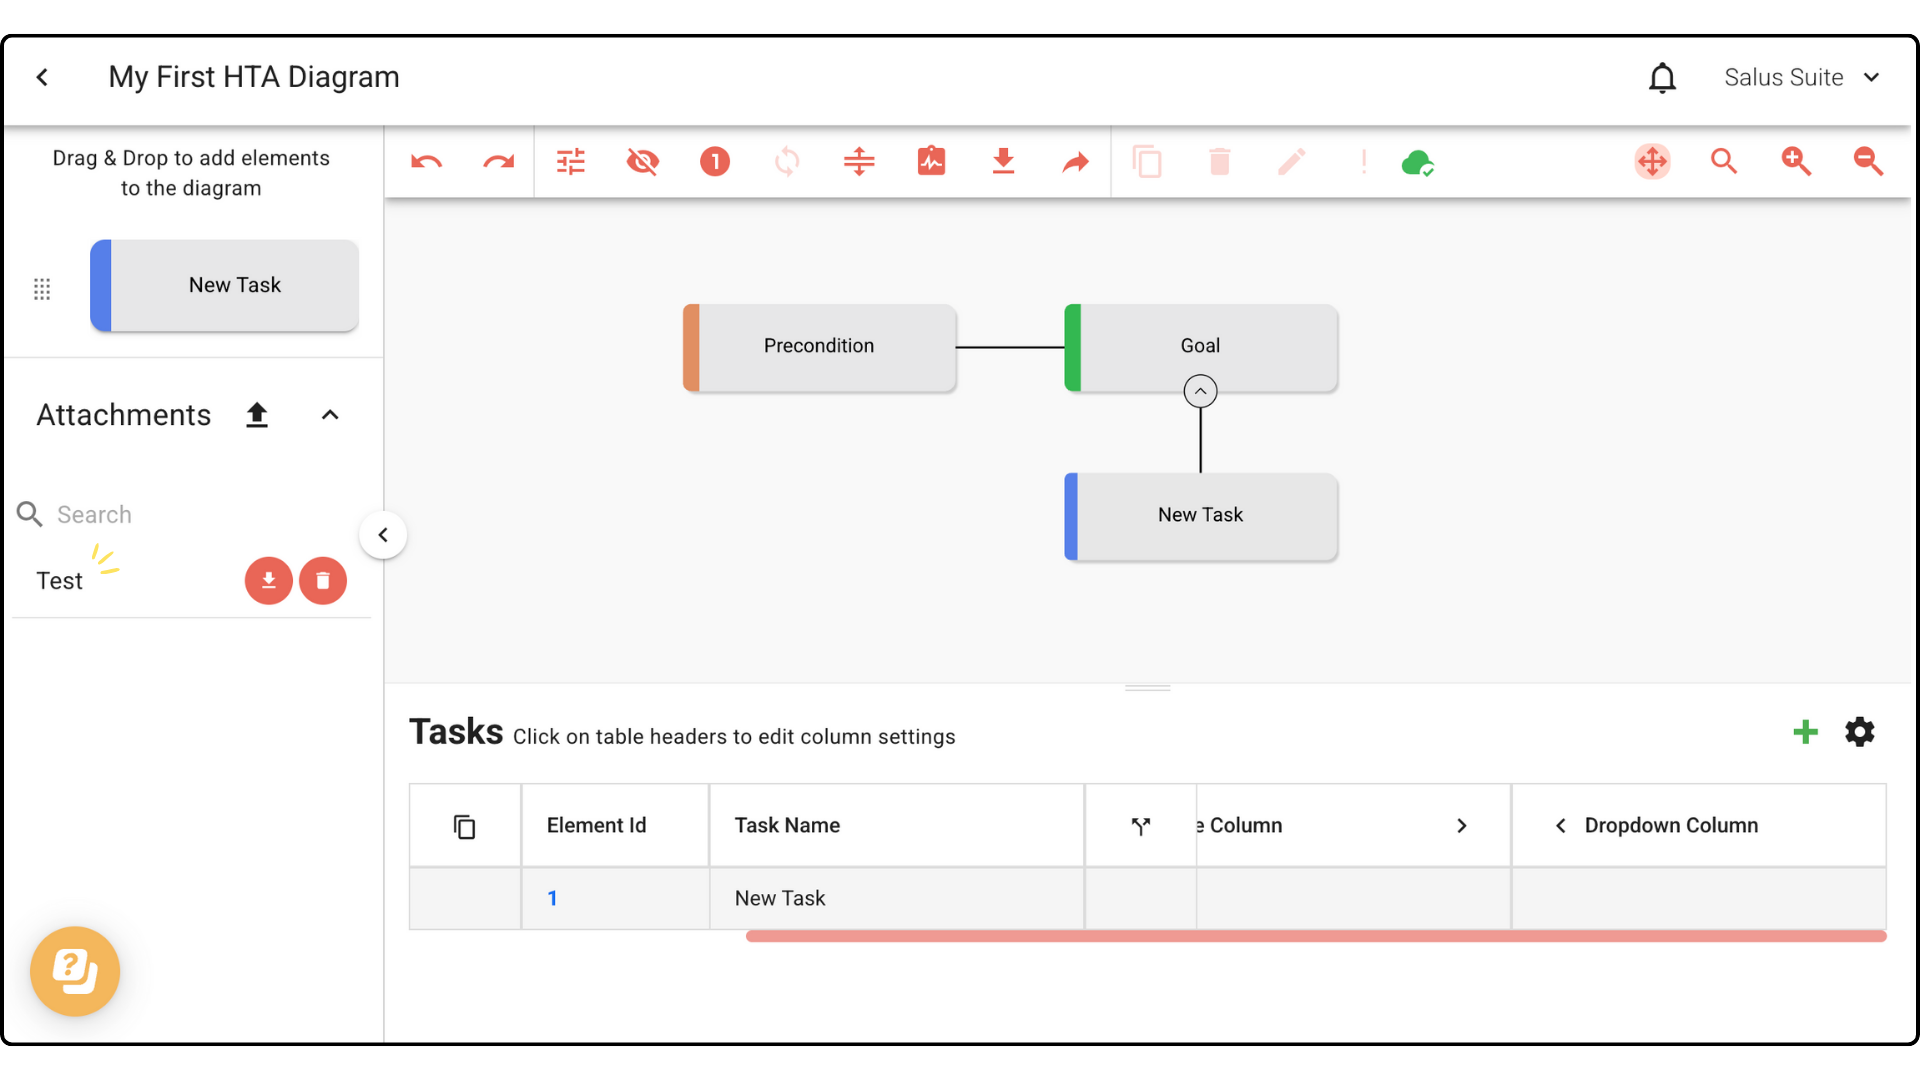
Step 2: Enter a Document Name, attach a file, then click SAVE. The attachment appears in the left-hand menu.