Version control
Create and manage multiple versions of your HTA diagram with version control.
In this tutorial, we’ll show you how to create drafts, publish a diagram and manage version history.
Publish a diagram
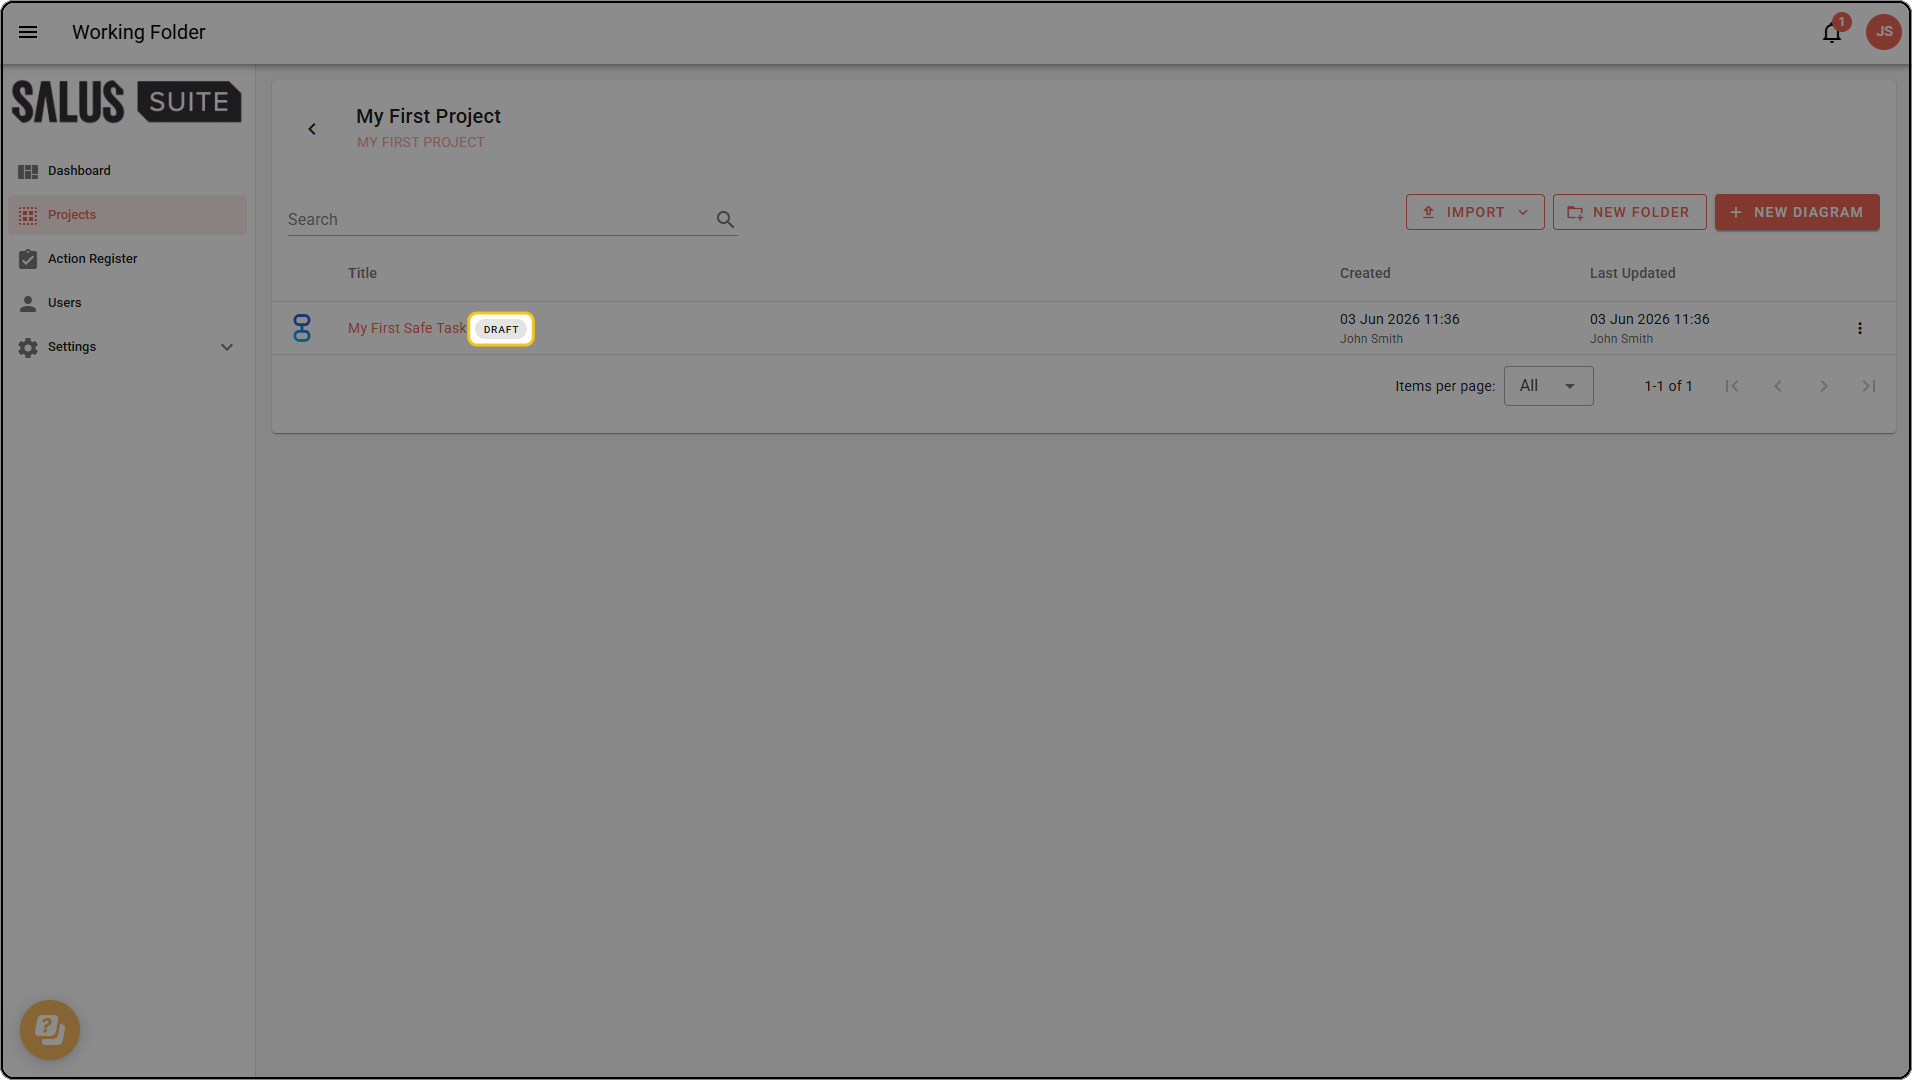
When you create a diagram, it starts as a draft.
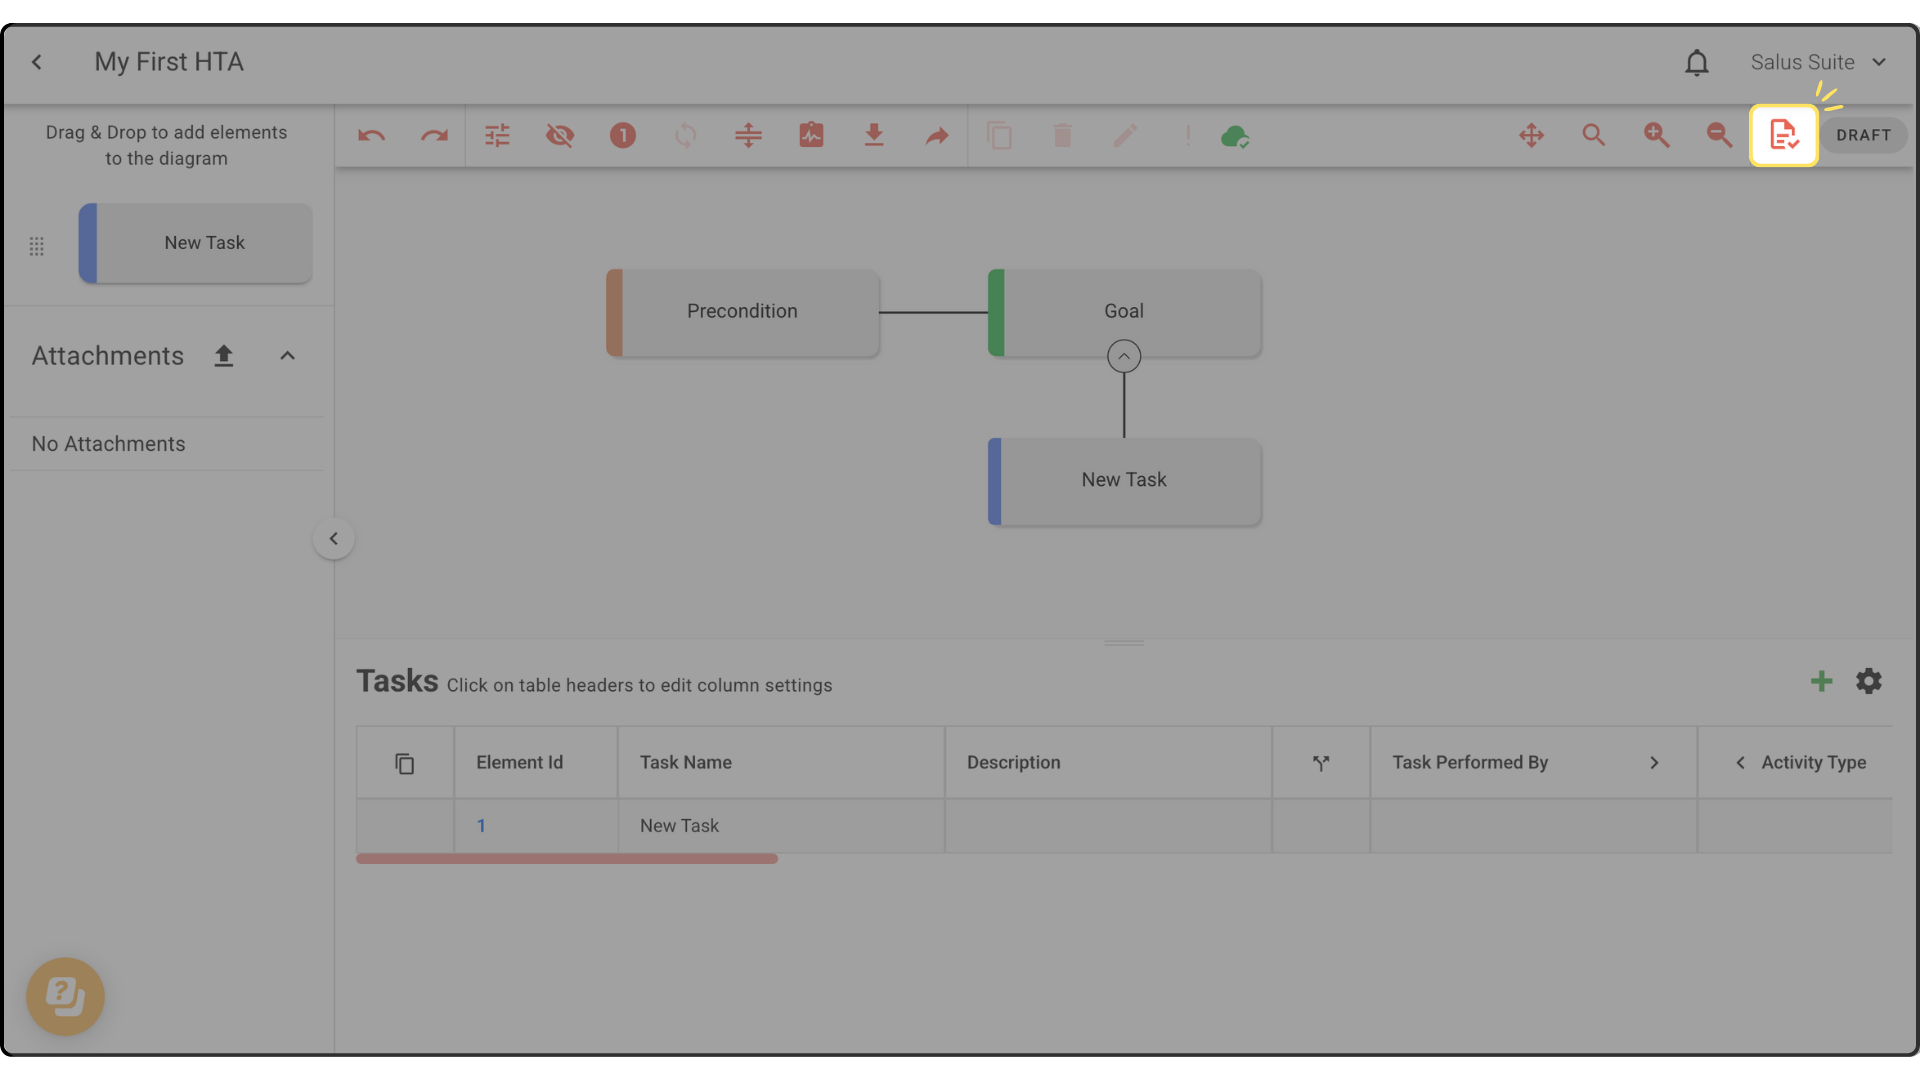
Step 1: In the Diagram Editor toolbar, click the paper icon.
Step 2: Enter a Version Name, add notes if you wish, then click PUBLISH.
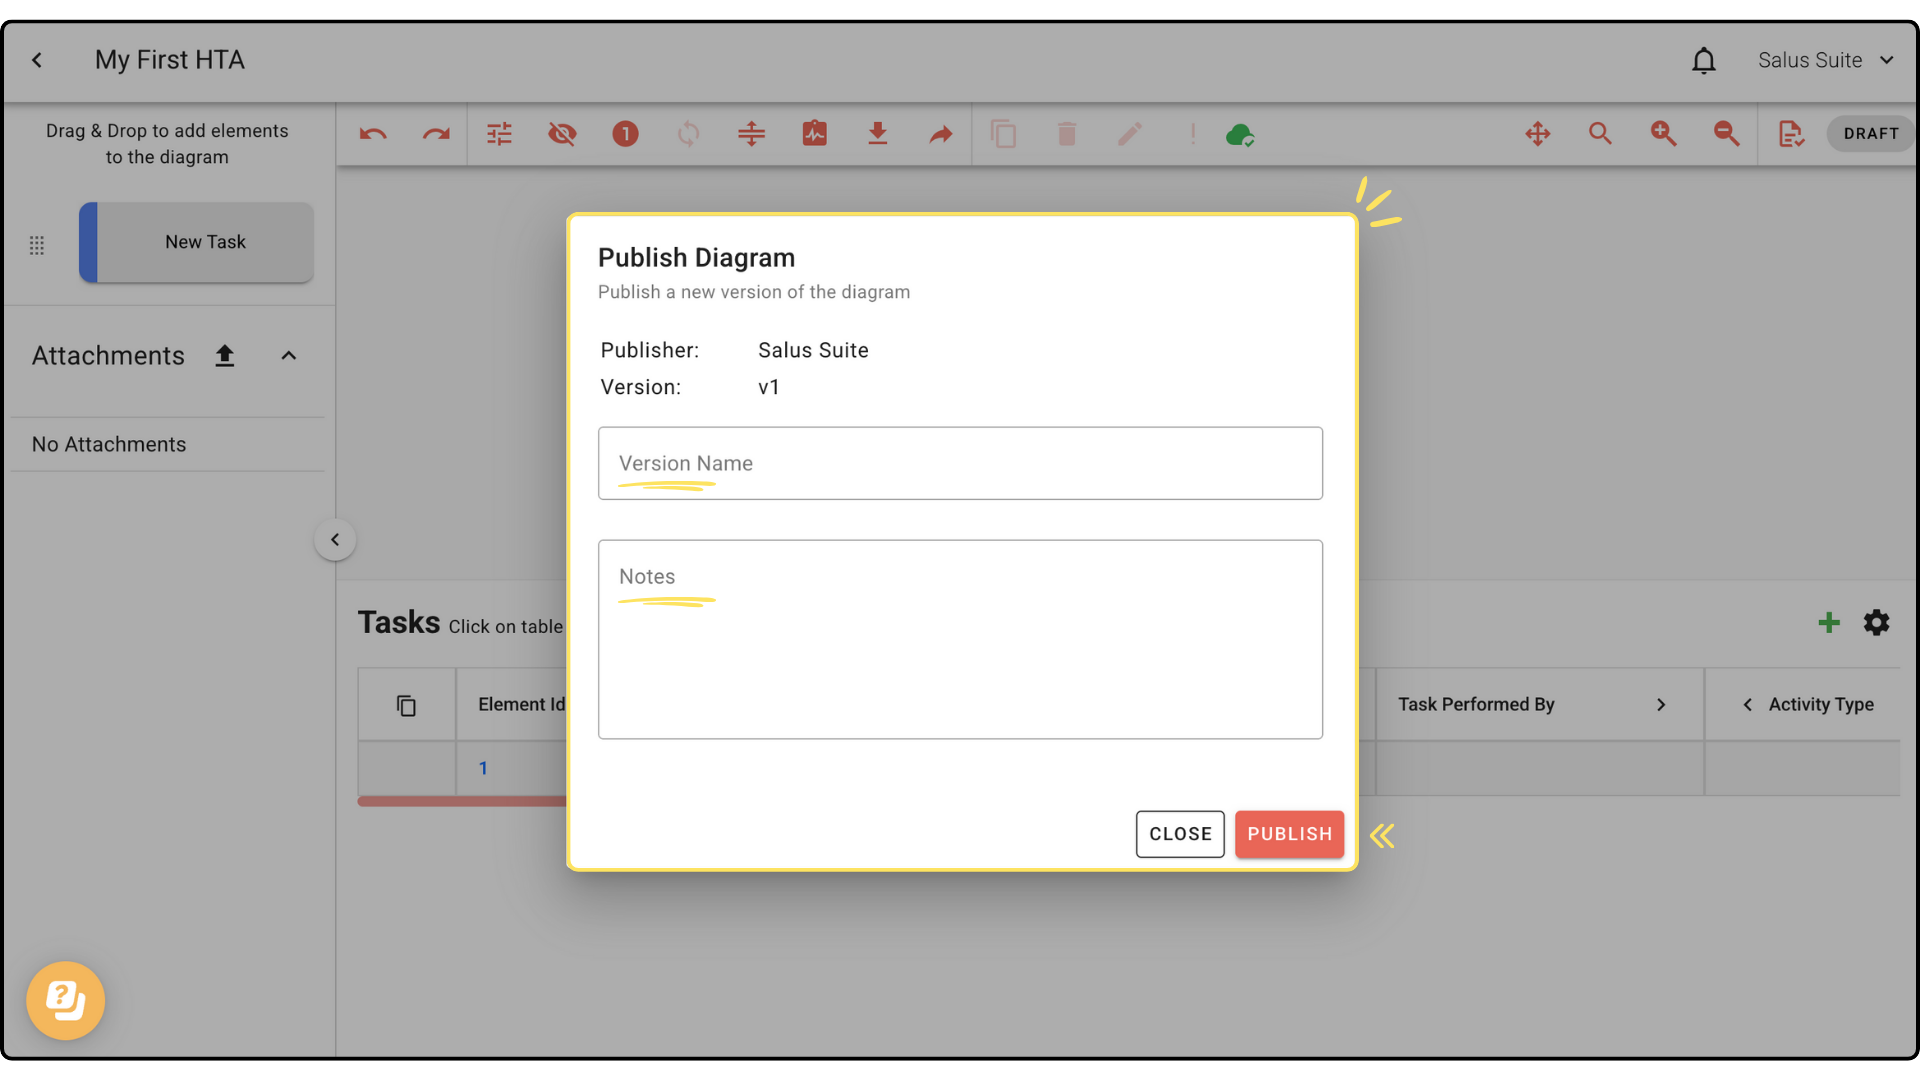
Once published, the version enters View Only mode and cannot be edited.
Edit a published diagram
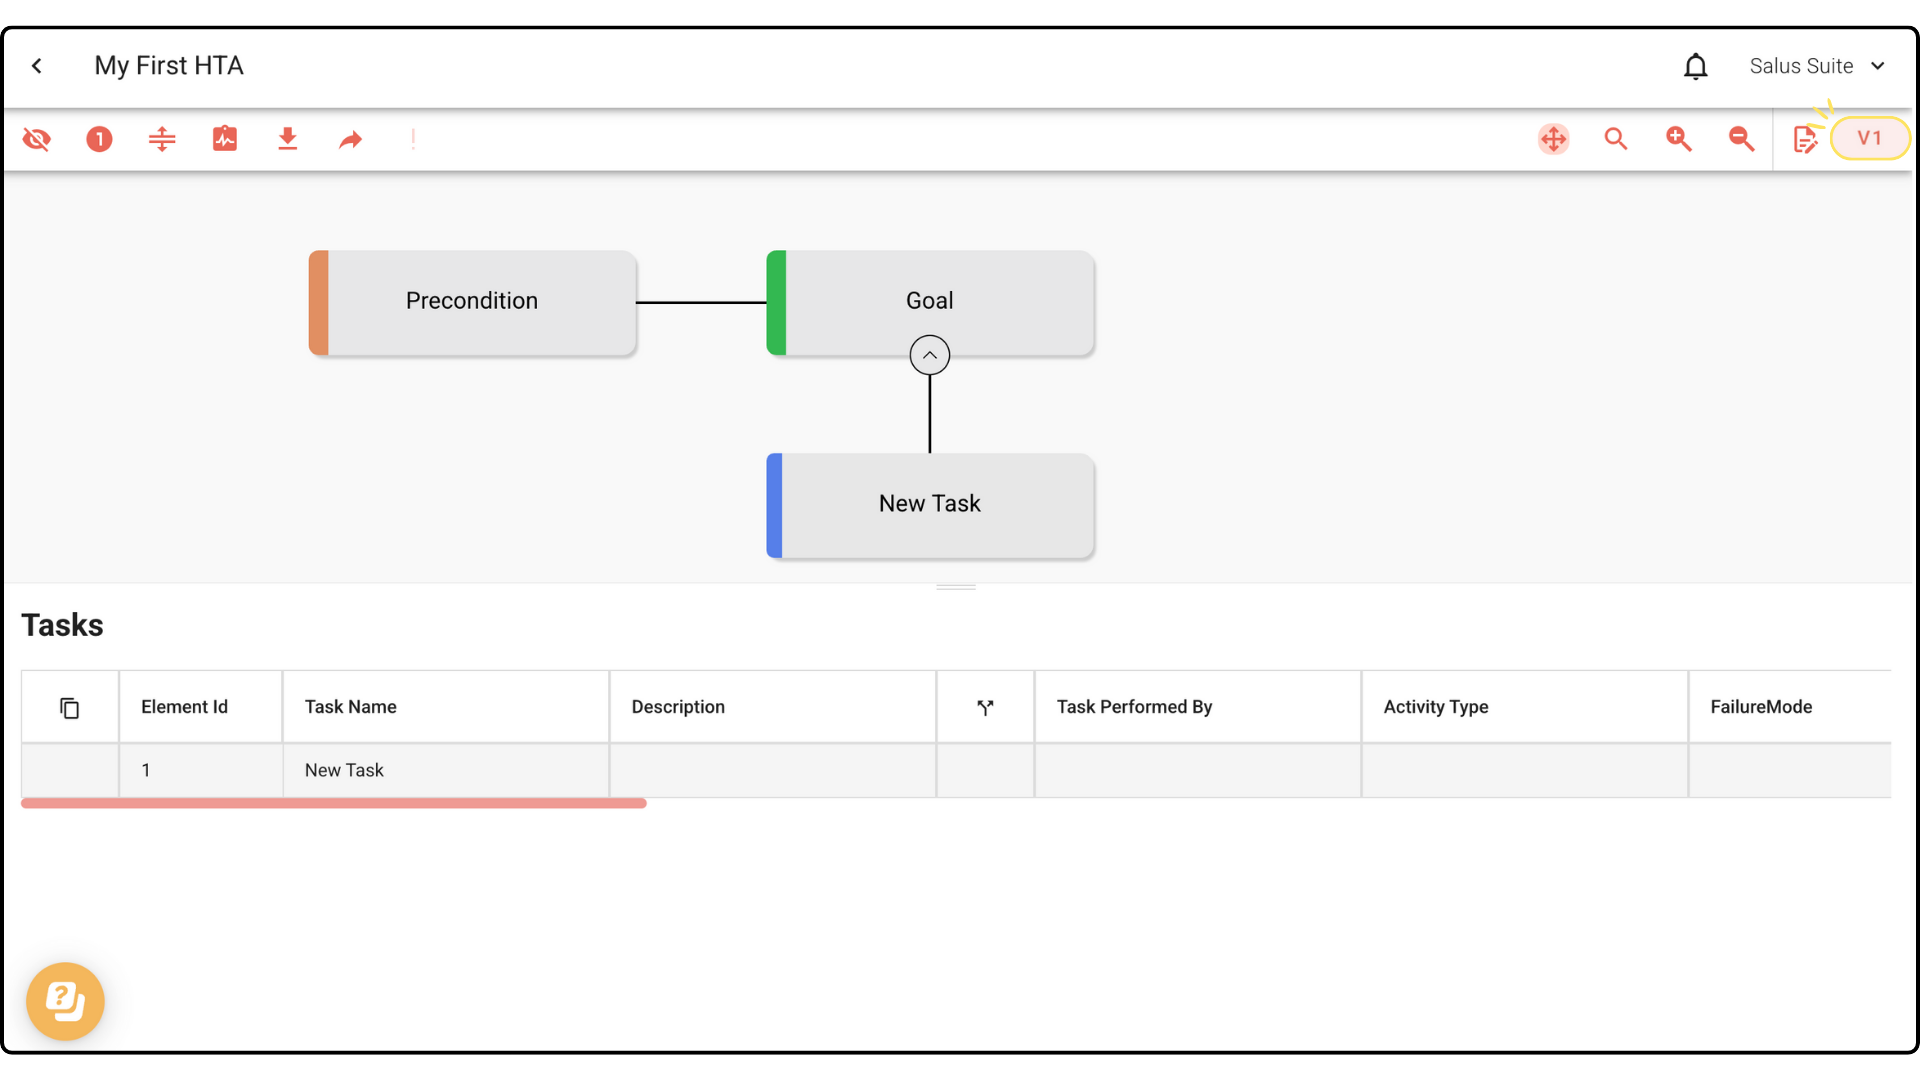
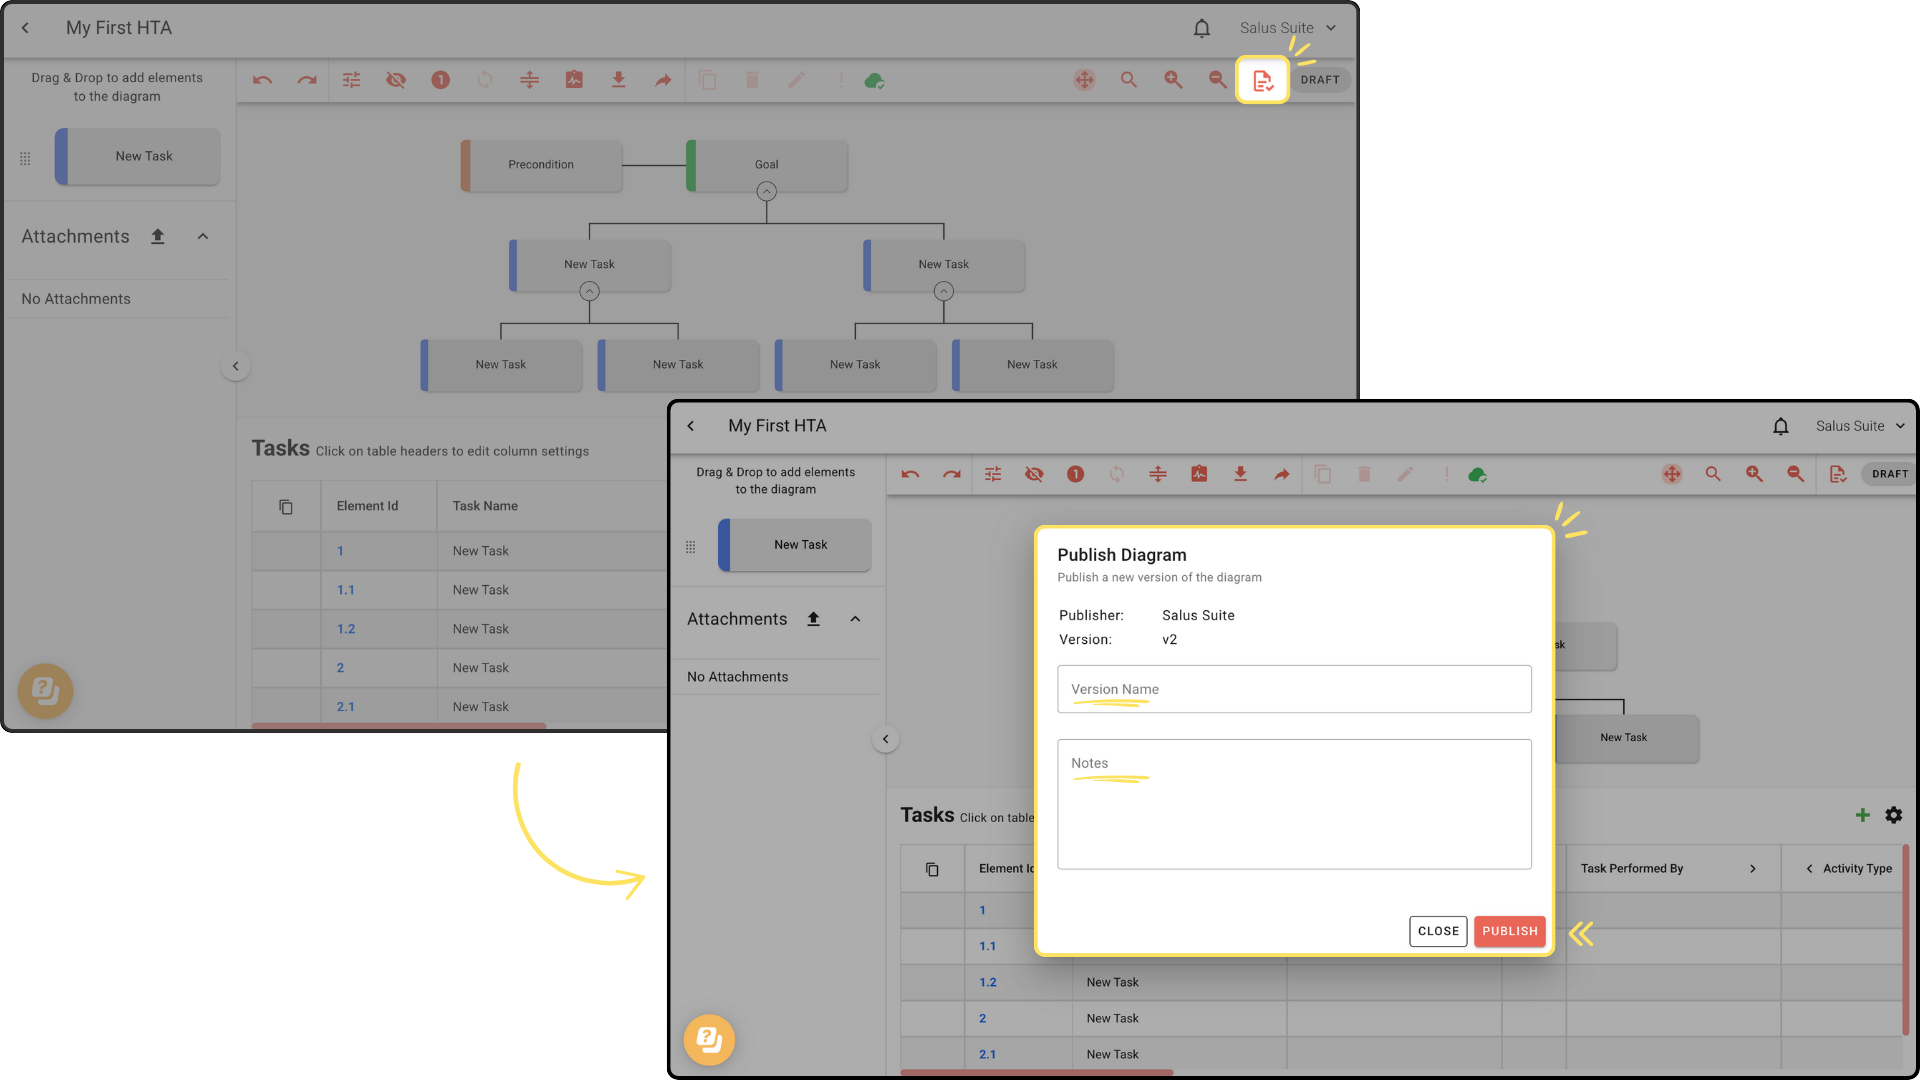
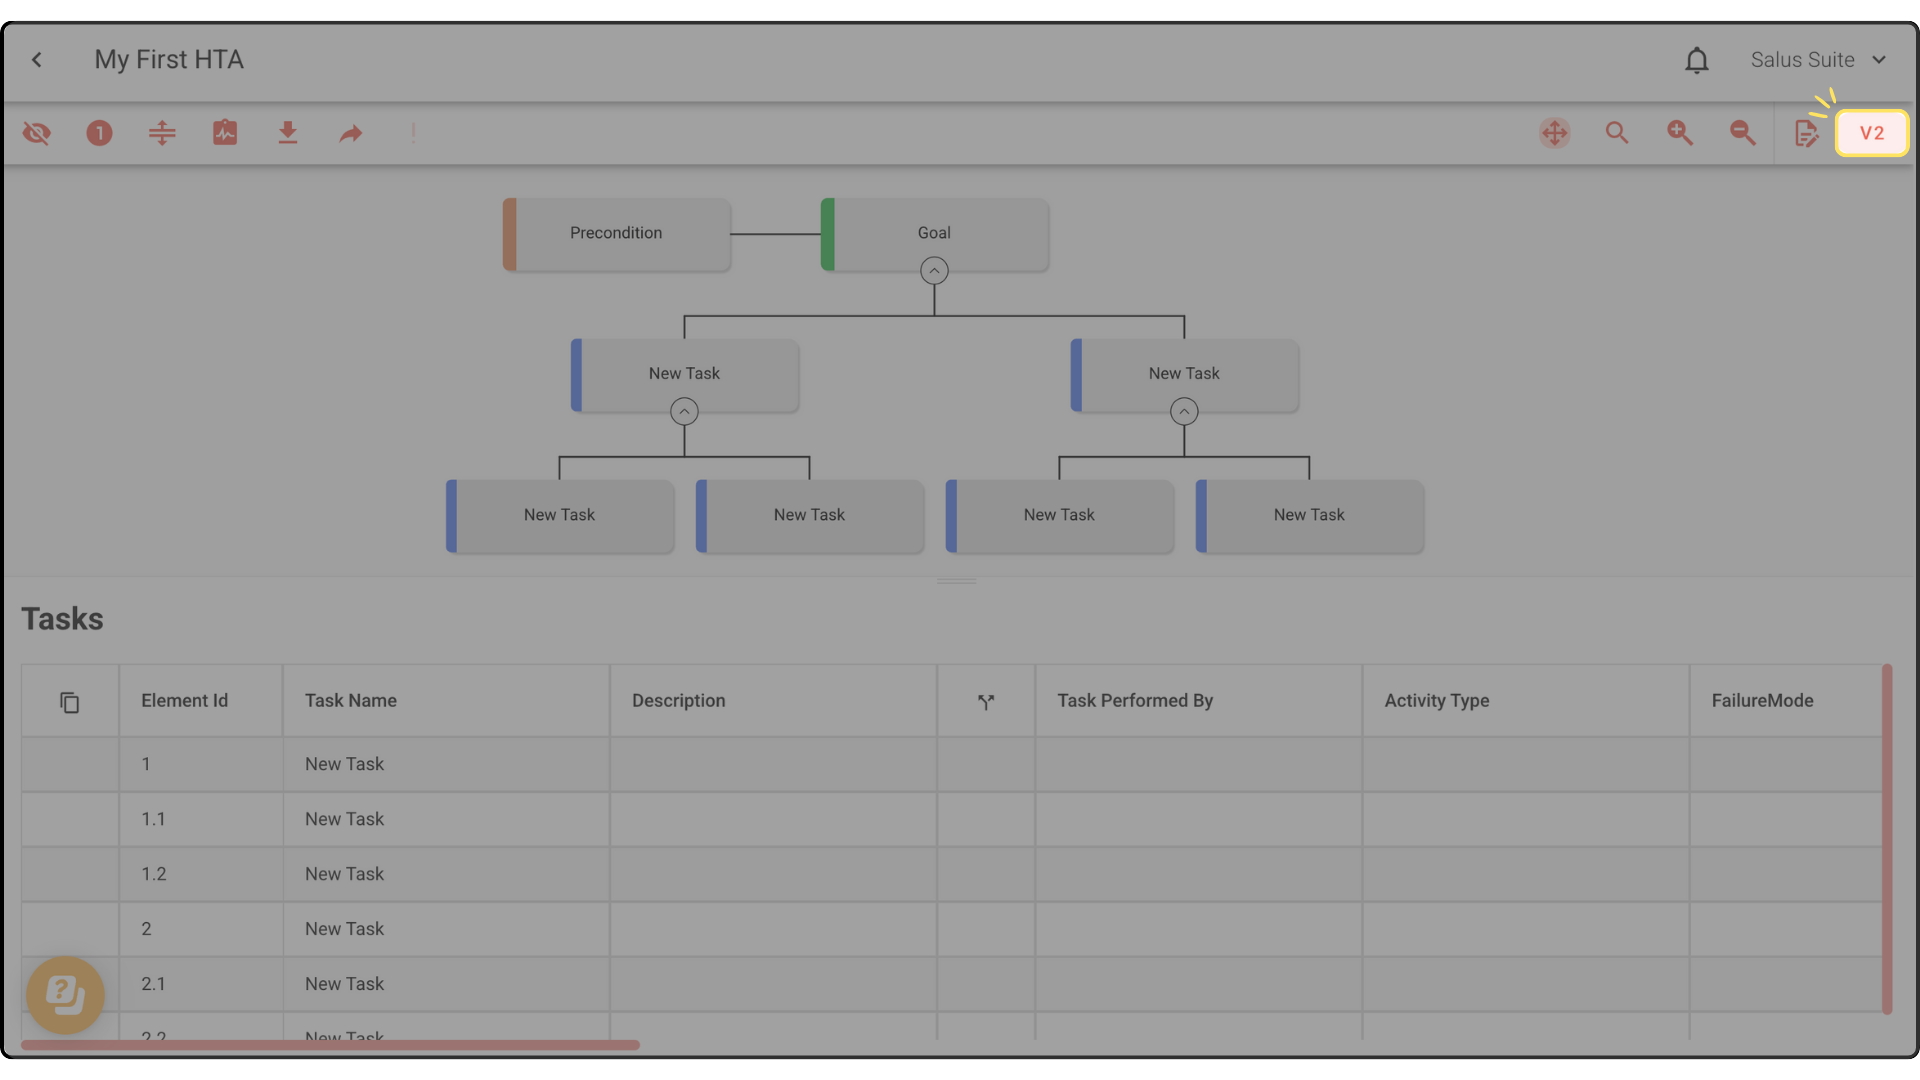
Step 1: To change a published diagram, click the paper icon in the toolbar. You enter Draft mode and can edit the diagram.
Step 2: To publish your changes as a new version, click PUBLISH and enter a new name.
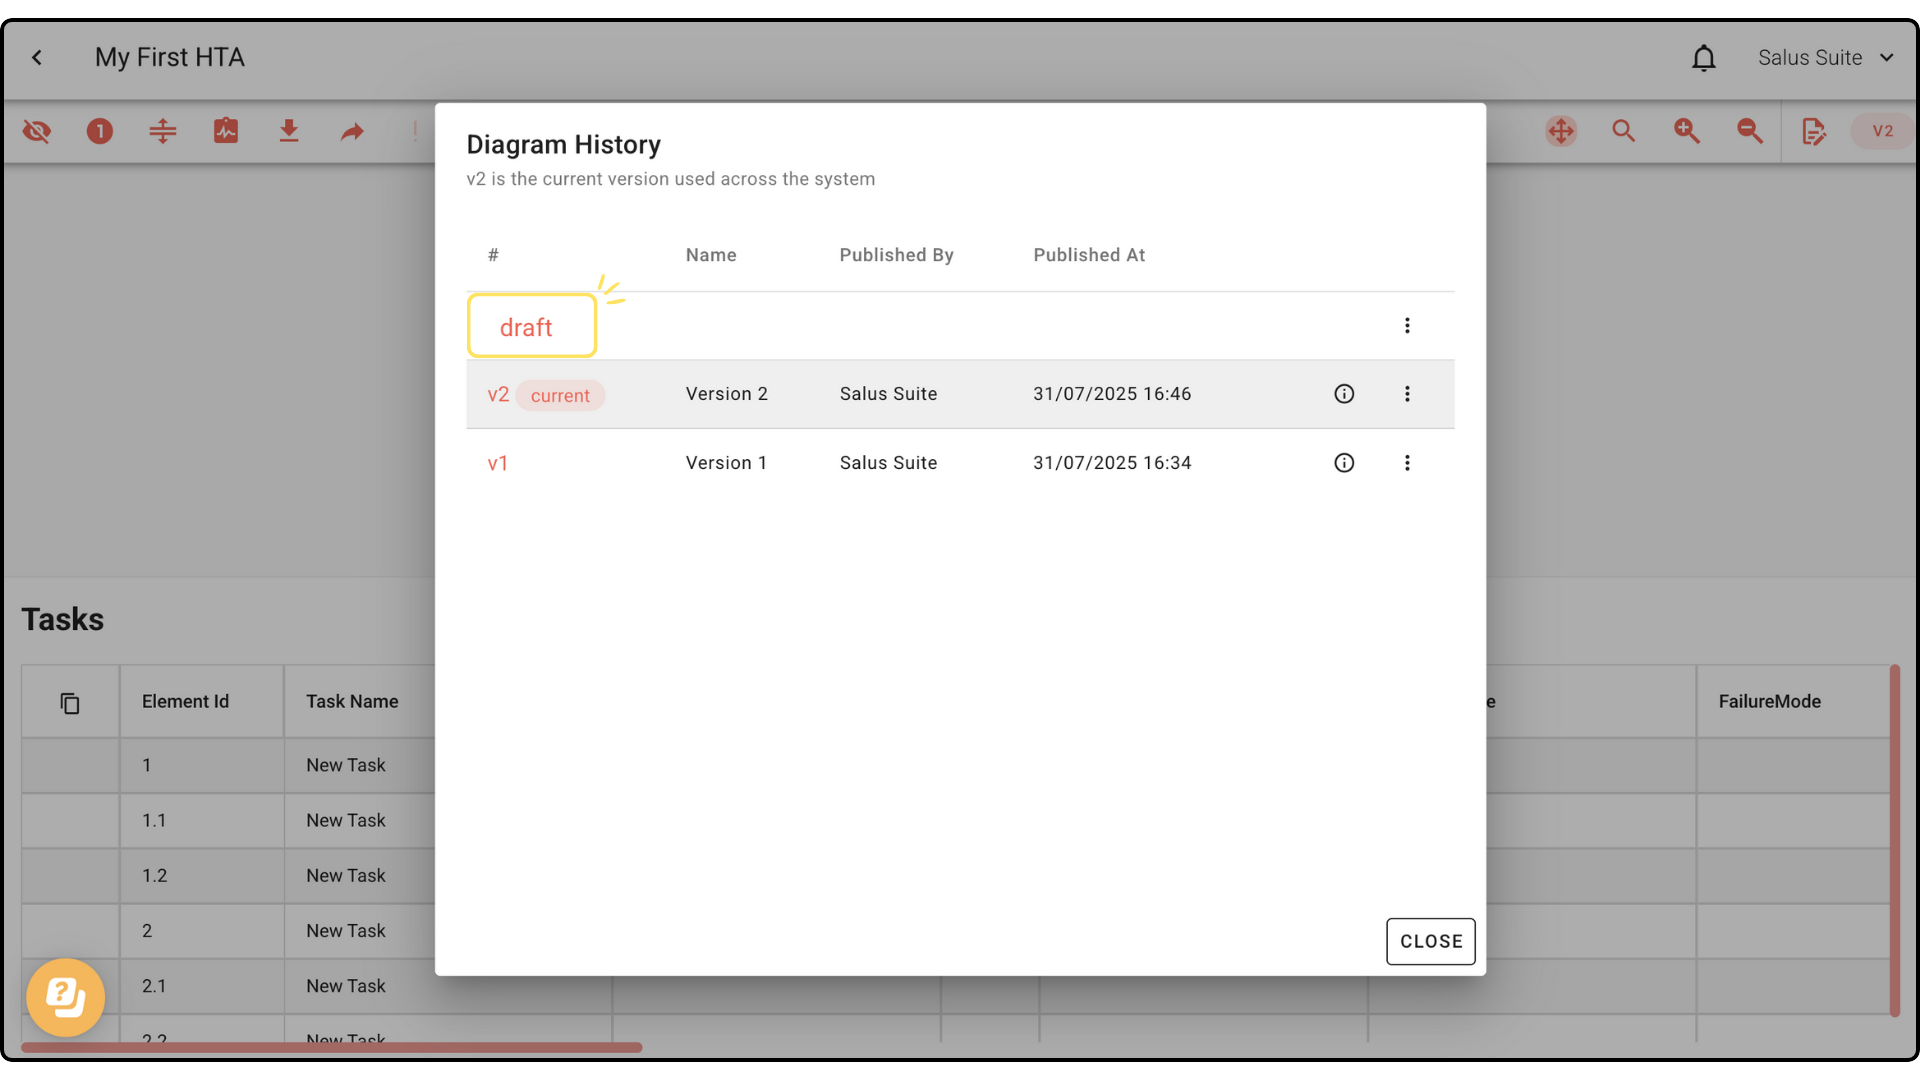
Delete a version
Step 1: In the toolbar, click the Draft or Version button.
Step 2: In the Version History window, find the version, click its ellipsis menu and select DELETE VERSION. If you’re viewing the version you delete, you switch automatically to another available version.

Create a draft from a version
Step 1: Click the Draft or Version button.

Step 2: In the Version History window, open a version’s ellipsis menu and click CREATE DRAFT FROM V#.
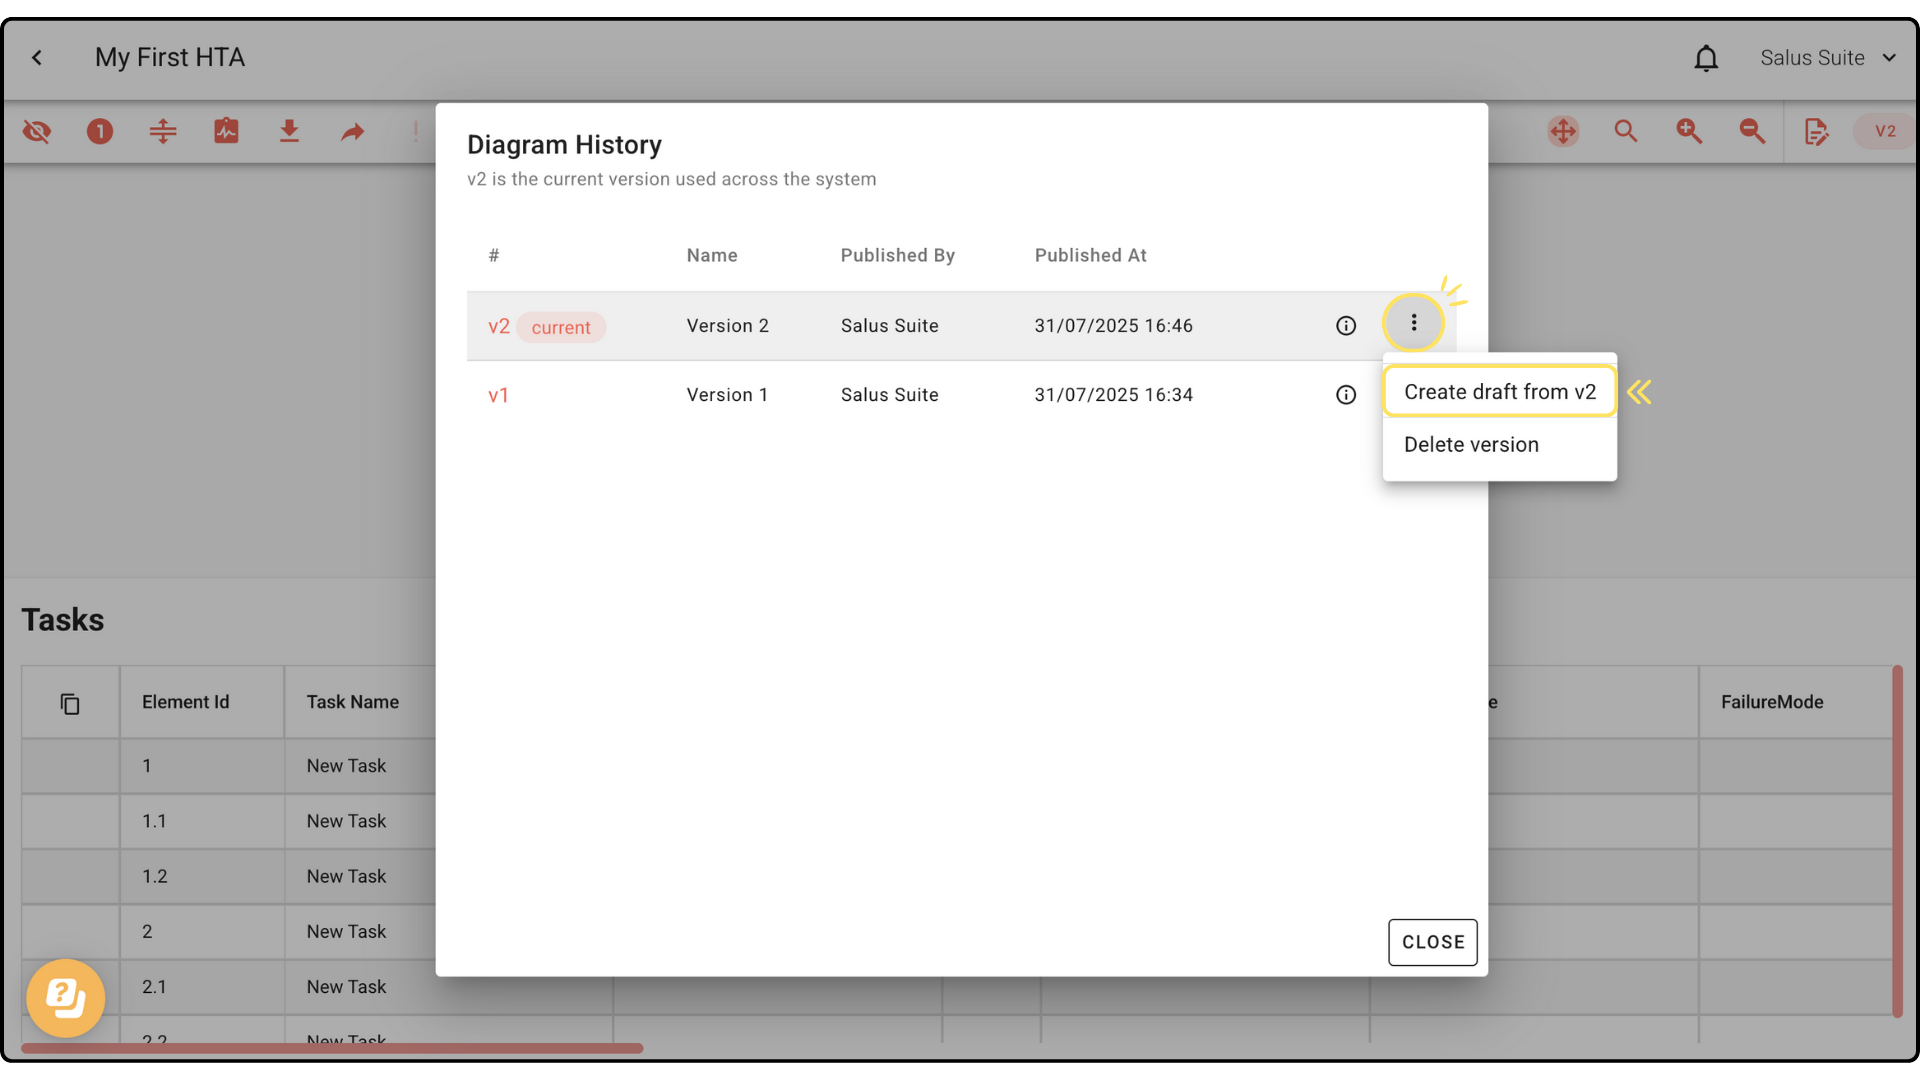
Step 3: A new draft appears in the Version History window. Click it to start editing.