User groups
User groups let you control who can view, edit or access diagrams - ideal for large organisations.
In this tutorial, we’ll show you how to create a group, add and remove users, delete a group and view a group’s accessible projects.
Create a group and add users
Only Organisation Admins can create a user group. Diagram Editors can add individual users to existing groups.
Step 1: In the left-hand menu, click Settings.
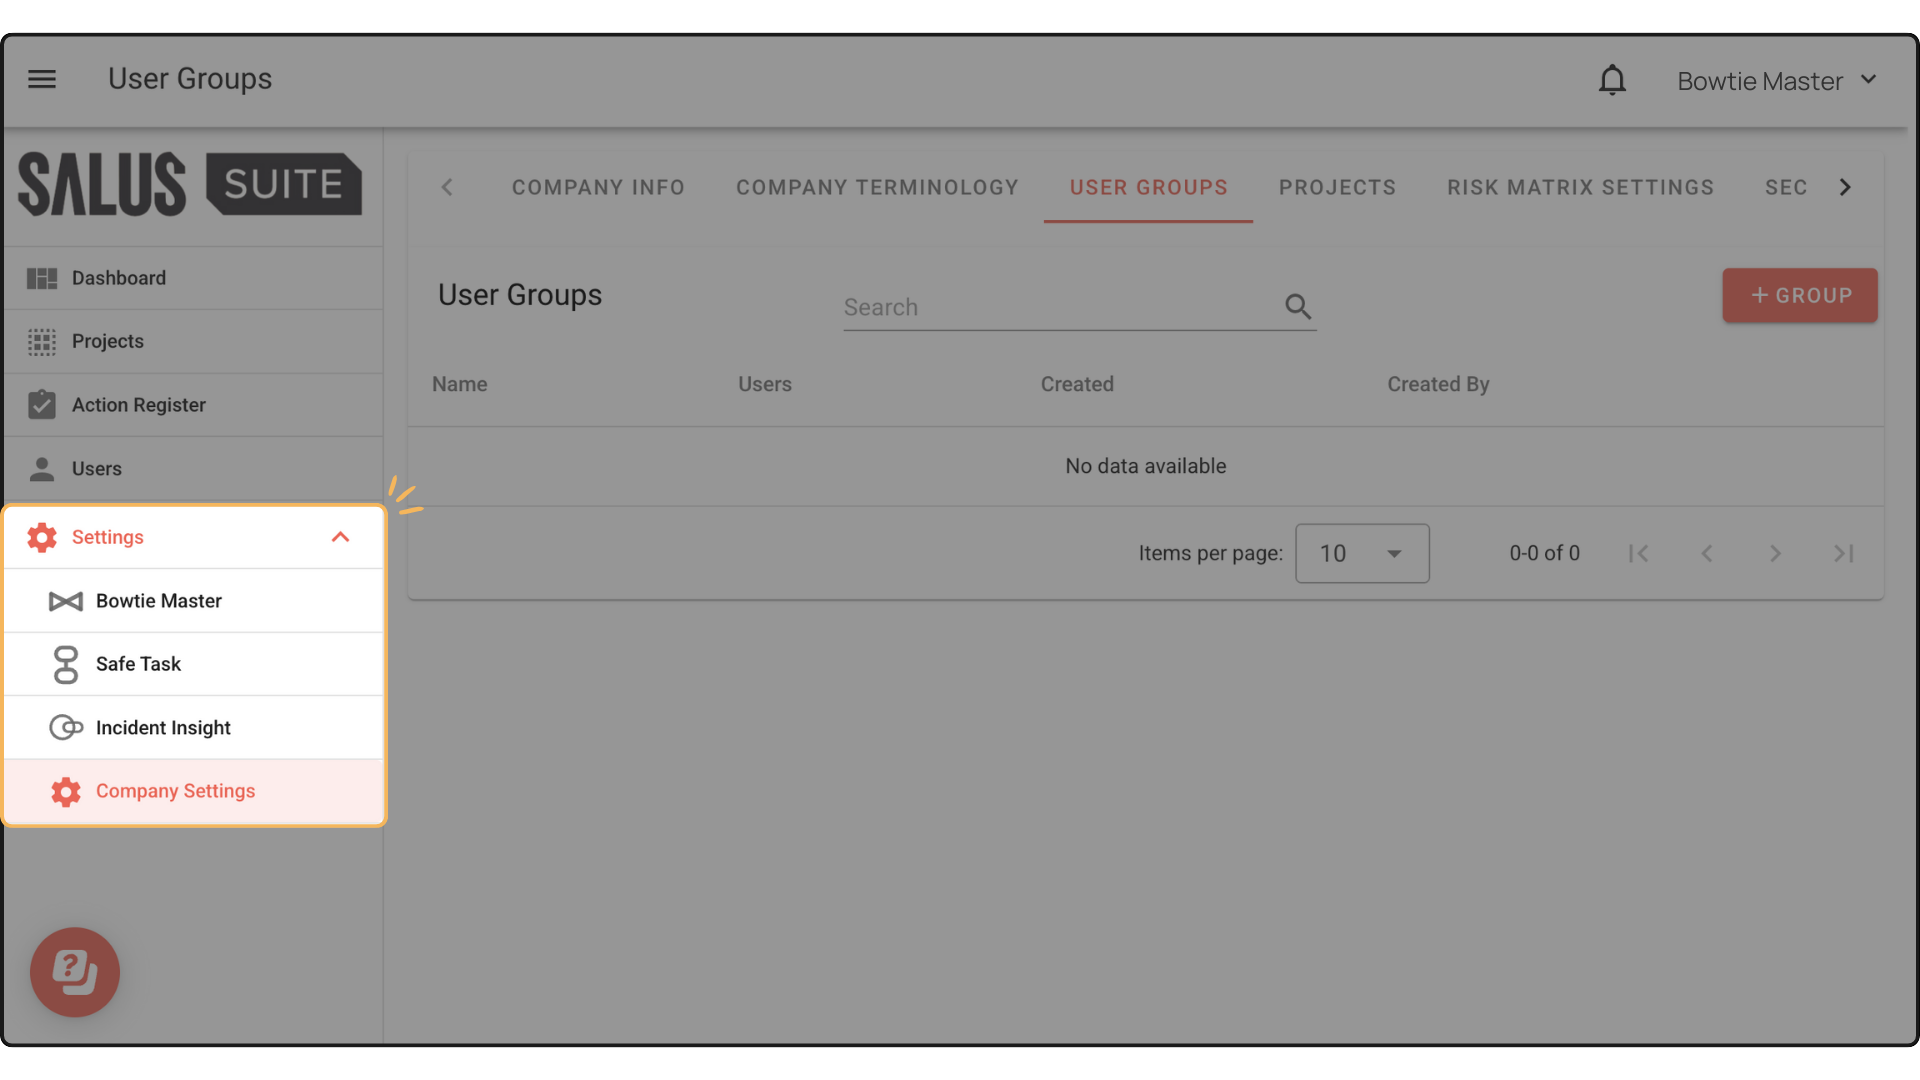
Step 2: Go to the User Groups tab.
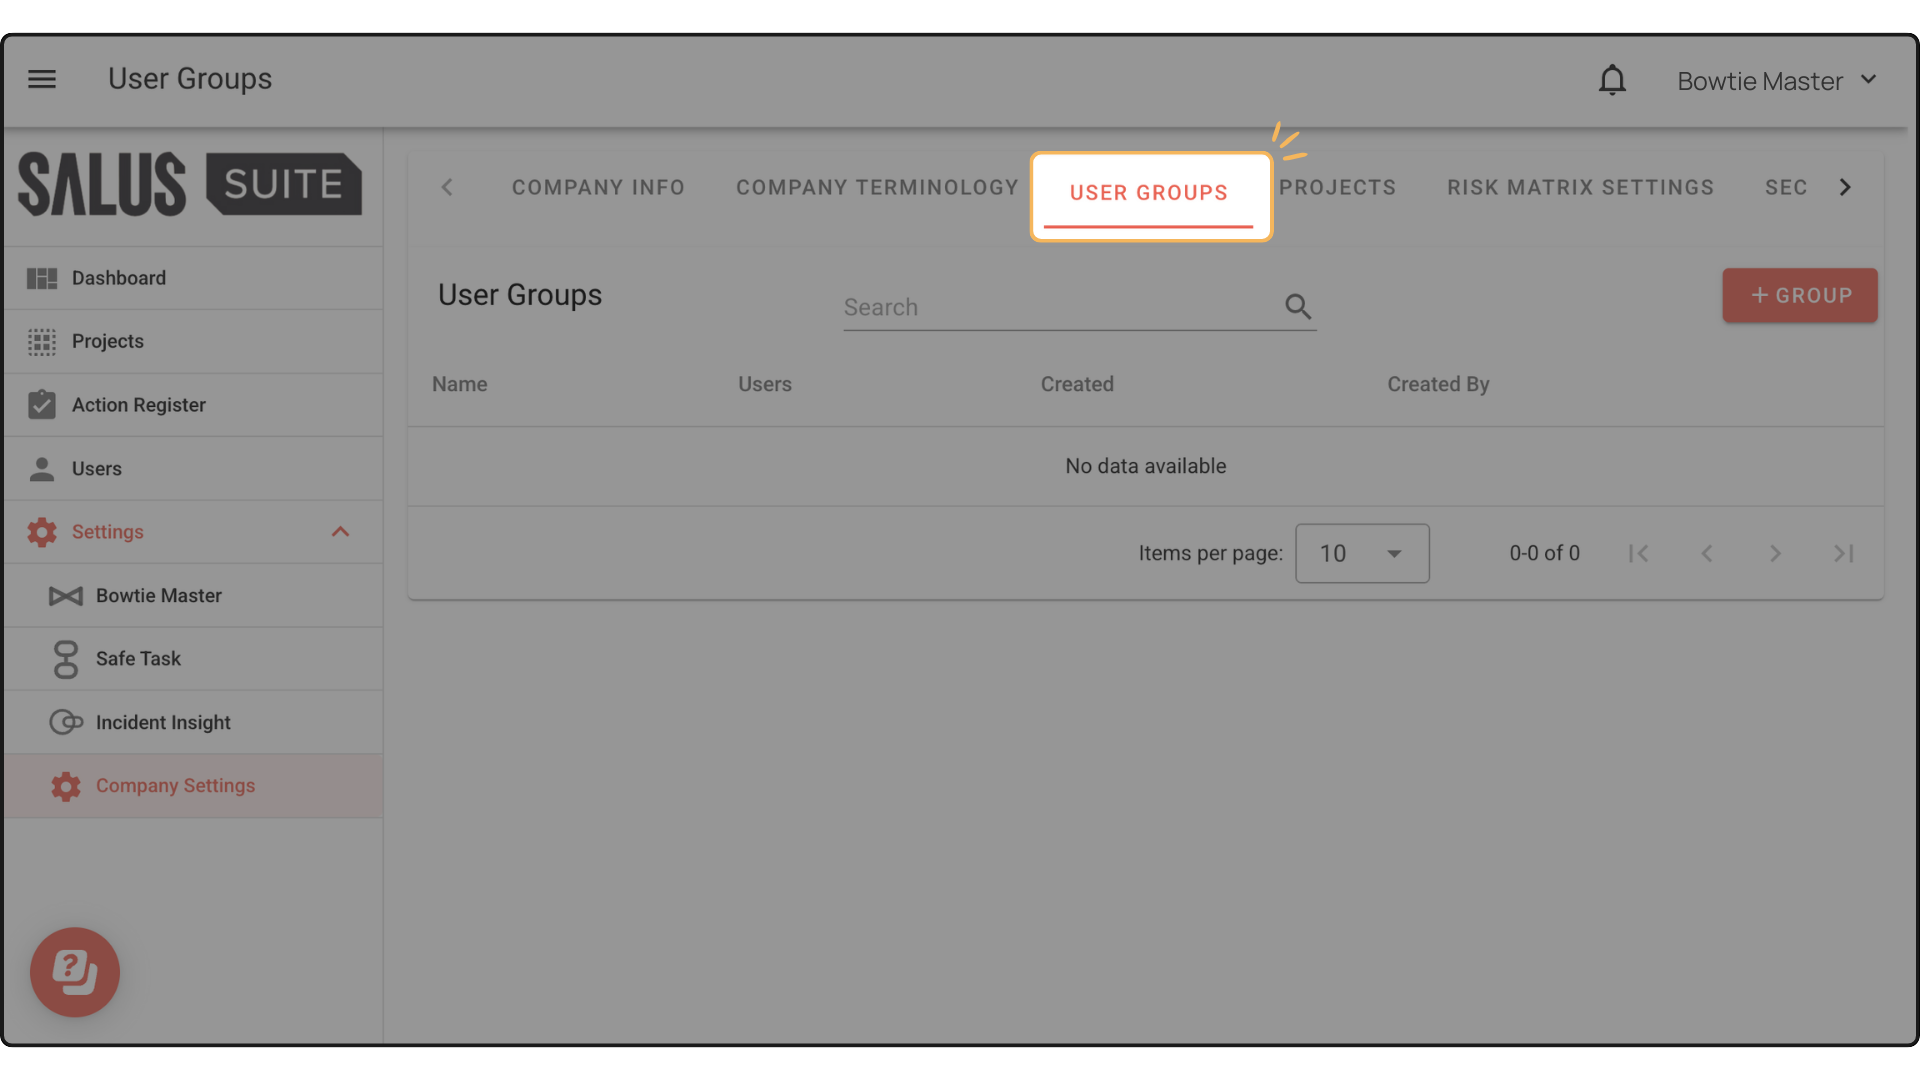
Step 3: Click + NEW GROUP.
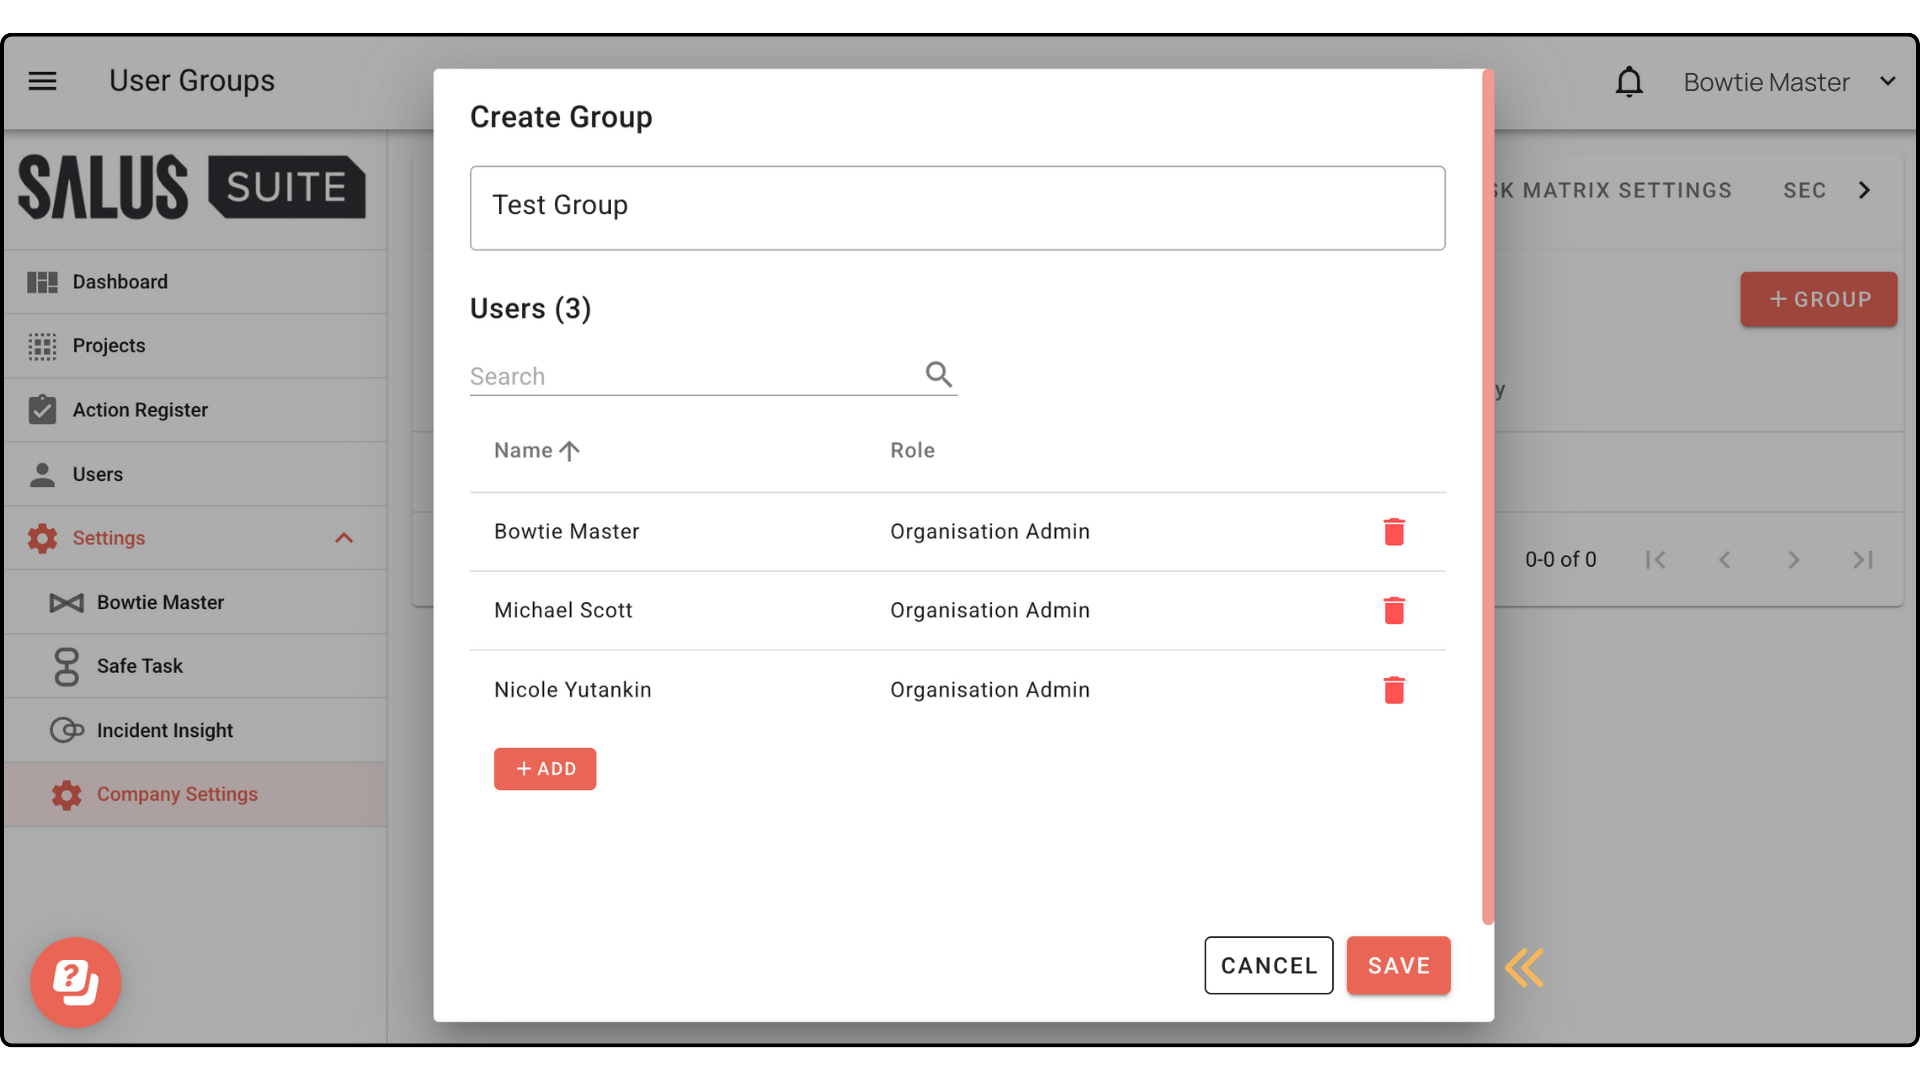
Step 4: In the pop-up, enter a Name, then click + ADD to add users.
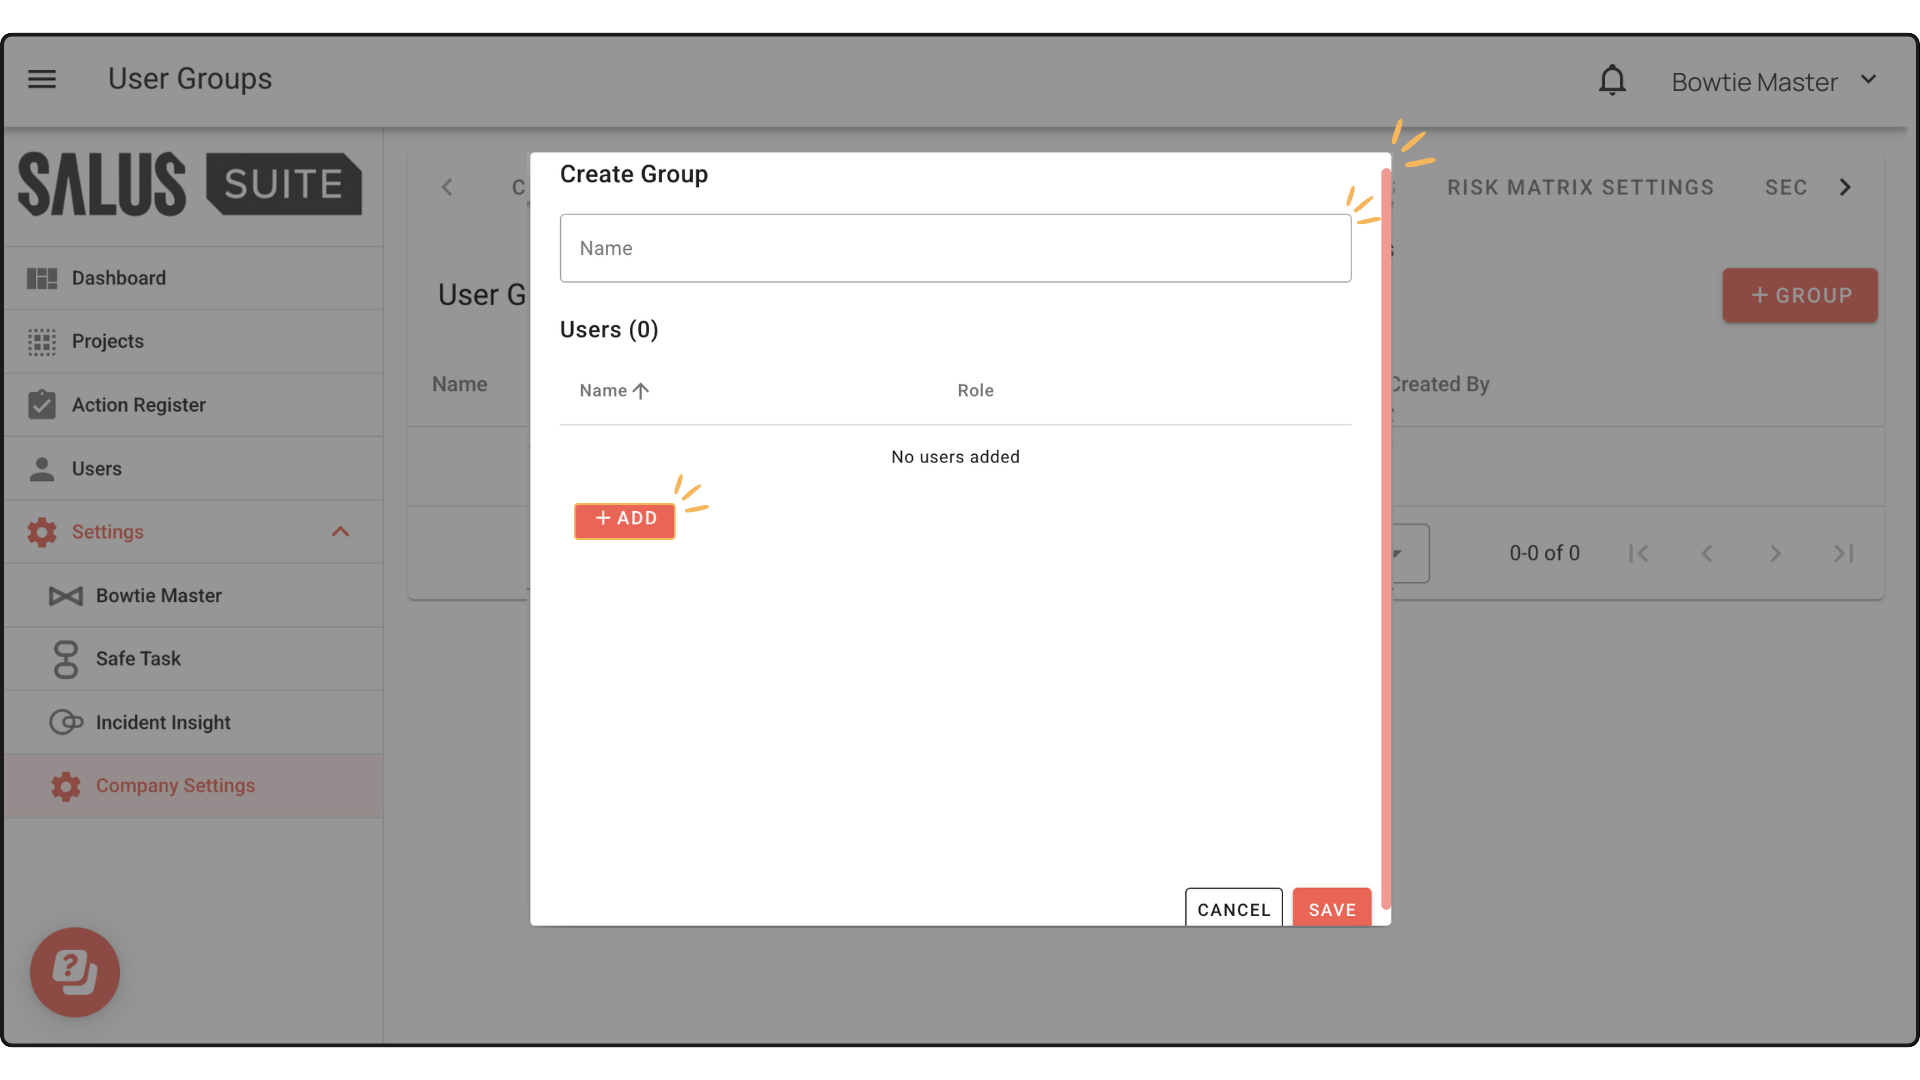
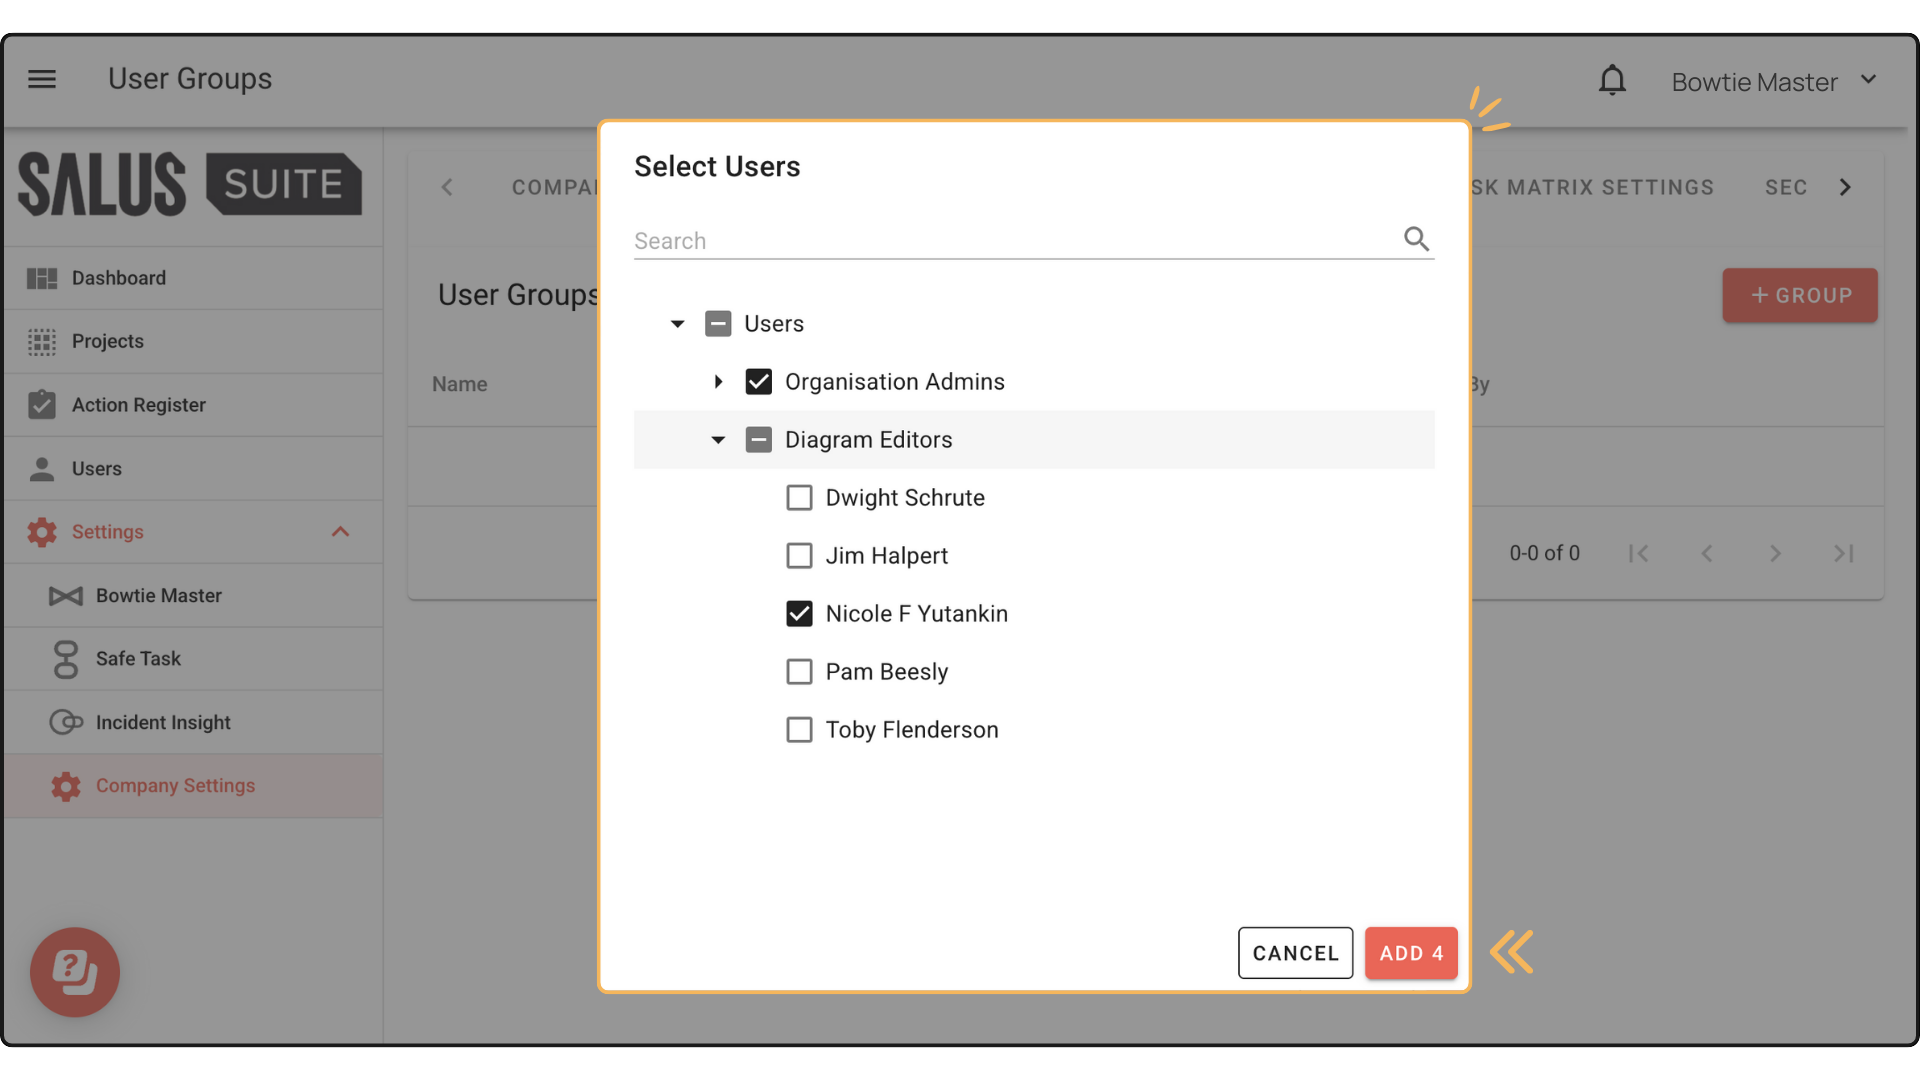
Step 5: In the Select Users pop-up, select the users you want to add, then click ADD. Users are grouped by role, and you can search by name in the top search bar.
Step 6: The selected users and their roles appear in the group. Click SAVE.
Delete a group
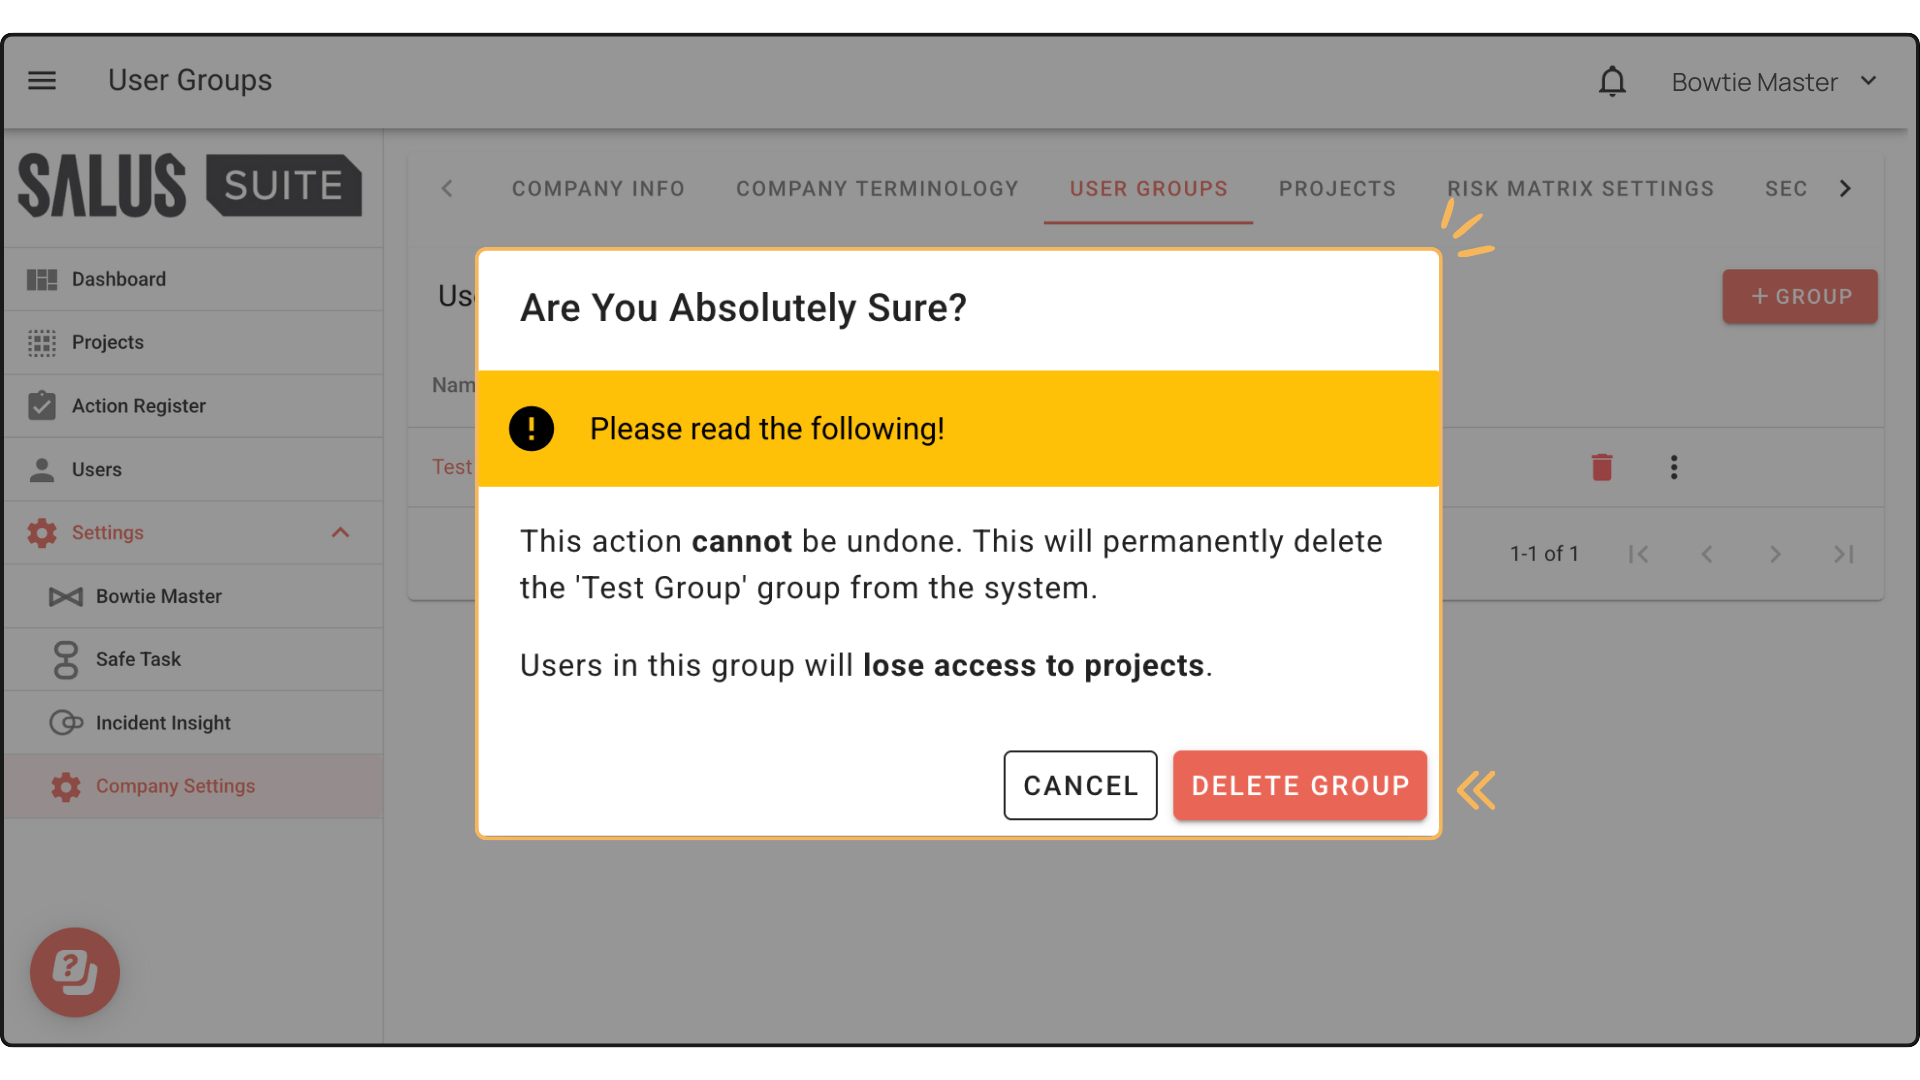
Step 1: On the group row, open the menu and select Delete.
Step 2: In the warning message, click DELETE GROUP.
Remove a user
Step 1: In the User Groups tab, click a group you created.
Step 2: Click the delete icon beside a user to remove them from the group.

Restrict group access to a project
See Project access.
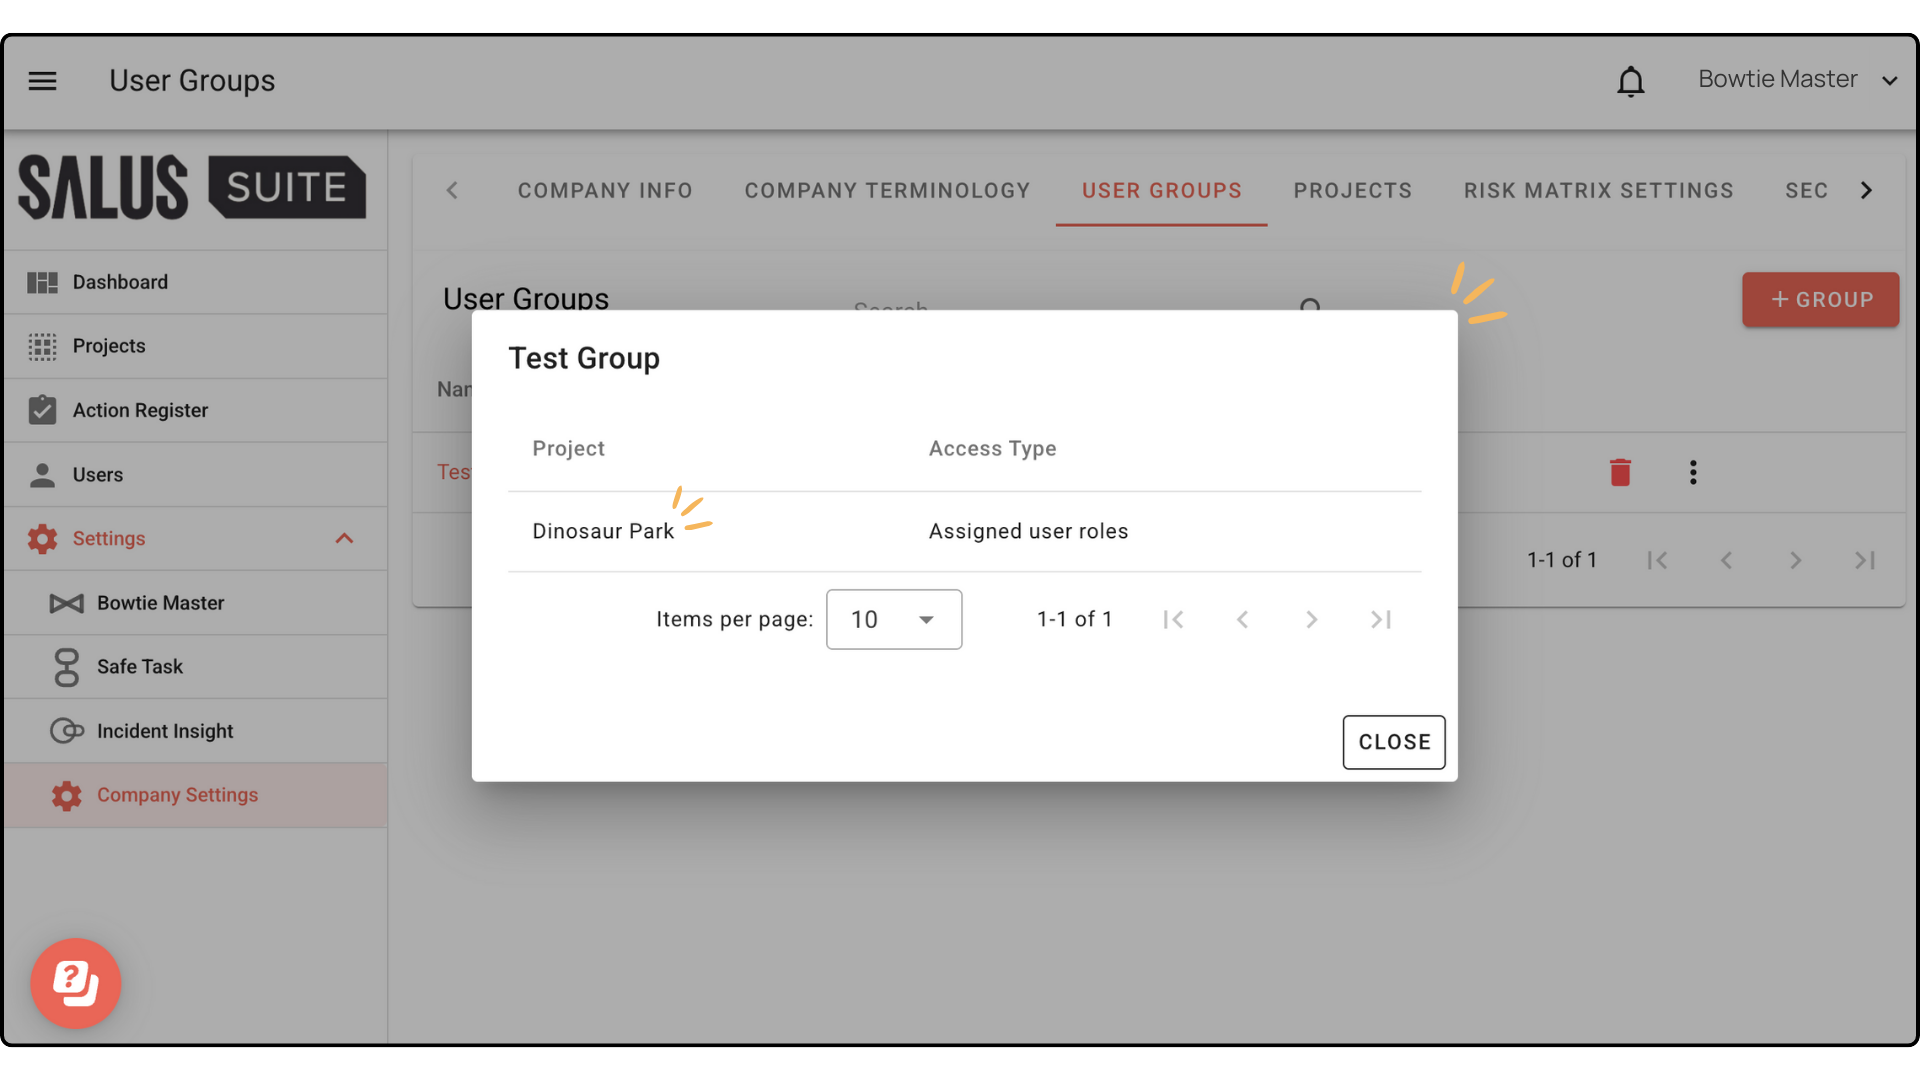
View accessible projects
Step 1: On the group row, open the menu and select VIEW ACCESSIBLE PROJECTS.
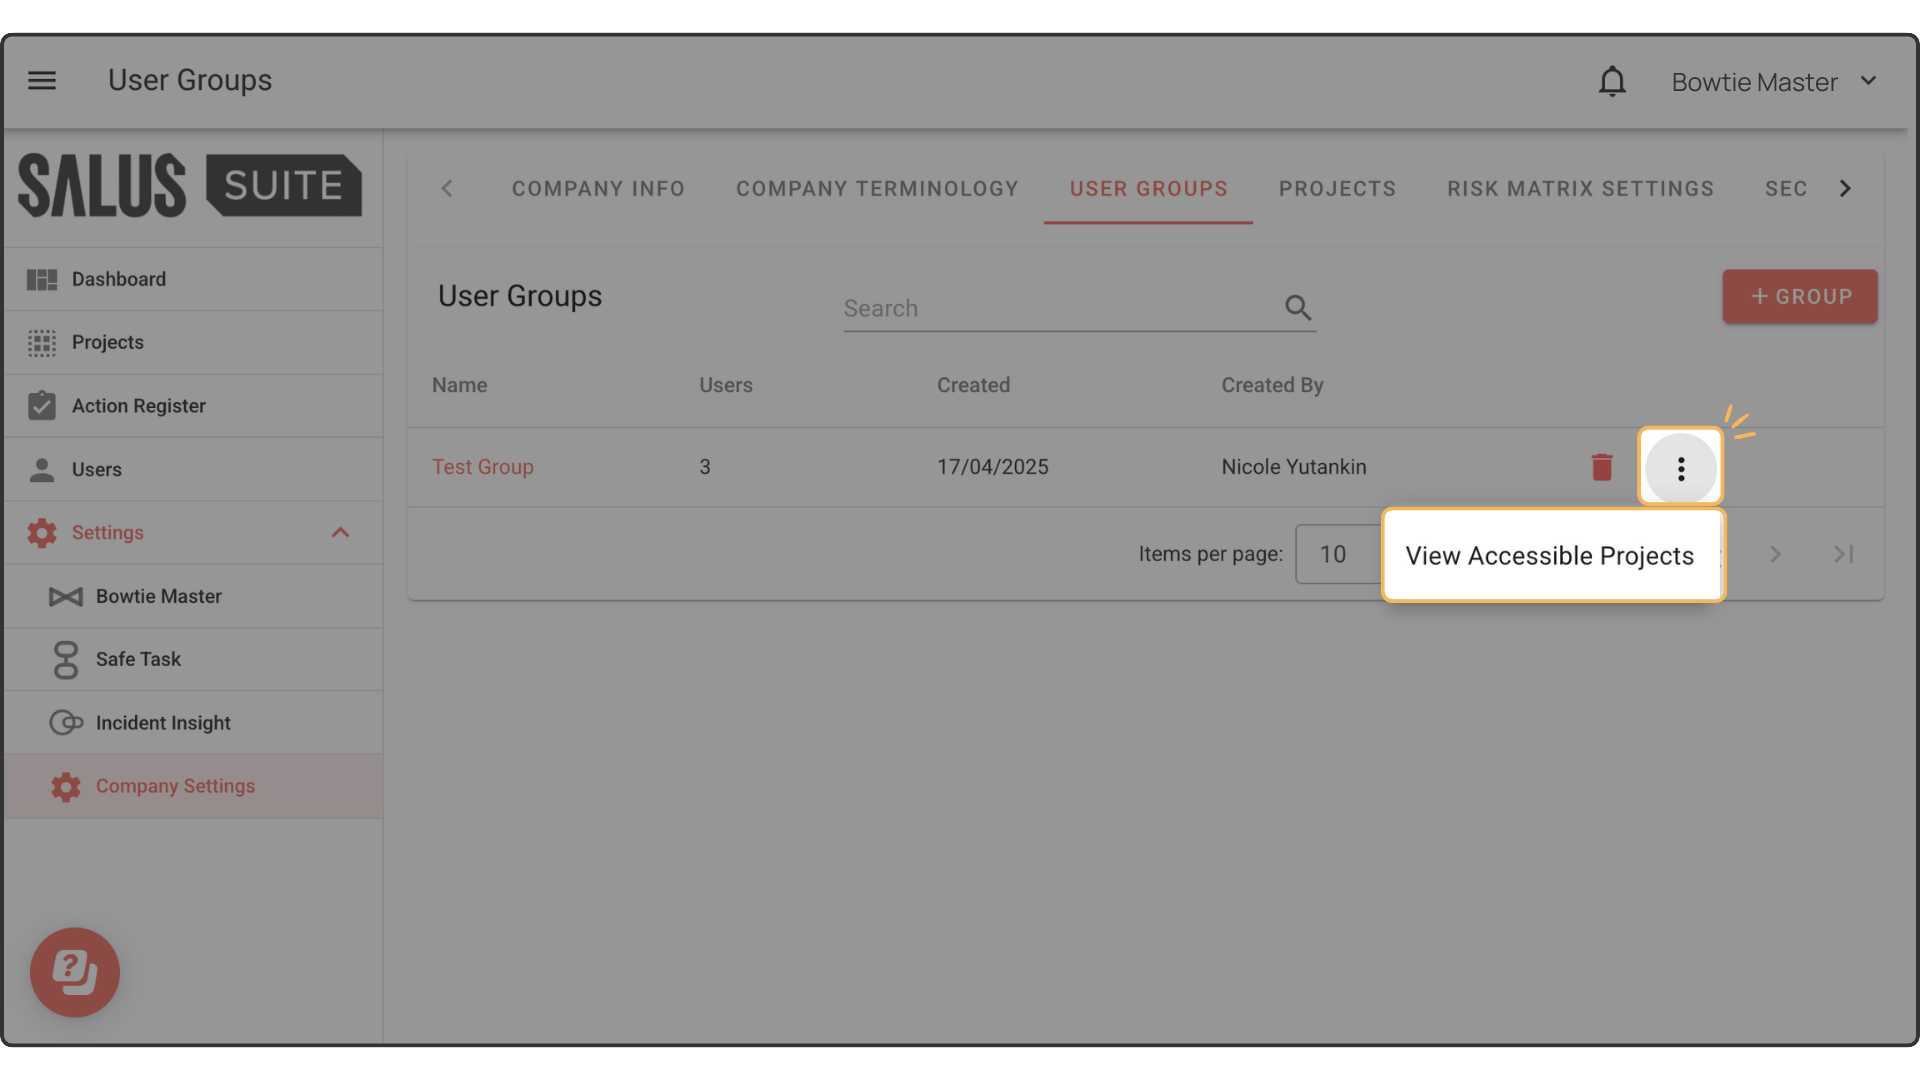
Step 2: The projects the group can access appear in a pop-up.