Hierarchical Task Analysis table
Safe Task is made up of a Hierarchical Task Analysis (HTA) table and an associated diagram. This guide shows you how to set up the table, which in turn builds your HTA diagram. Whether you work from the table or the diagram, each element updates to reflect the other.
In this tutorial, we’ll cover building the table (add, edit and delete columns; copy, paste and split row values), metadata (copy and paste; display on the diagram) and table navigation (the search bar and keyboard shortcuts).
Build the table
A column is either free text, a date or a list of options - you choose the type when you add the column.
Add a column
Step 1: Click the green plus icon at the top of the table.
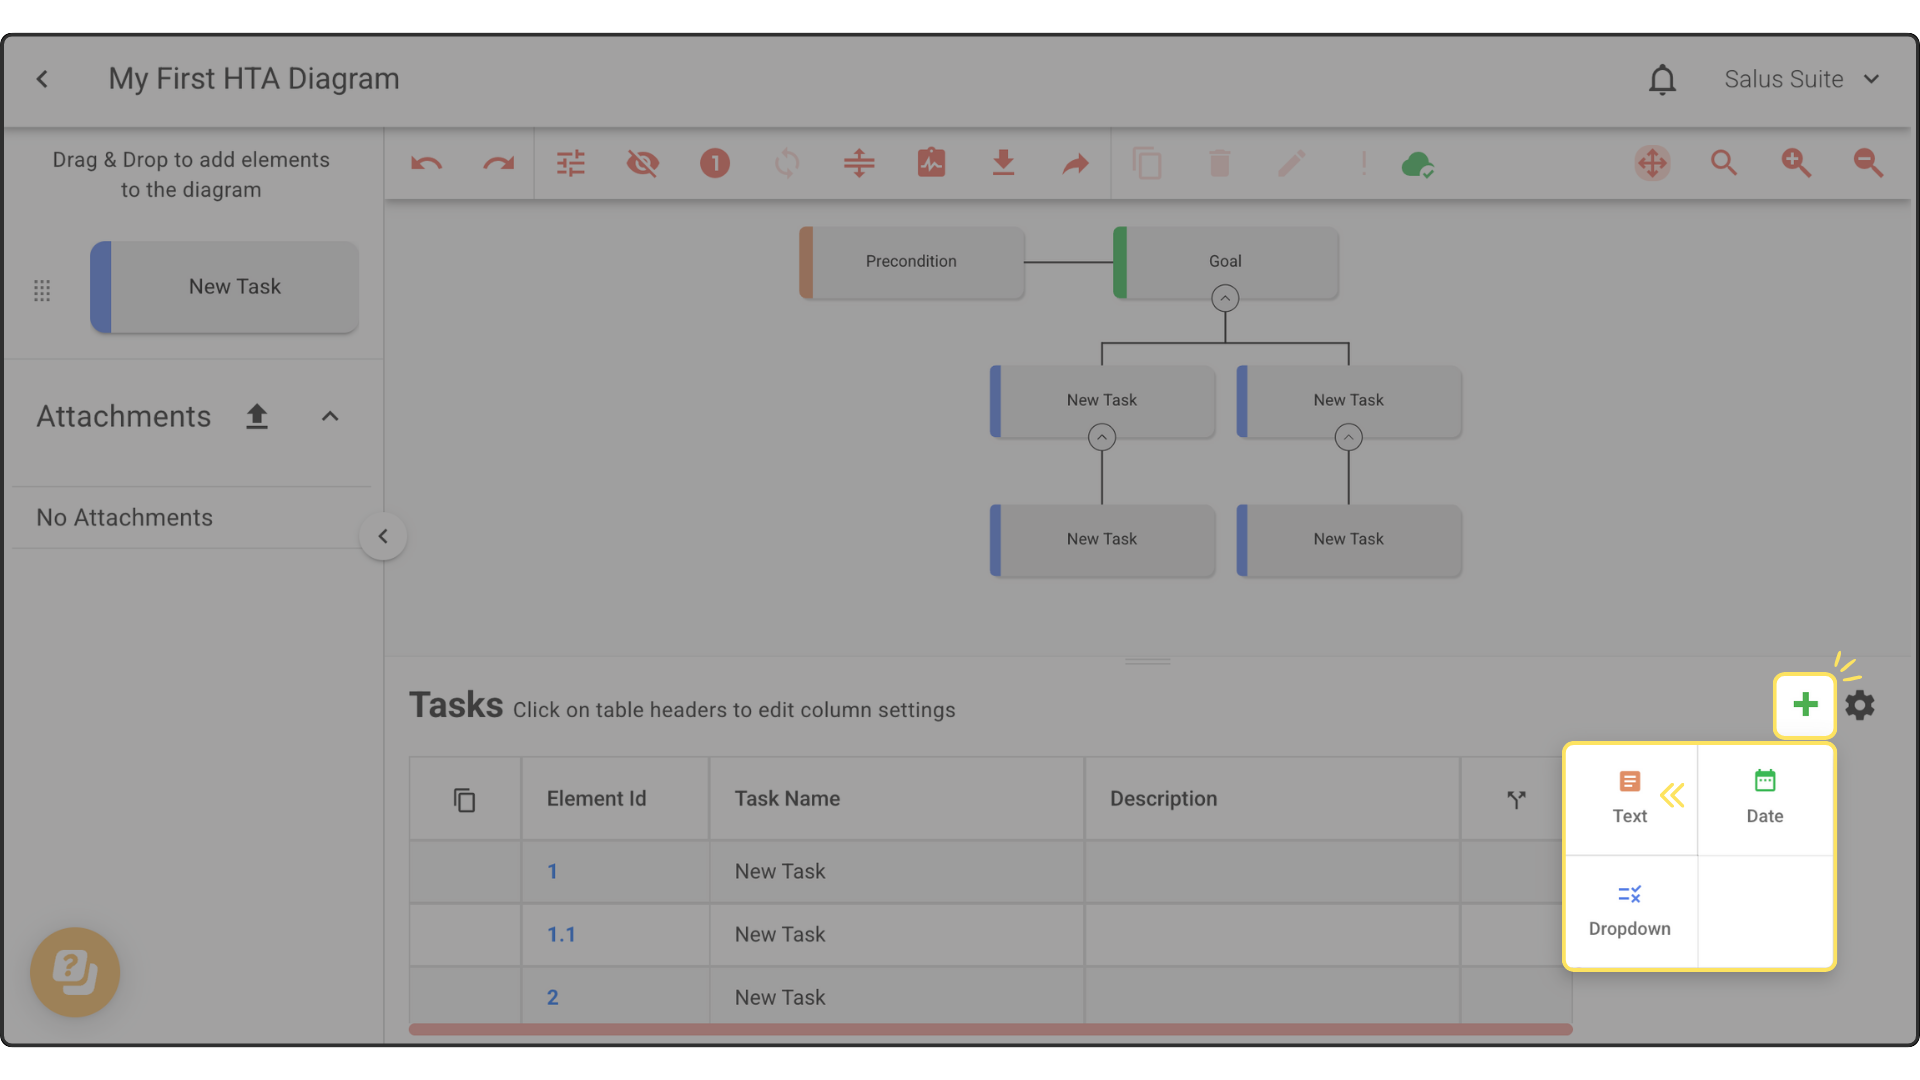
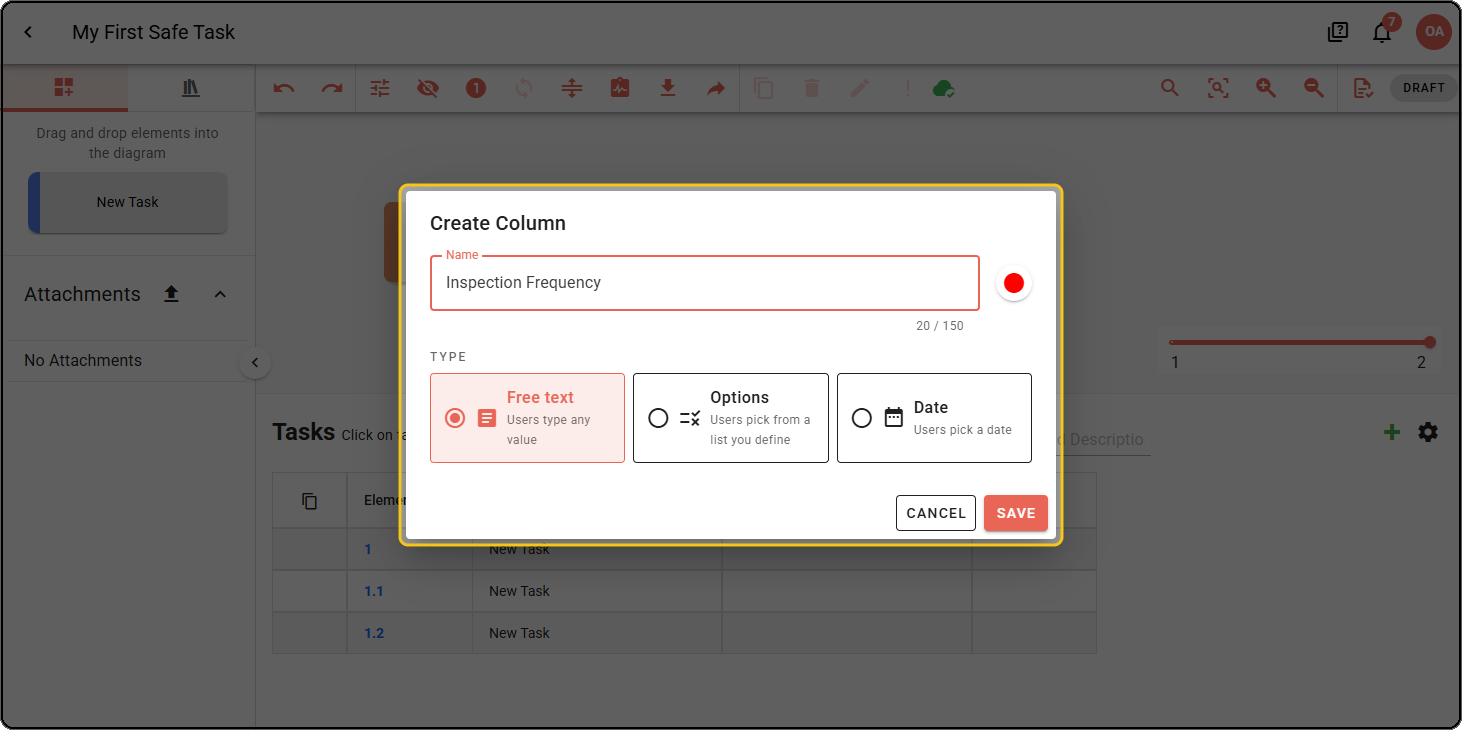
Step 2: In the dialoh, enter a name and choose a colour.
Step 3: Choose the Type:
- Free text
- Options
- Date
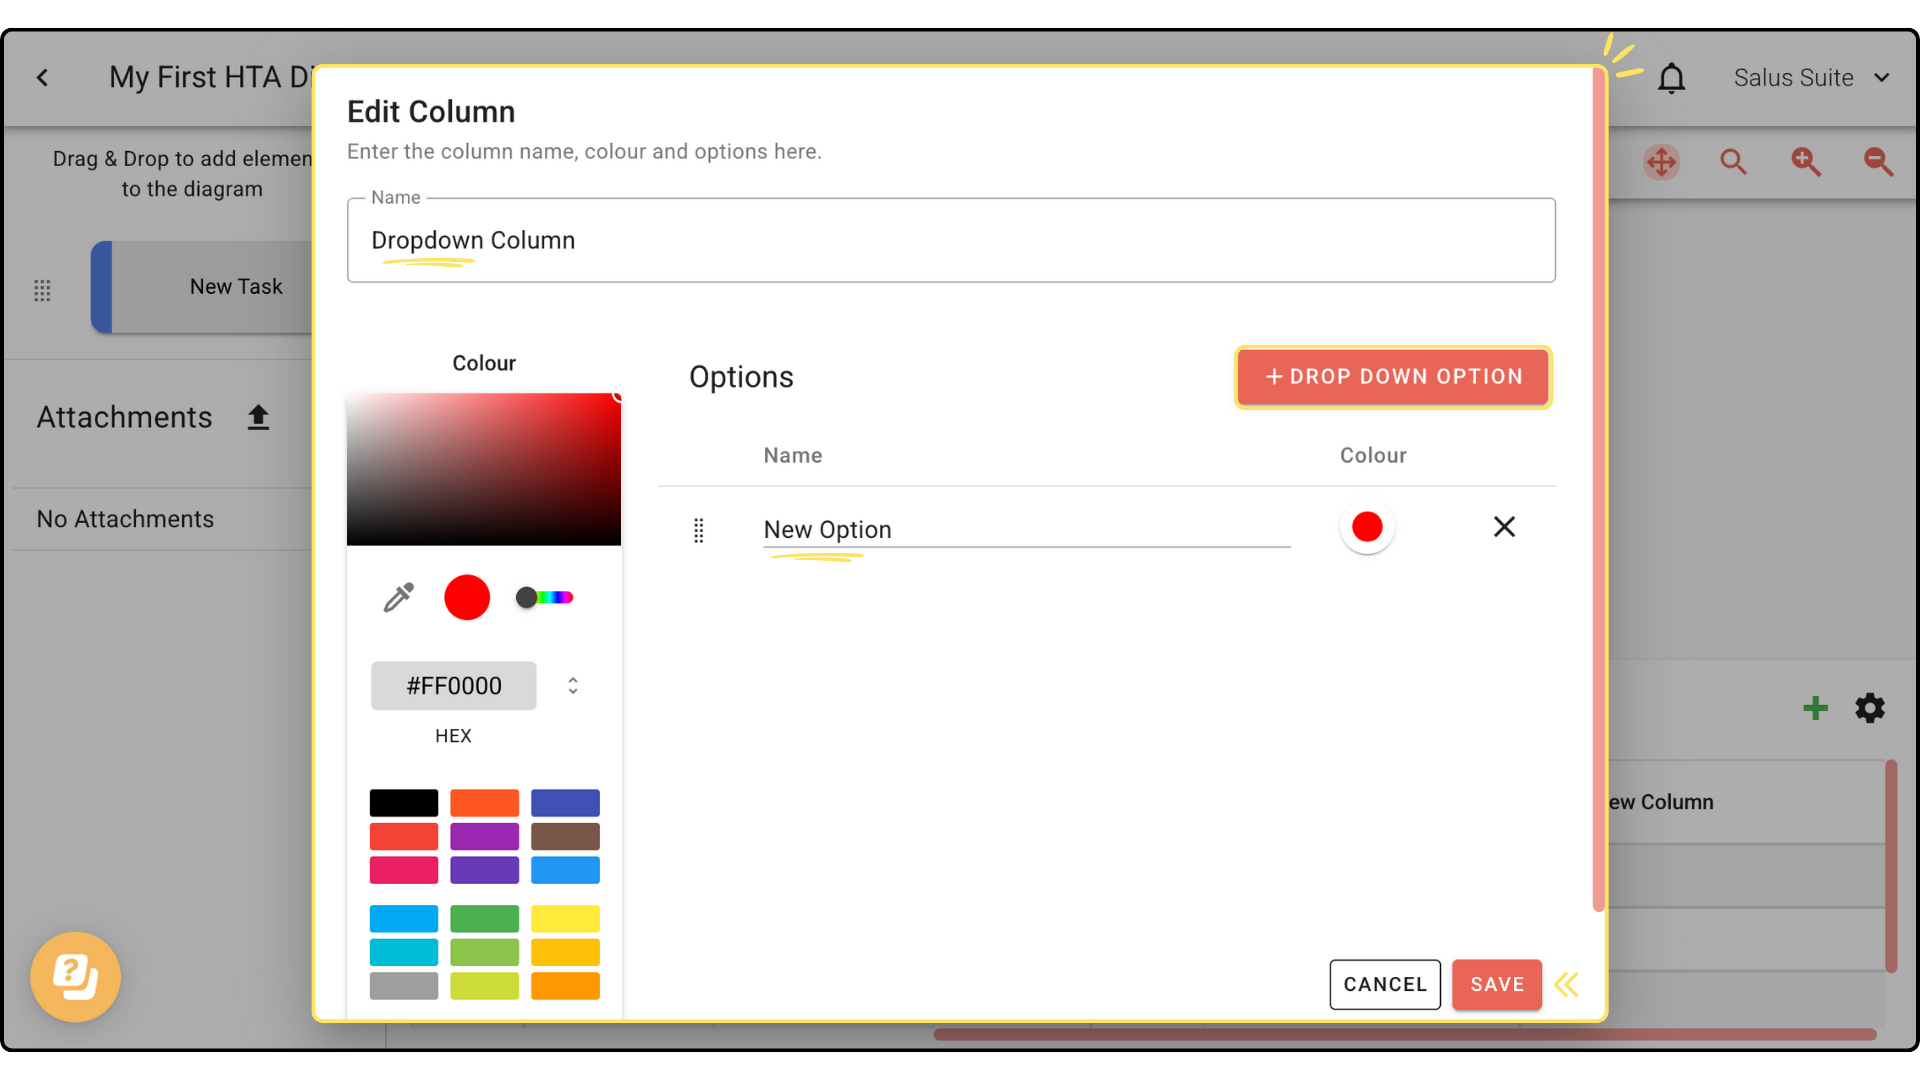
Step 4 (Options only): Click + ADD OPTION to add an option, then name it and choose a colour.
Step 5: Click SAVE. The new column appears on the right of the table, after the task splitter.
Edit a column
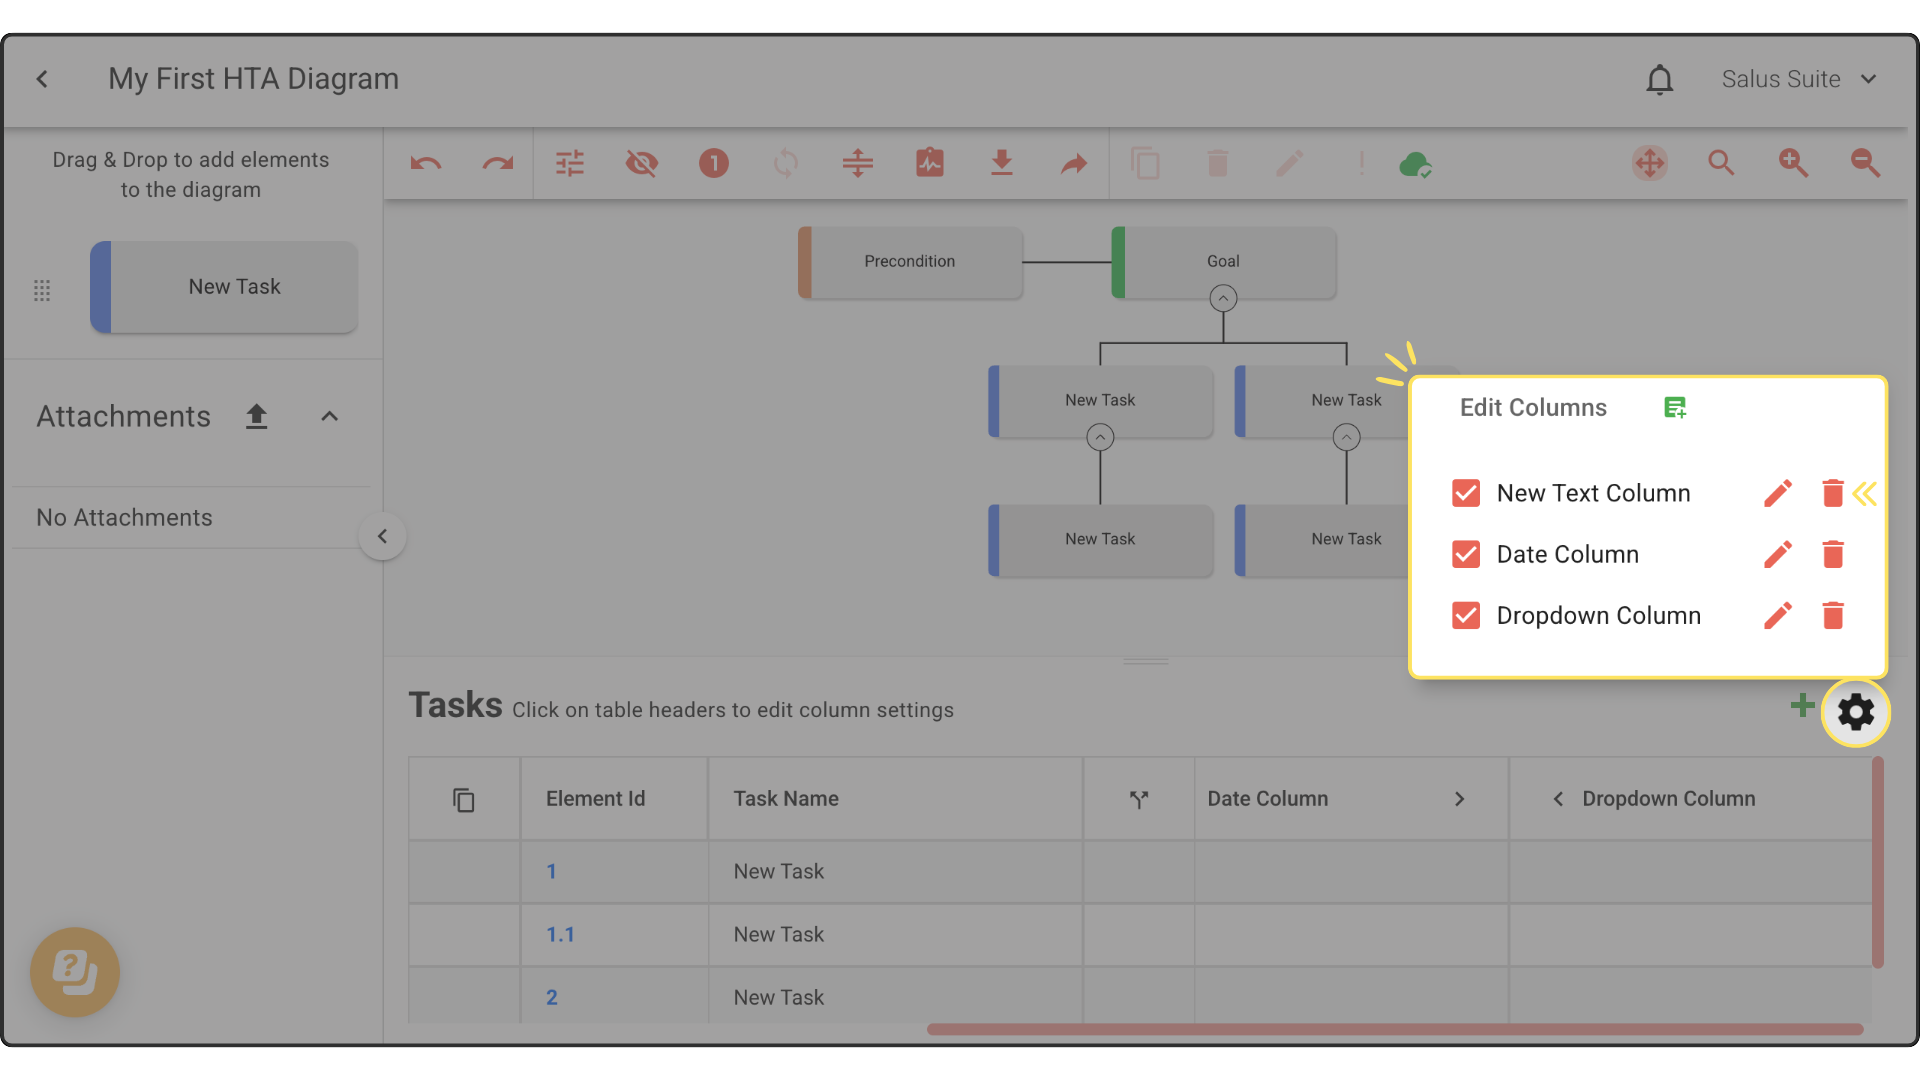
Step 1: Click the settings cog at the top of the table.
Step 2: Click the pencil icon beside the column you want to change.
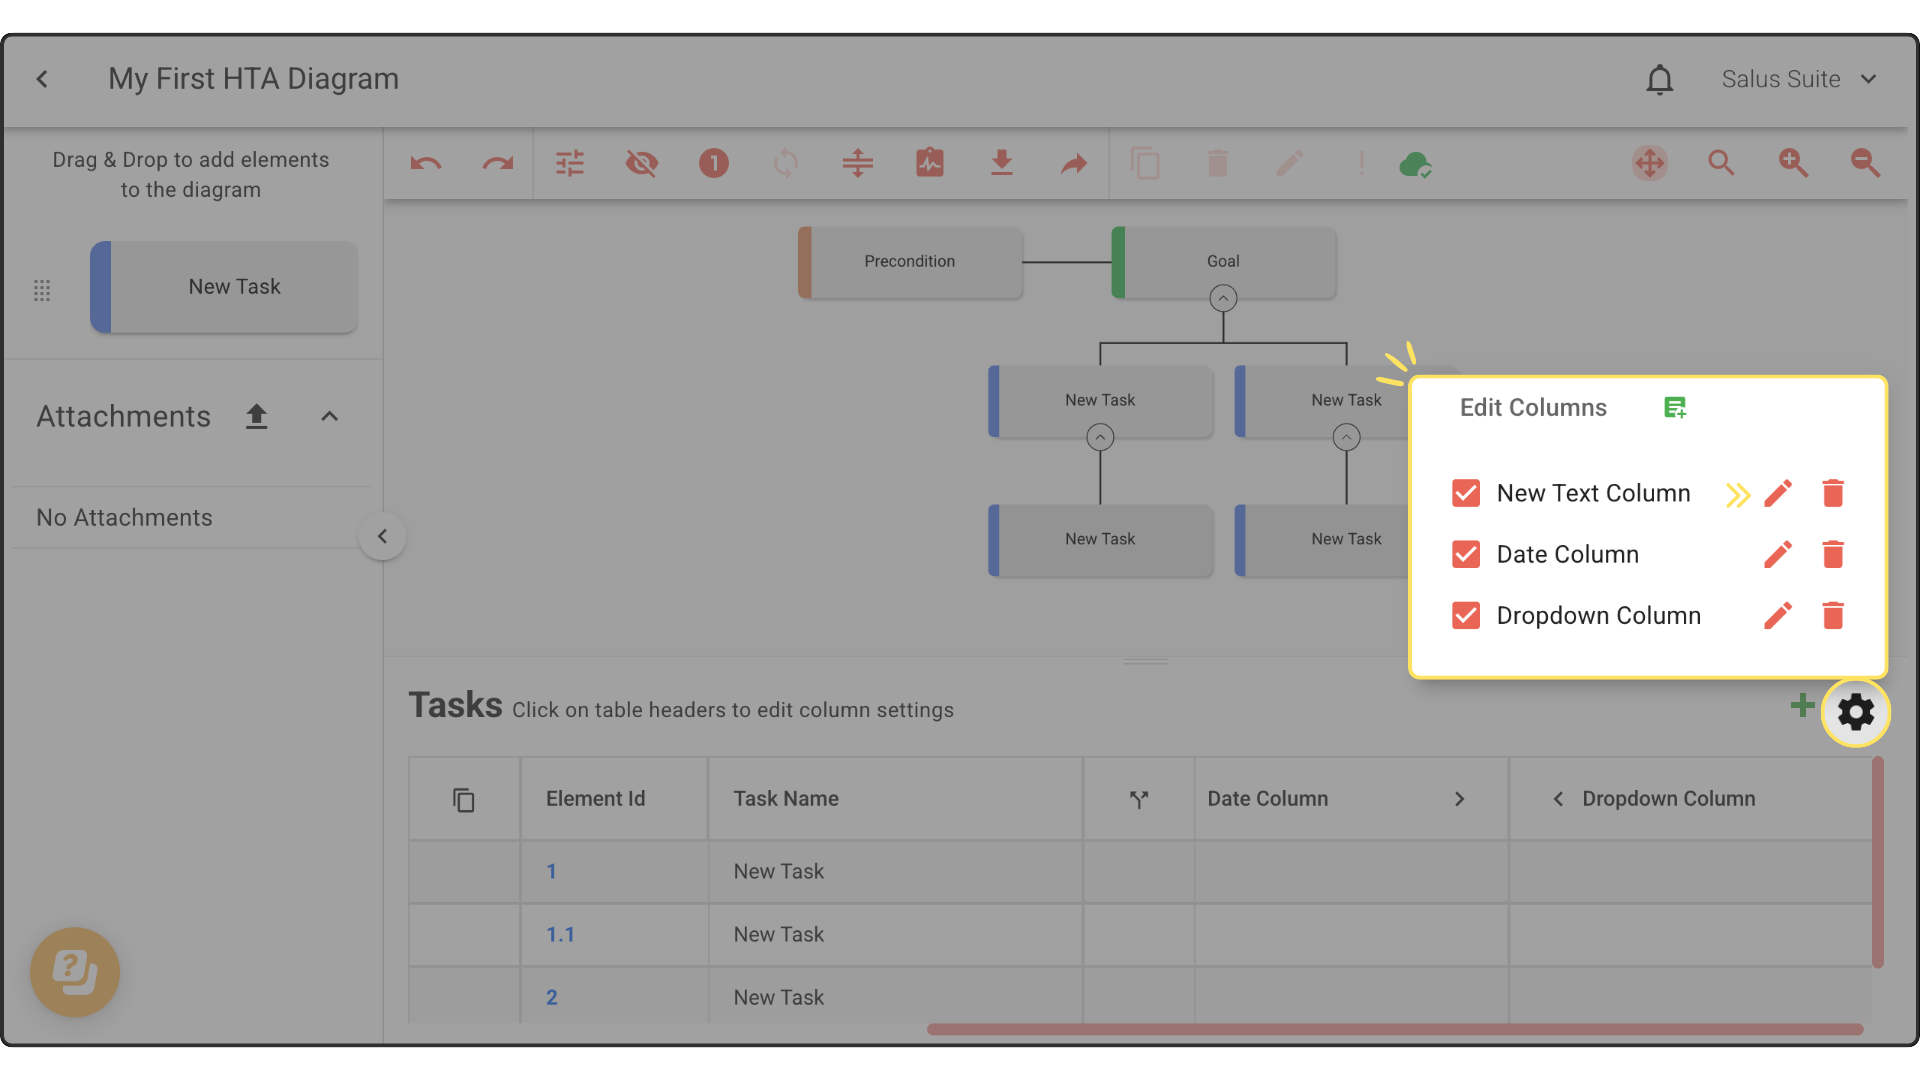
Step 3: In the pop-up, rename the column and choose a colour, then click SAVE.
Delete a column
Step 1: Click the settings cog at the top of the table.
Step 2: Click the trash can icon beside the column you want to remove. This permanently deletes the column and cannot be undone.
Copy and paste row values
Quickly duplicate data across rows.
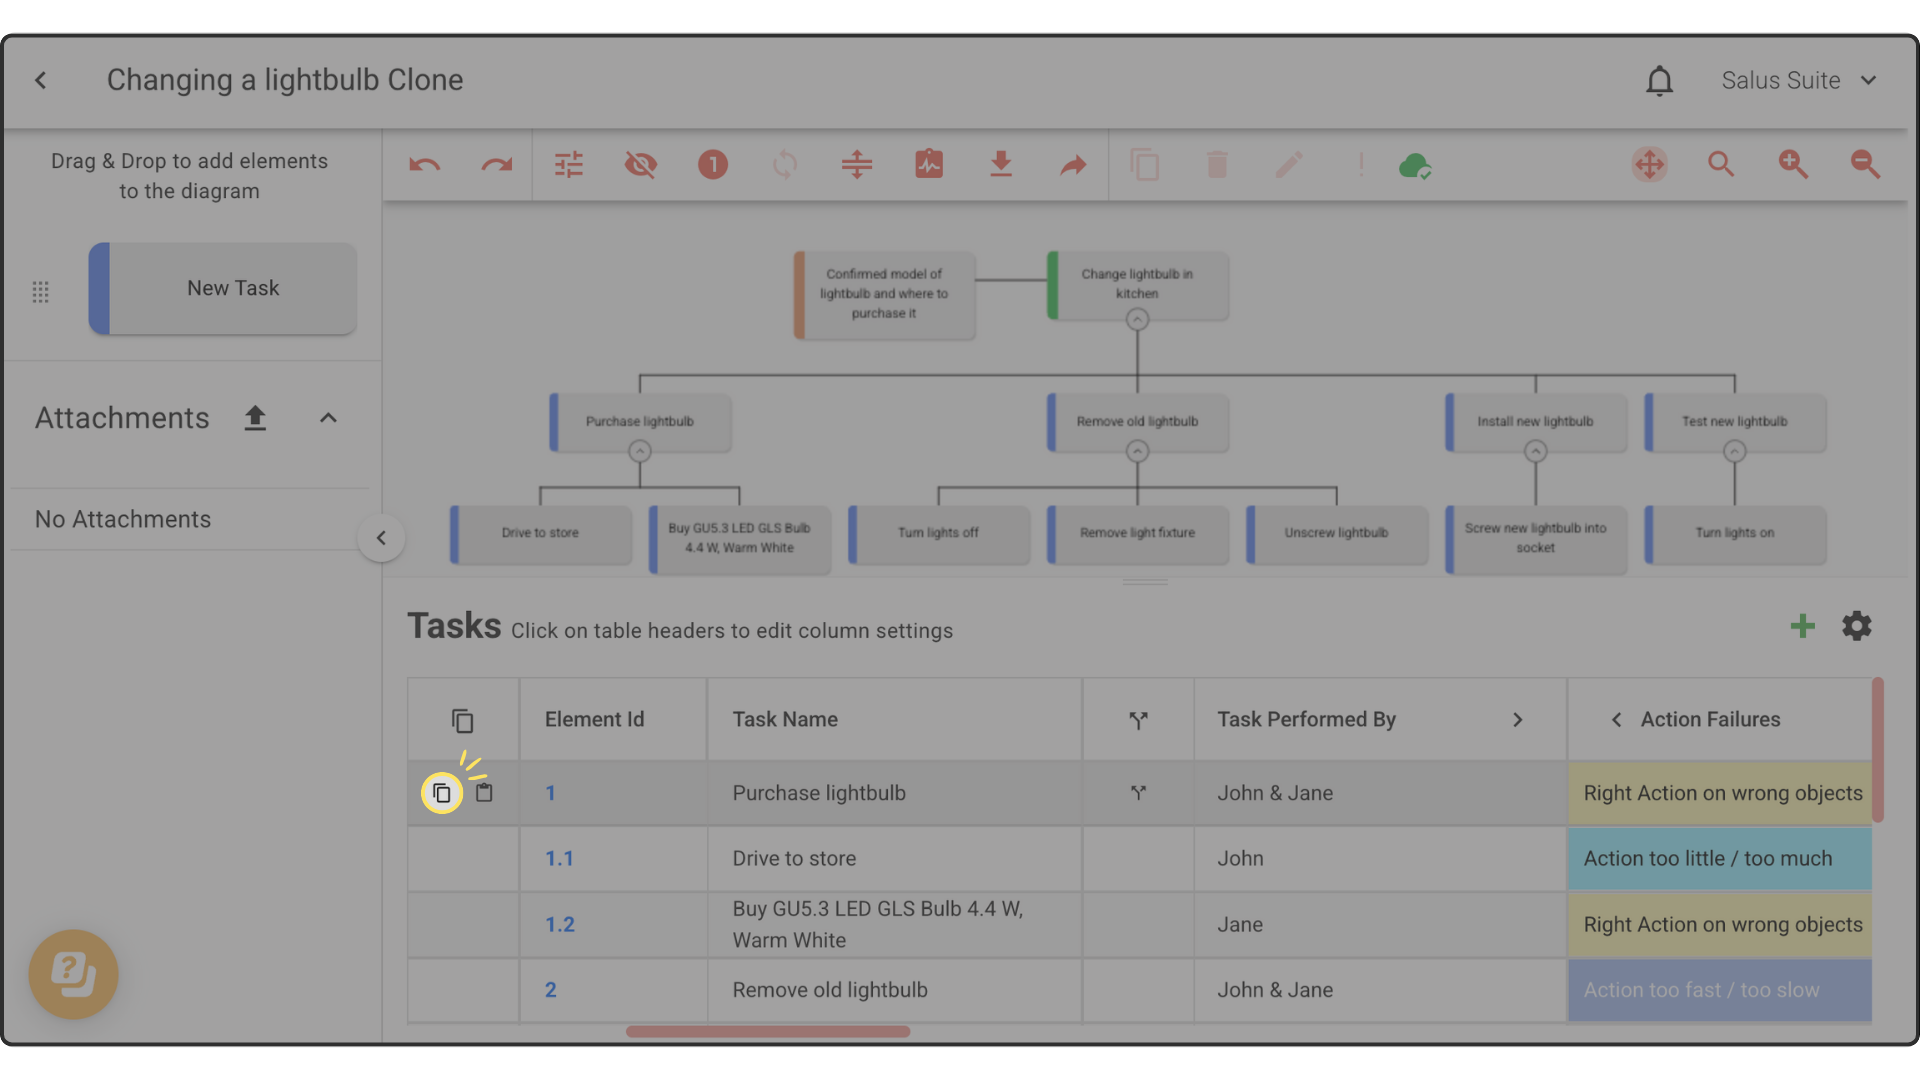
Step 1: Click the copy icon at the start of the row you want to copy.
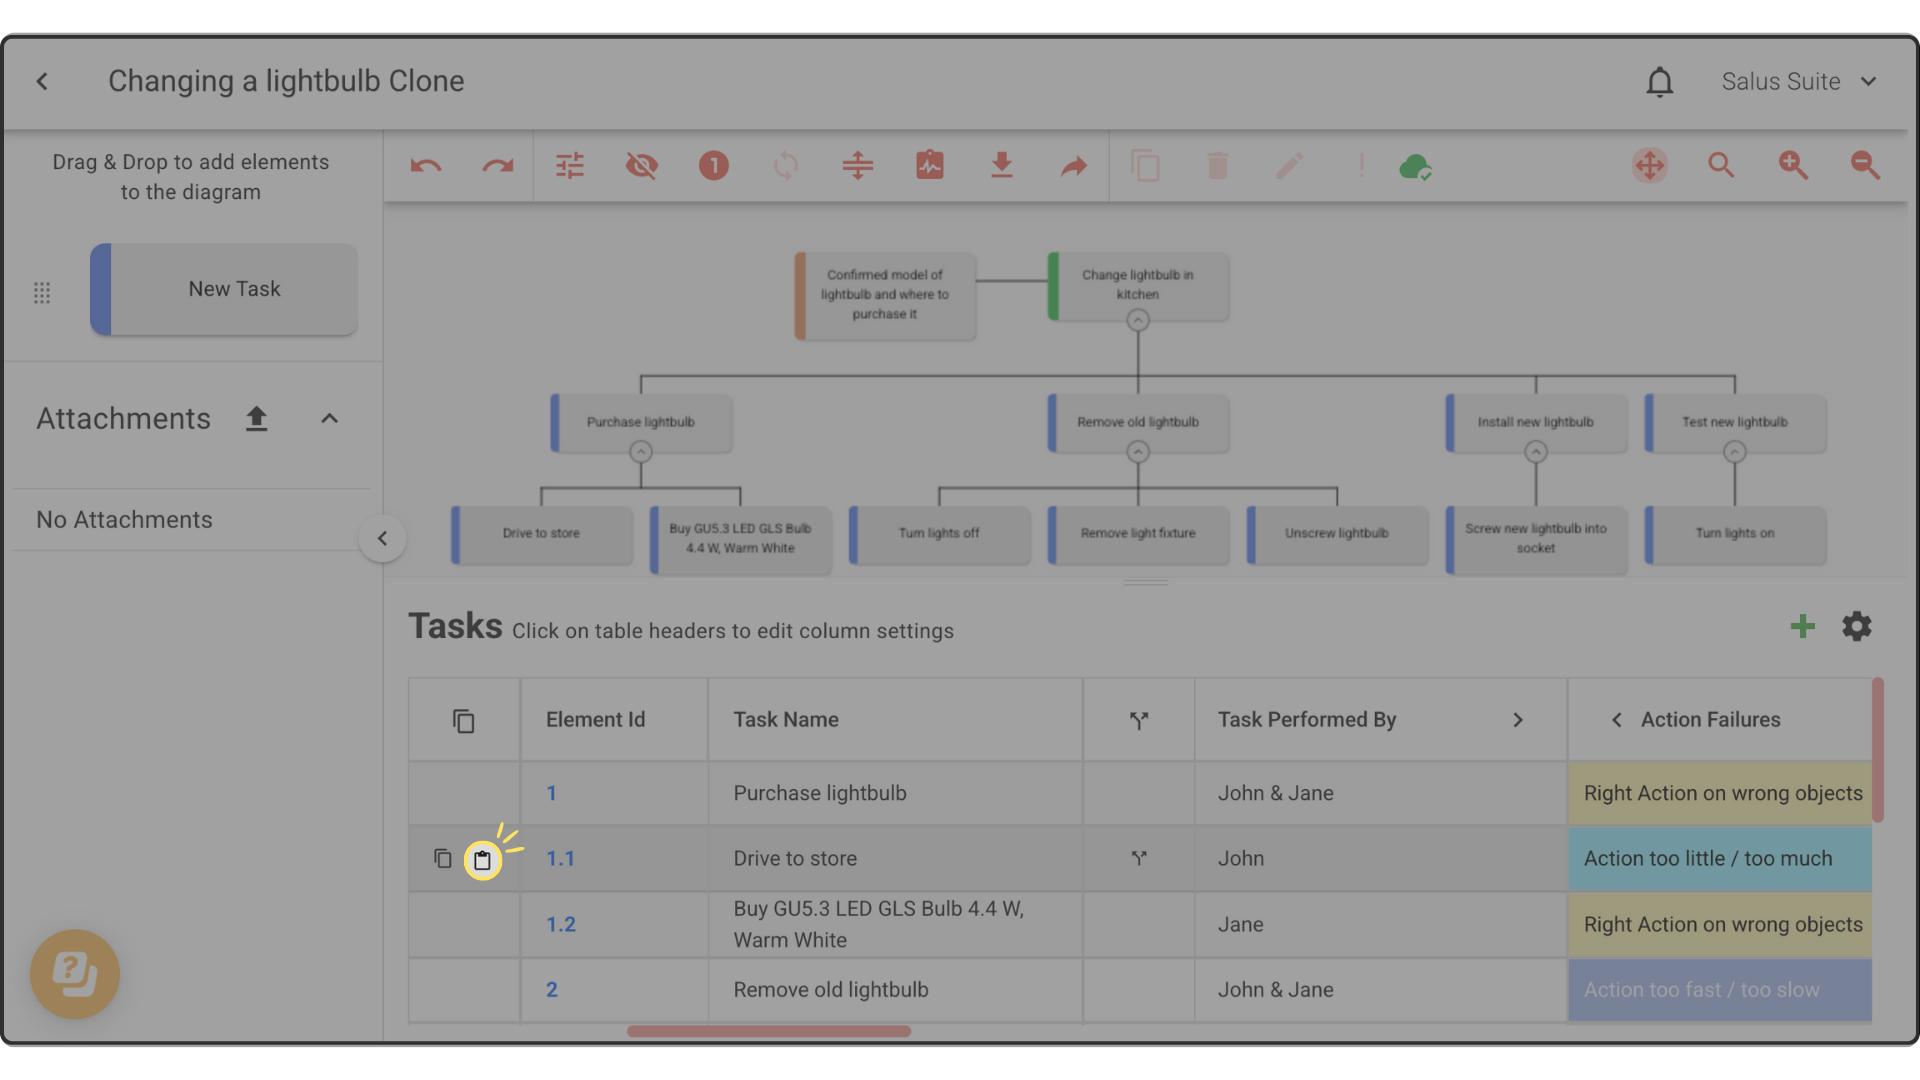
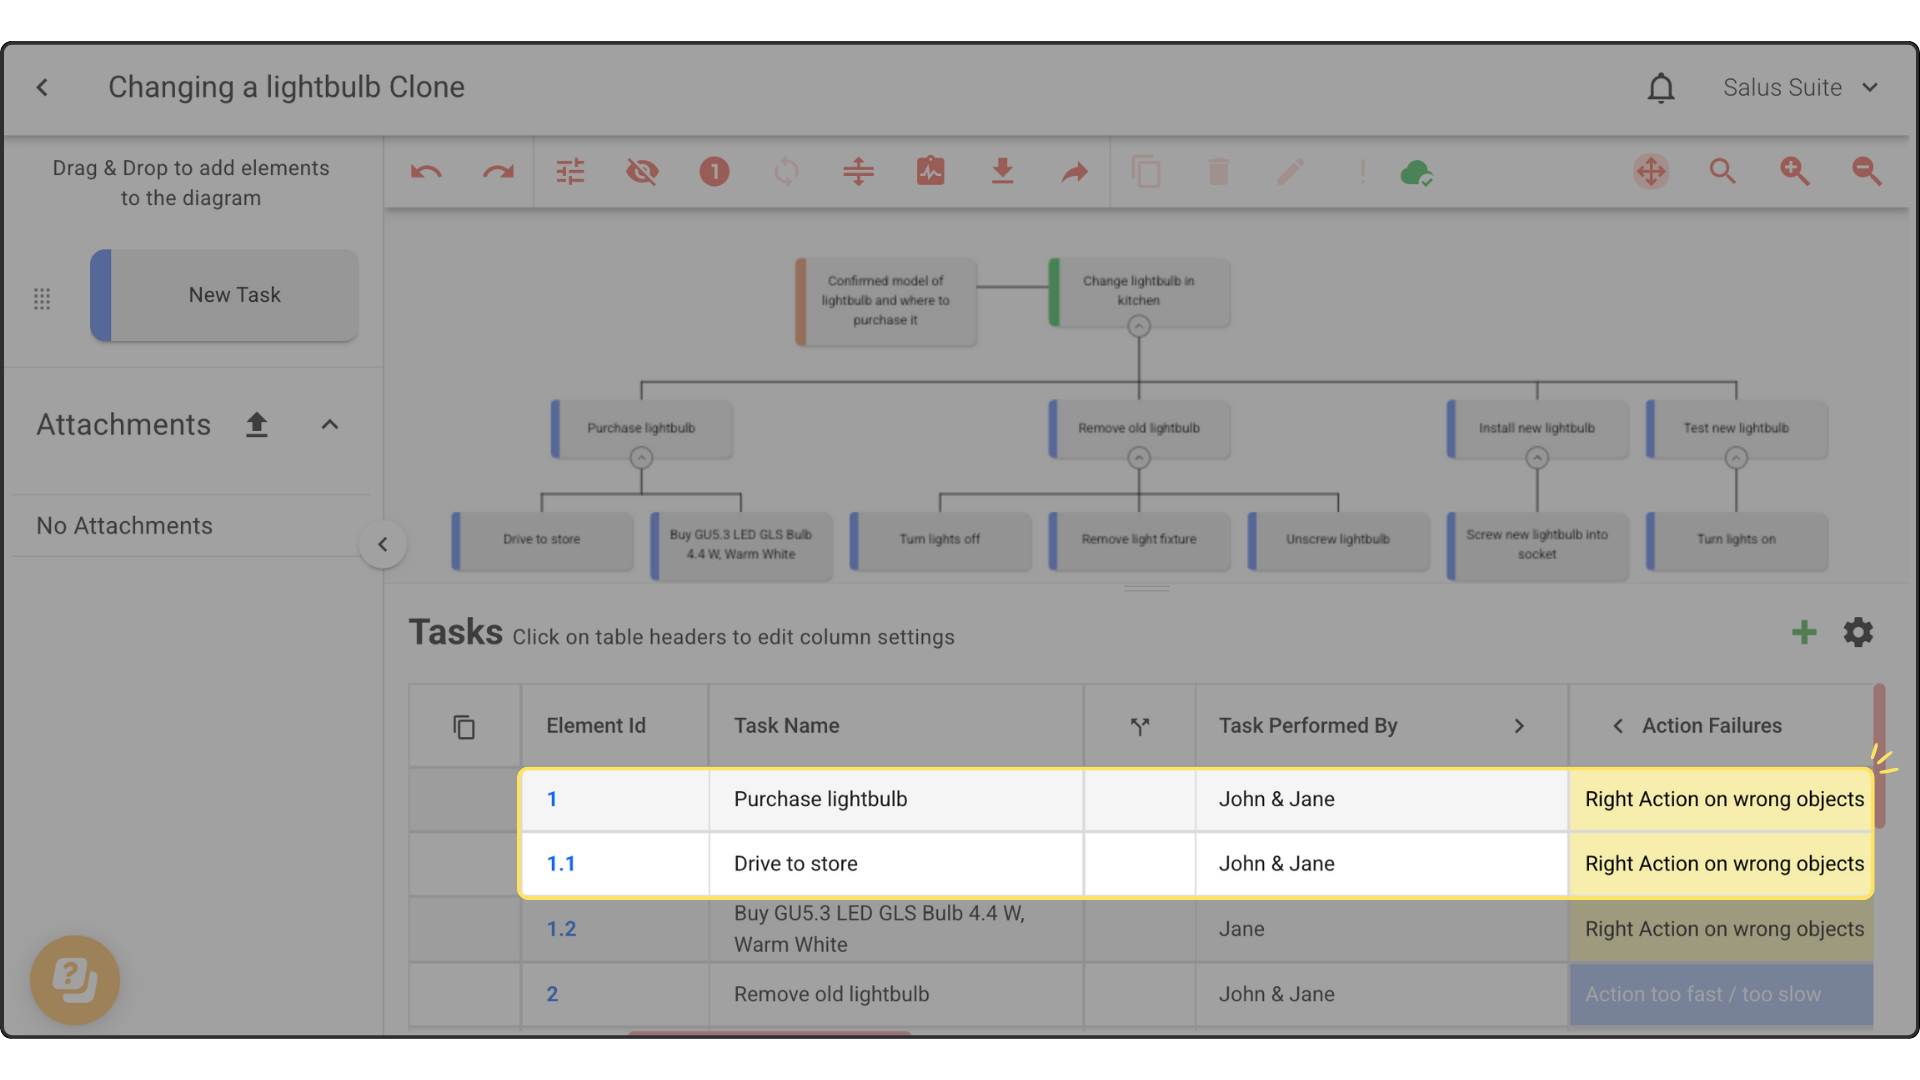
Step 2: Go to the target row and click the paste icon at the start of its row. Every column value except the task name is pasted.
Split rows
Splitting a row lets you apply multiple values to one task - for example, analysing multiple failure modes.
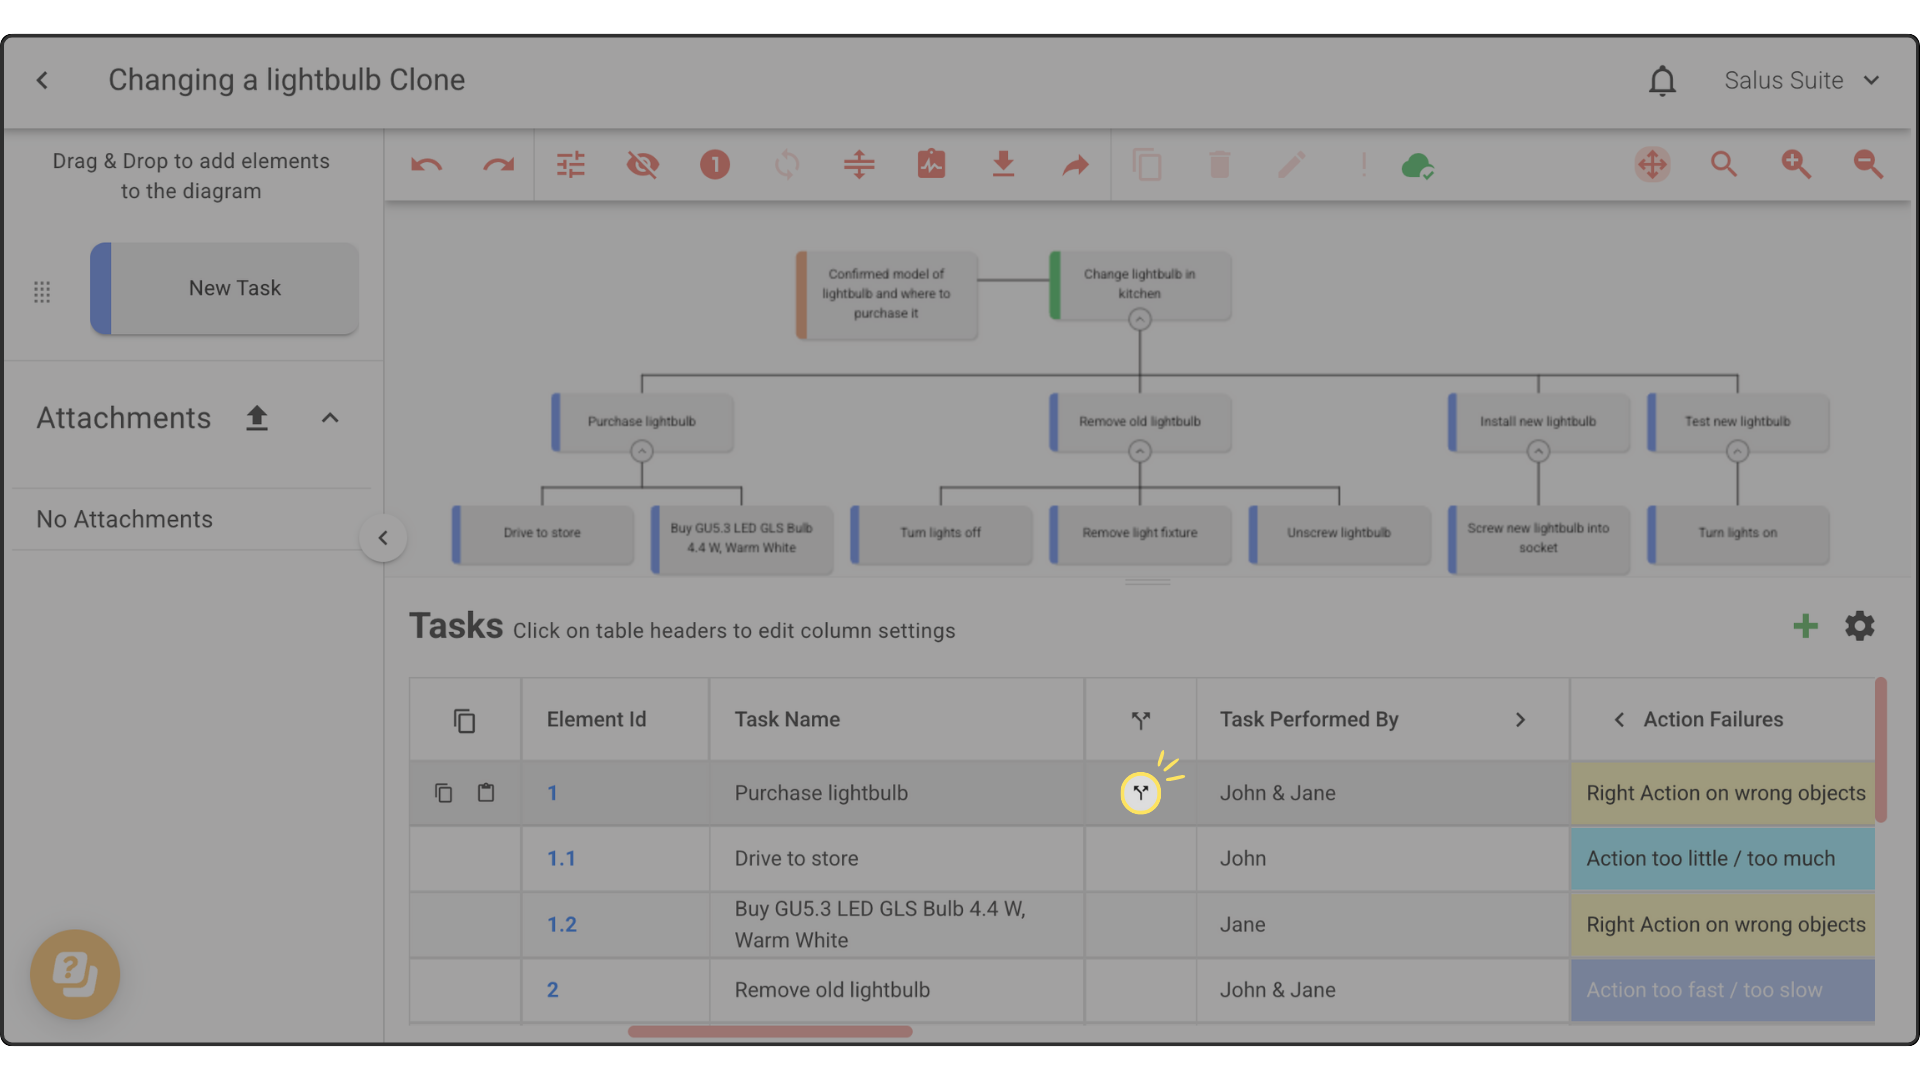
Step 1: Click the split arrows icon in the table to add a row to a task. The new row appears within the task, to the right of the splitter.
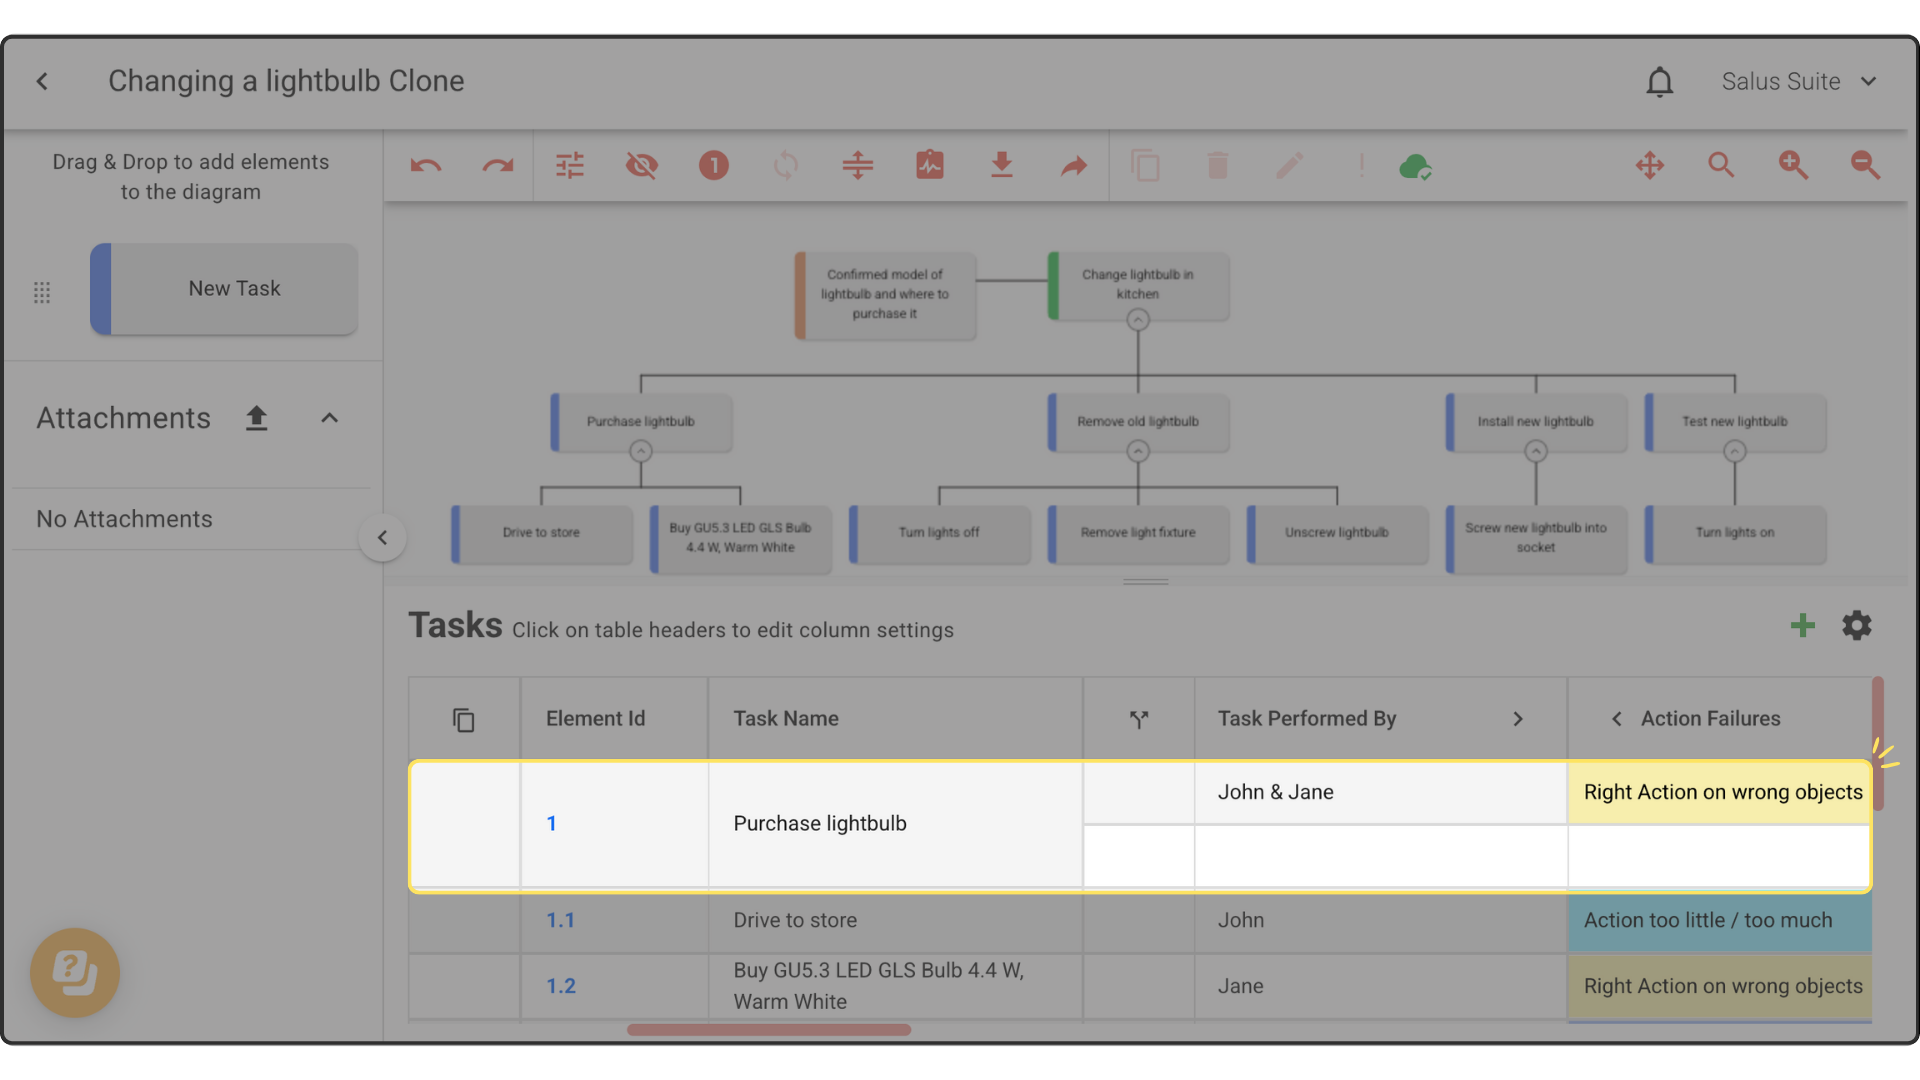
Step 2: Split a row as many times as you need by clicking the splitter icon again.
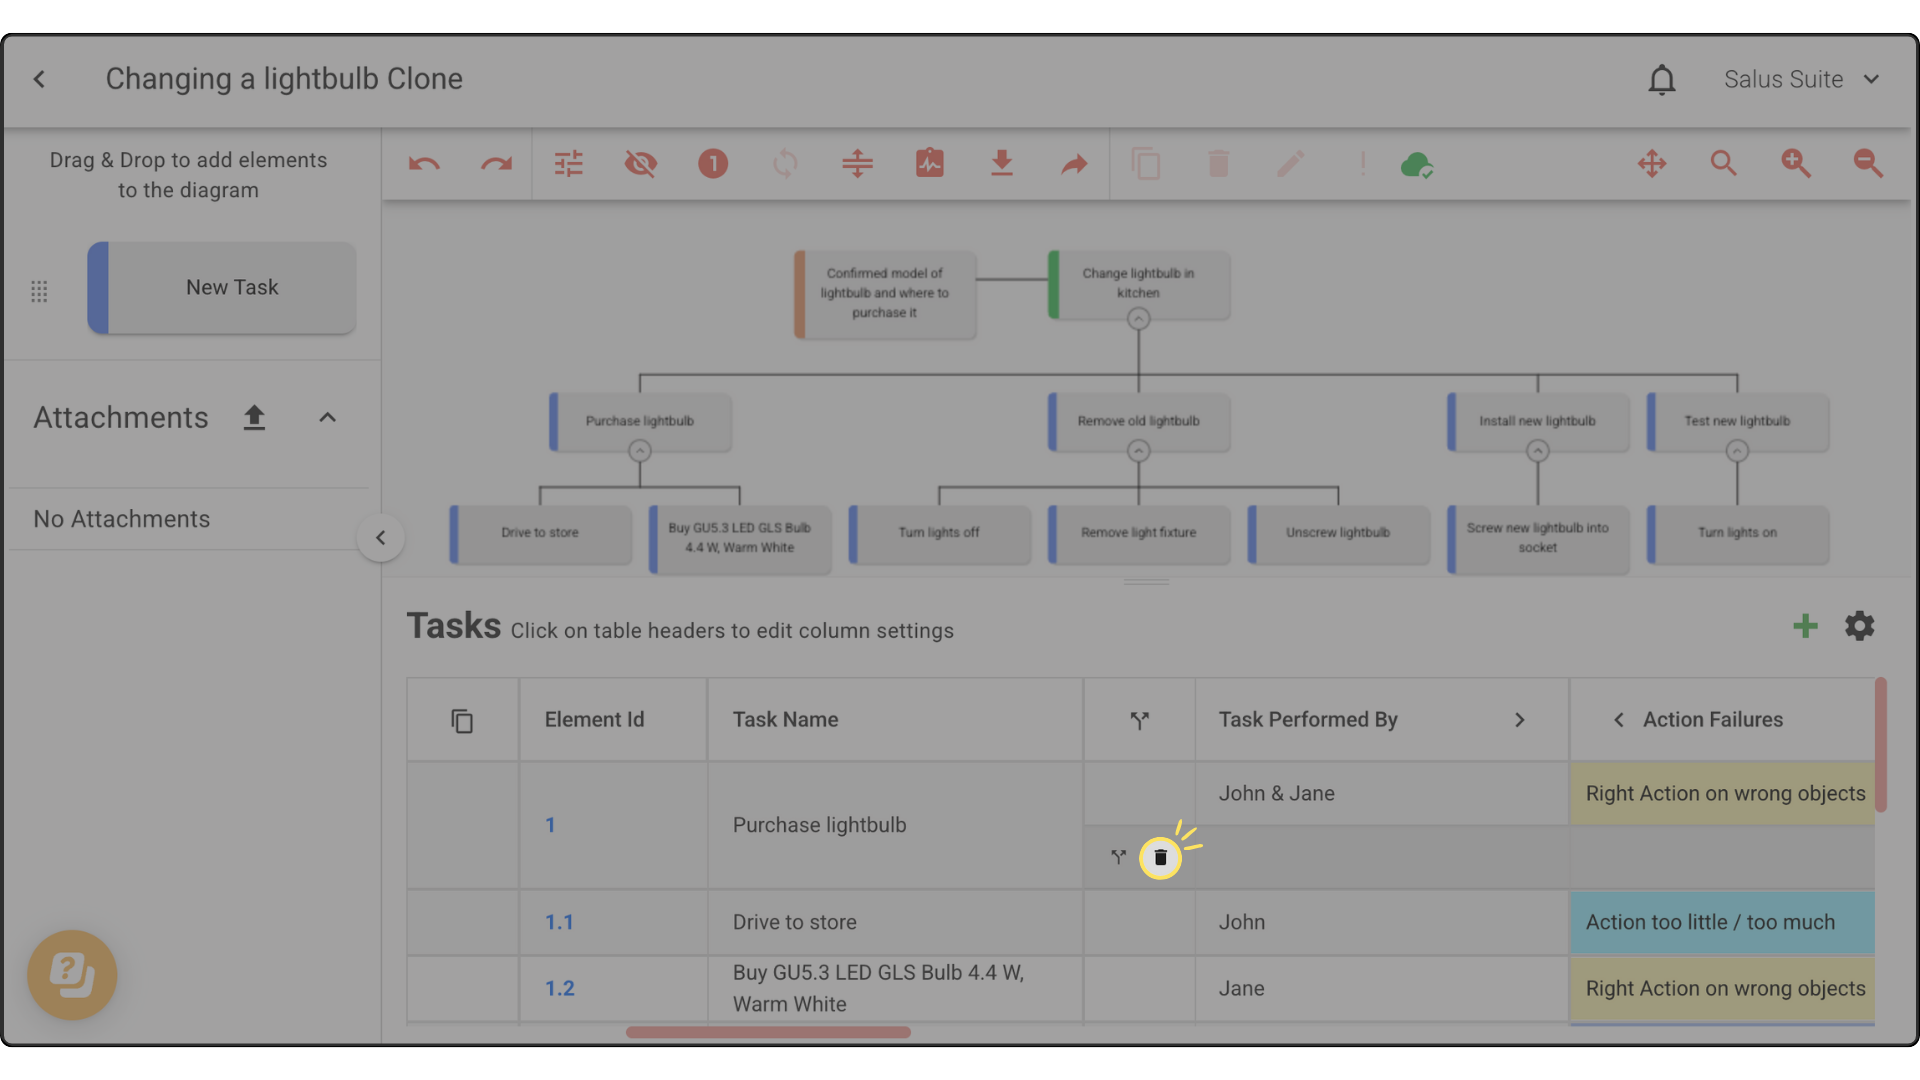
Step 3: To delete a row, click the trash can icon.
Copy and paste metadata values
Duplicate metadata values across tasks.
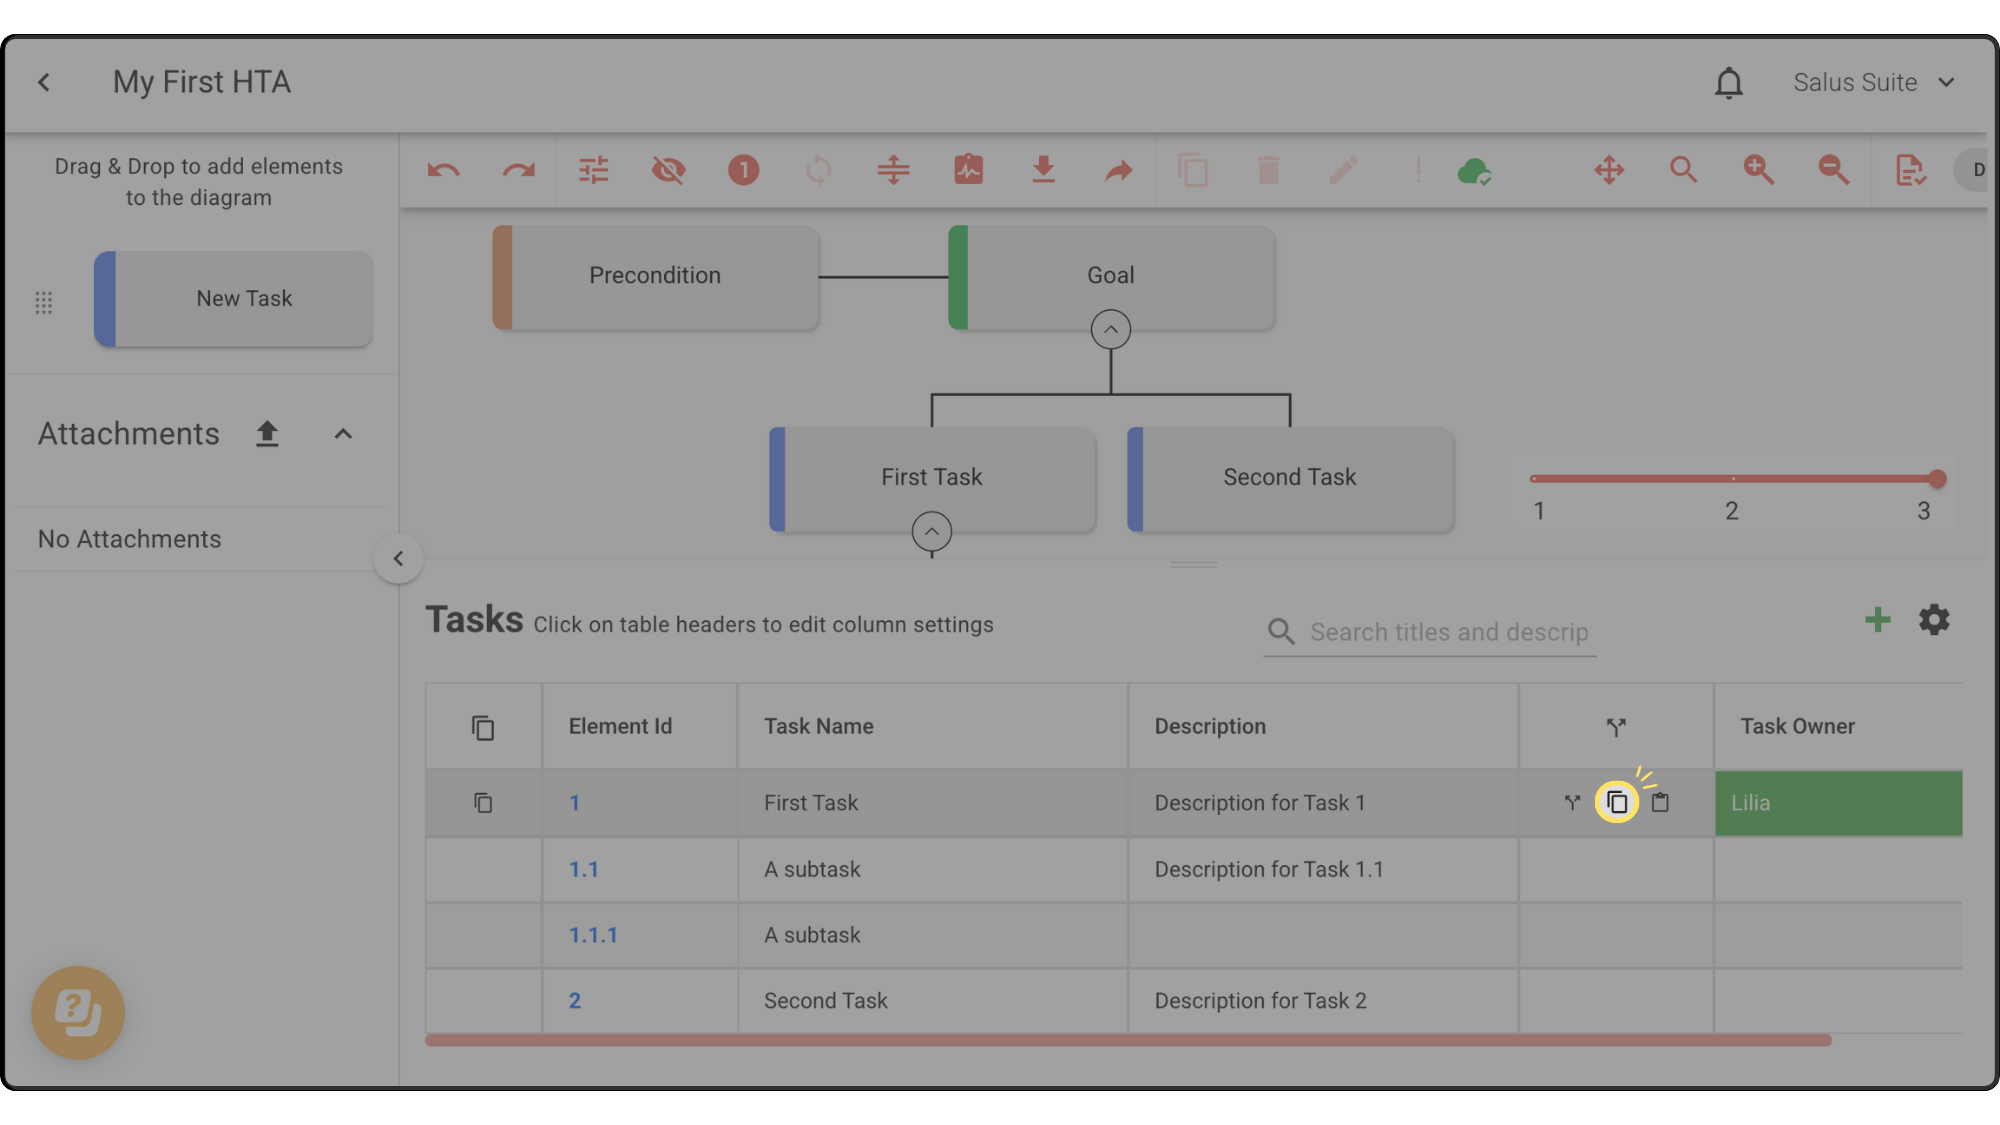
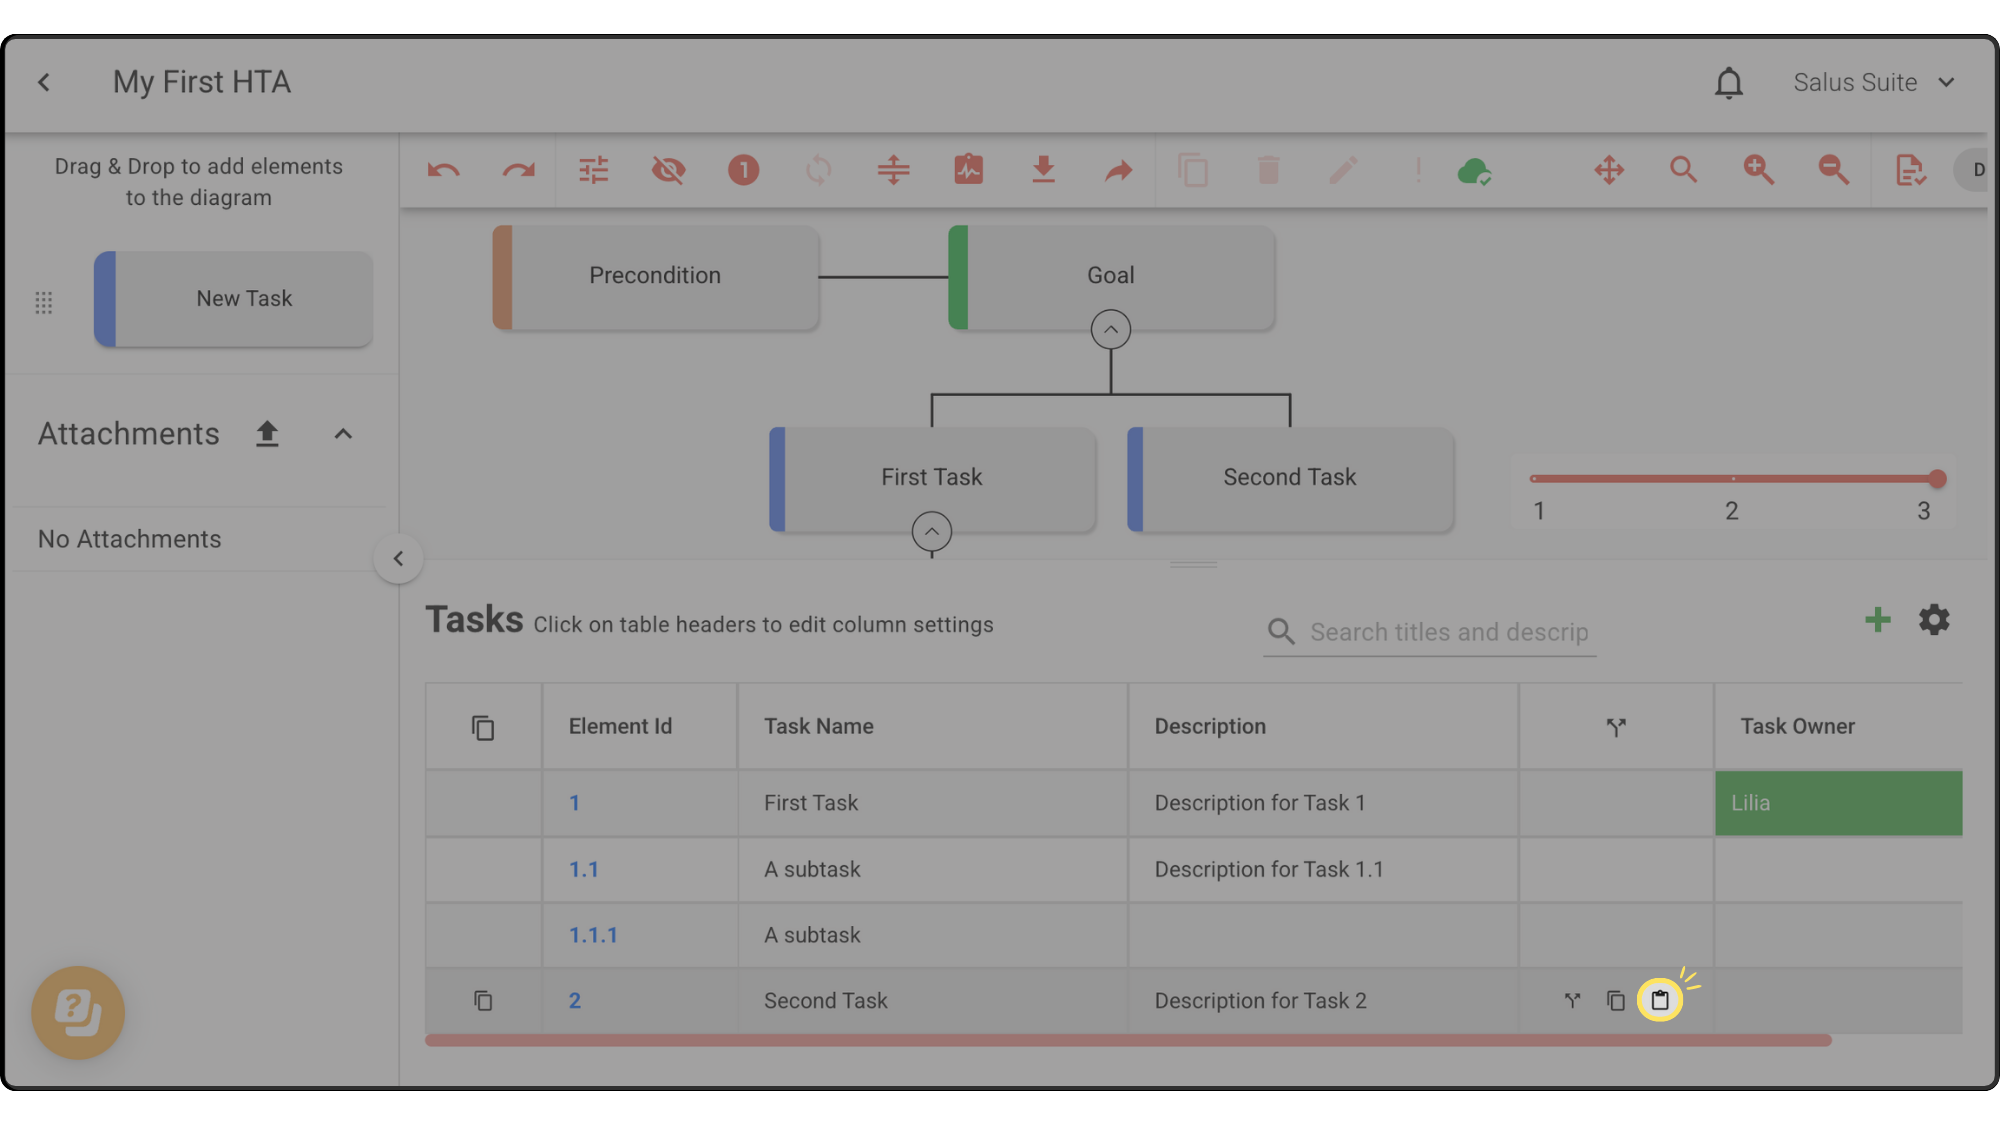
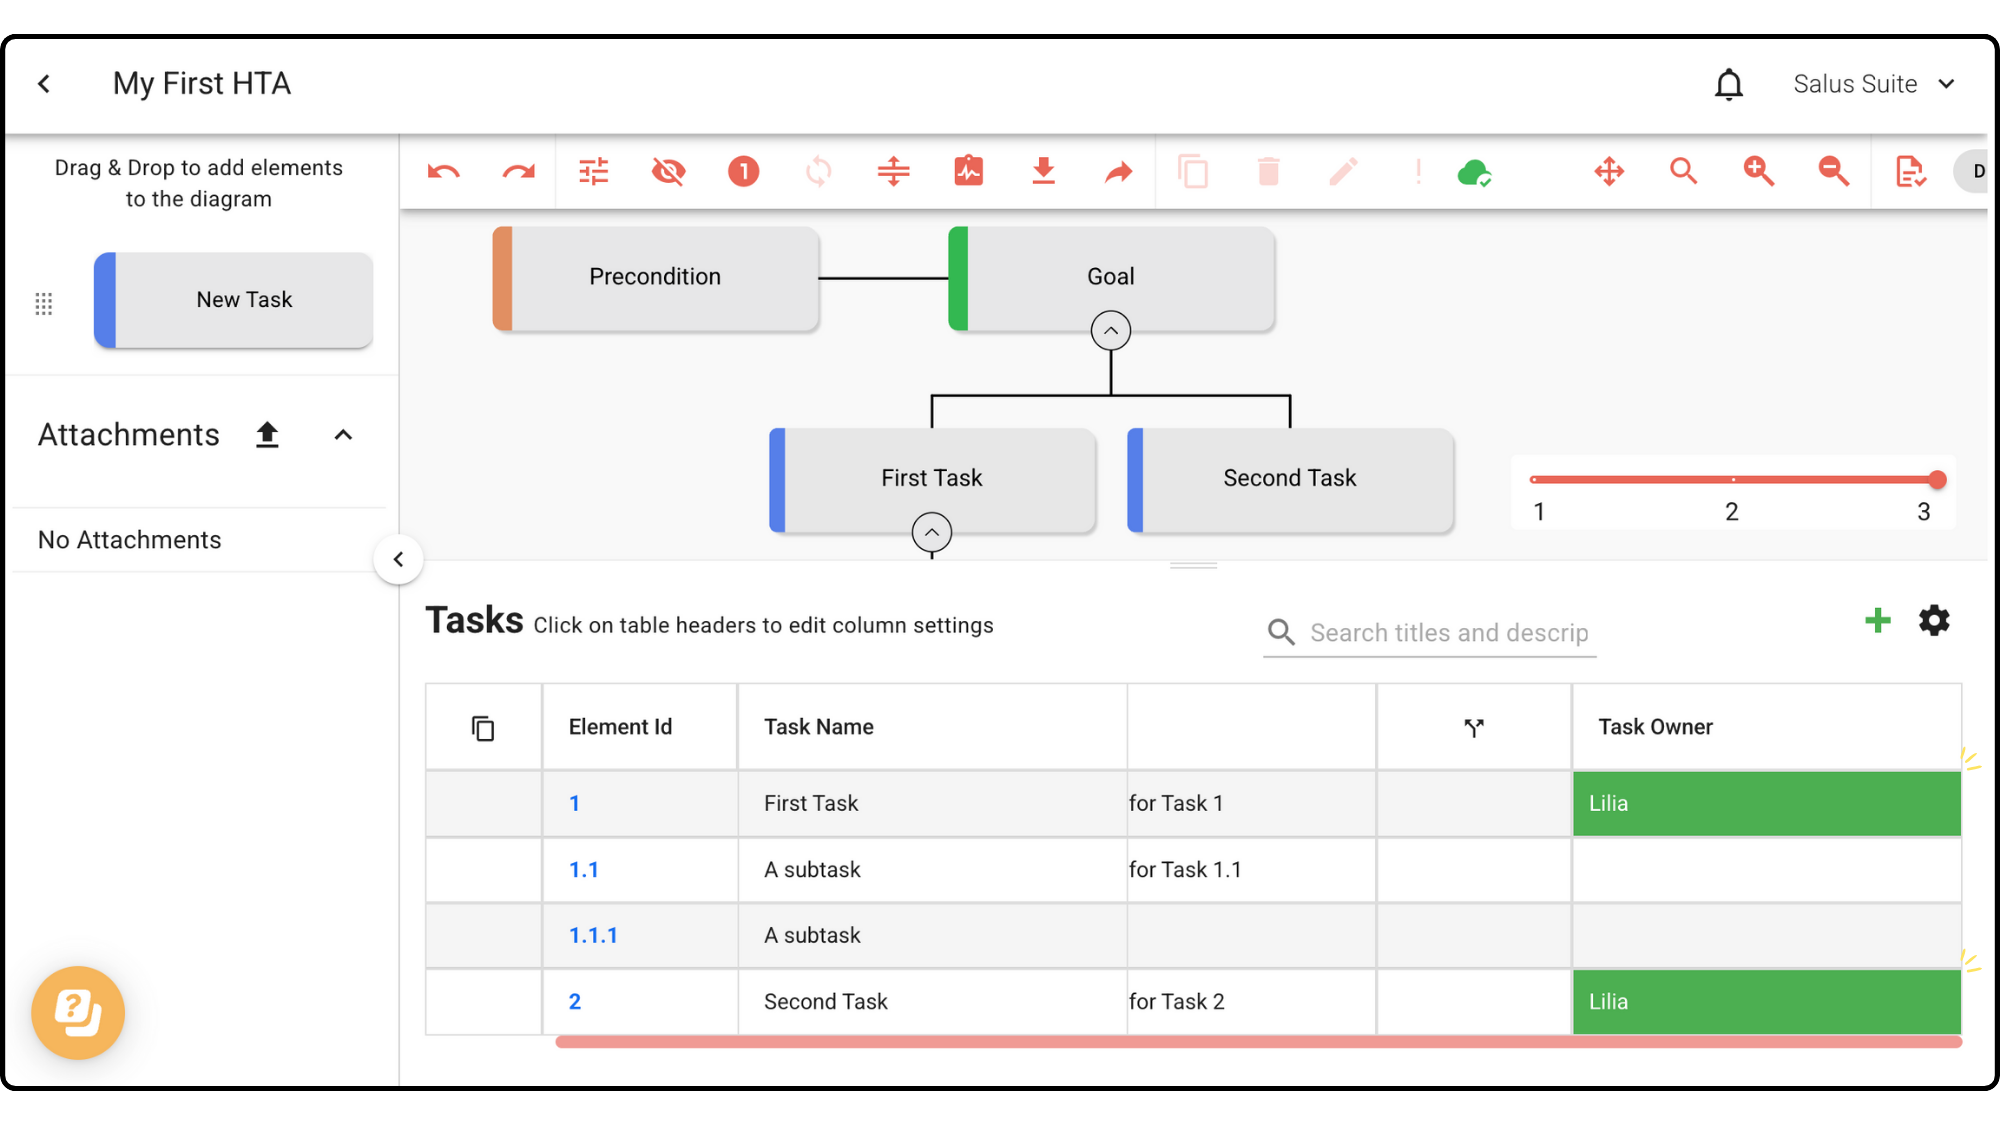
Step 1: In the split rows column, click the copy icon on the row you want to copy metadata from.
Step 2: Hover over the target row and click the paste icon. The metadata values are copied across.
Display metadata on the diagram
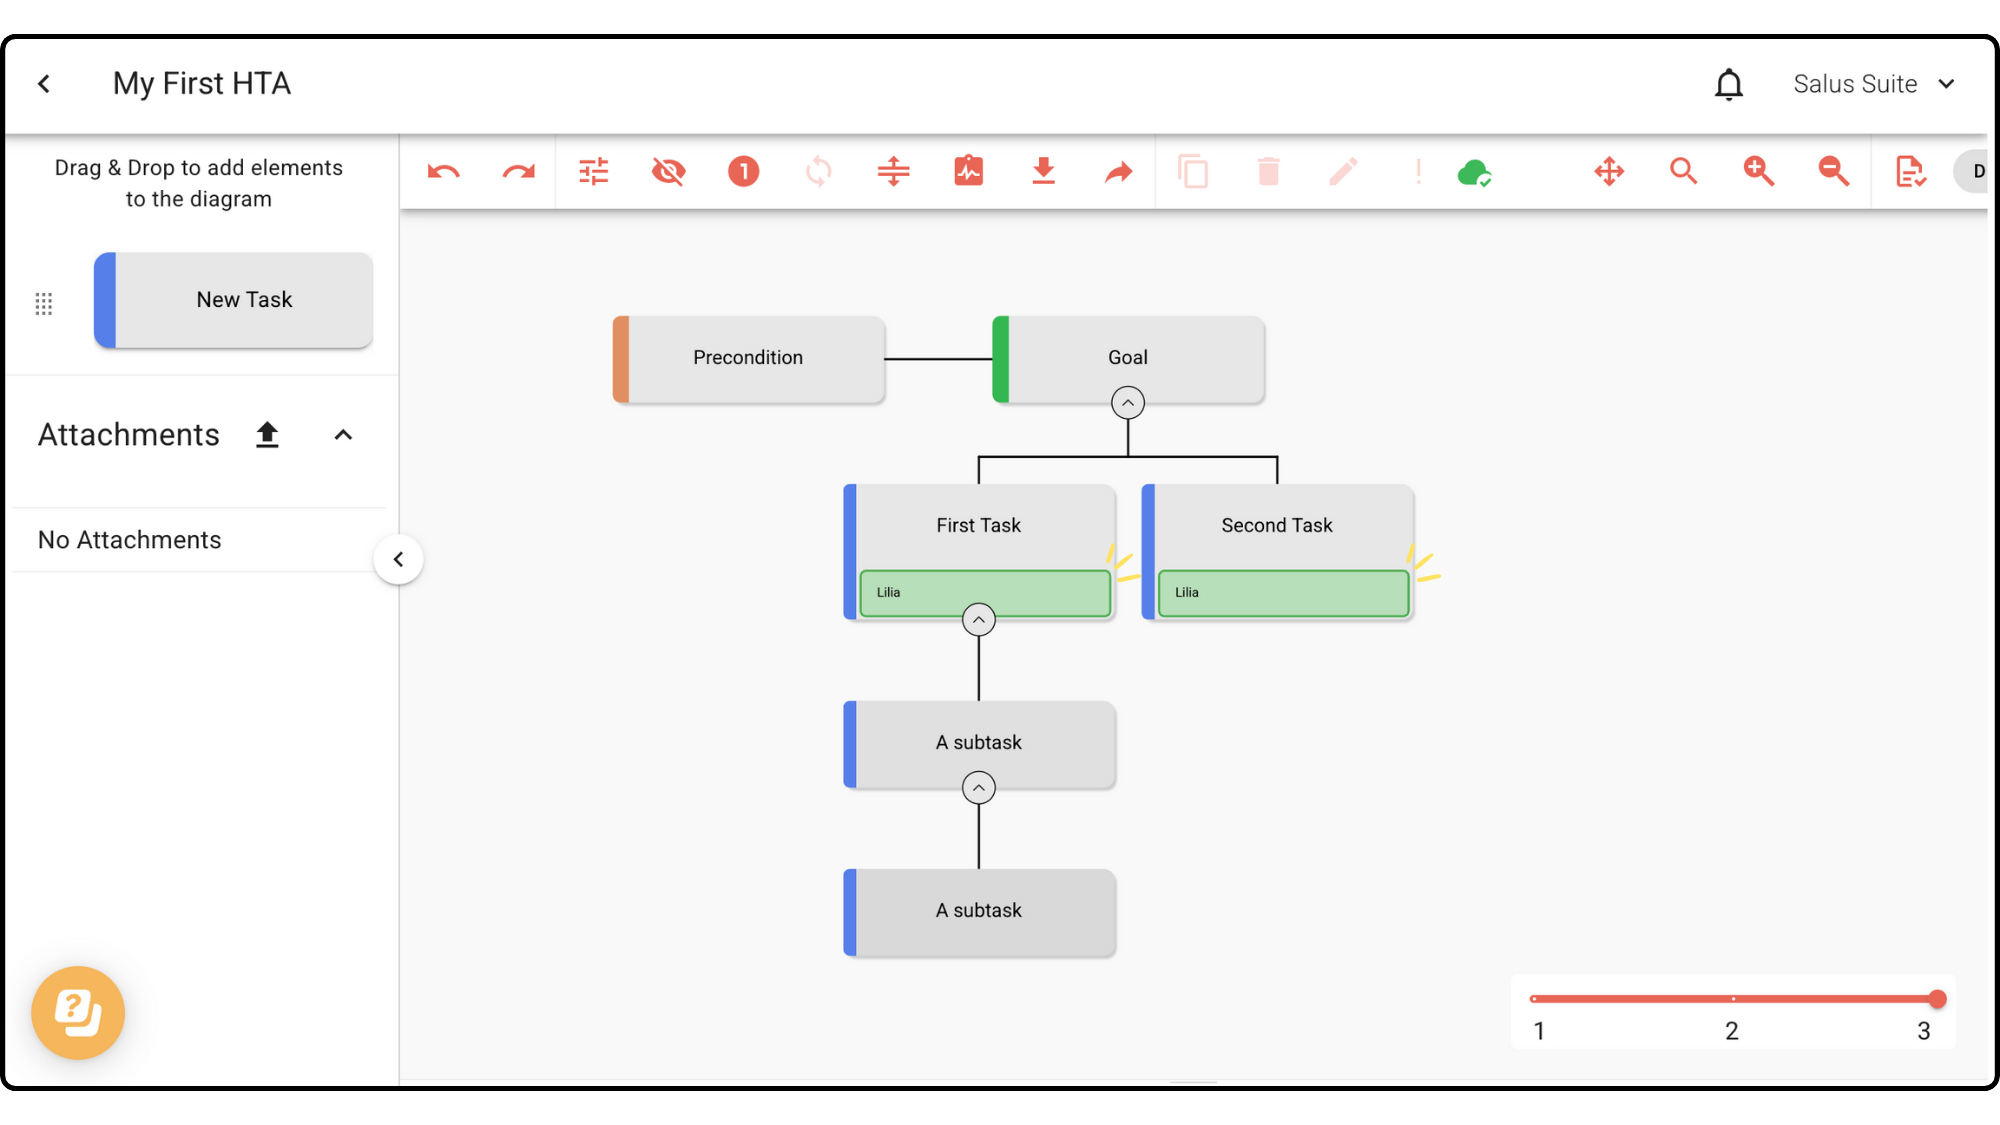
Metadata created in Safe Task can appear on both the table and the diagram. By default it’s visible in the table only, but you can change this.
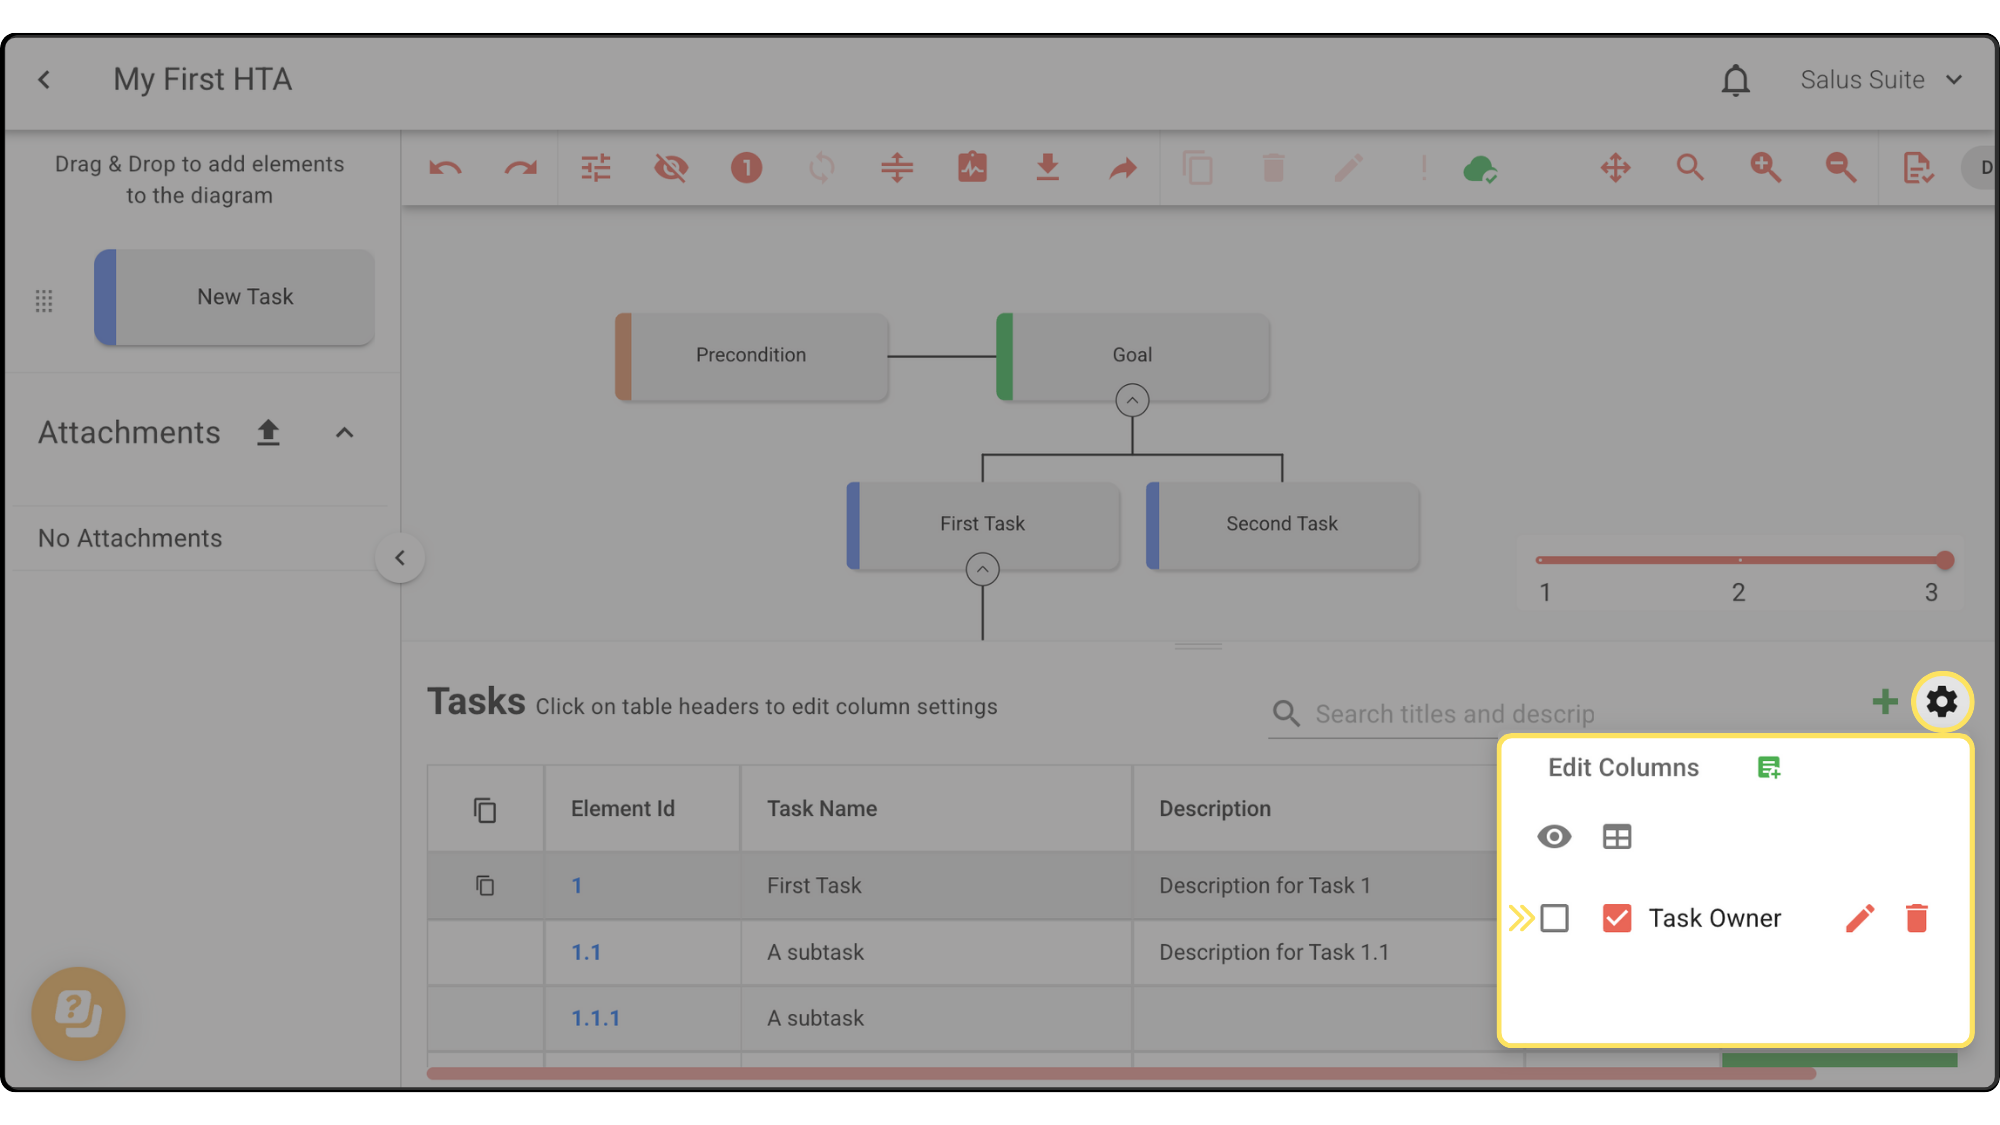
Step 1: Click the settings cog at the top of the task table.
Step 2: Tick the first checkbox of the metadata you want to display.
This is how the metadata appears:
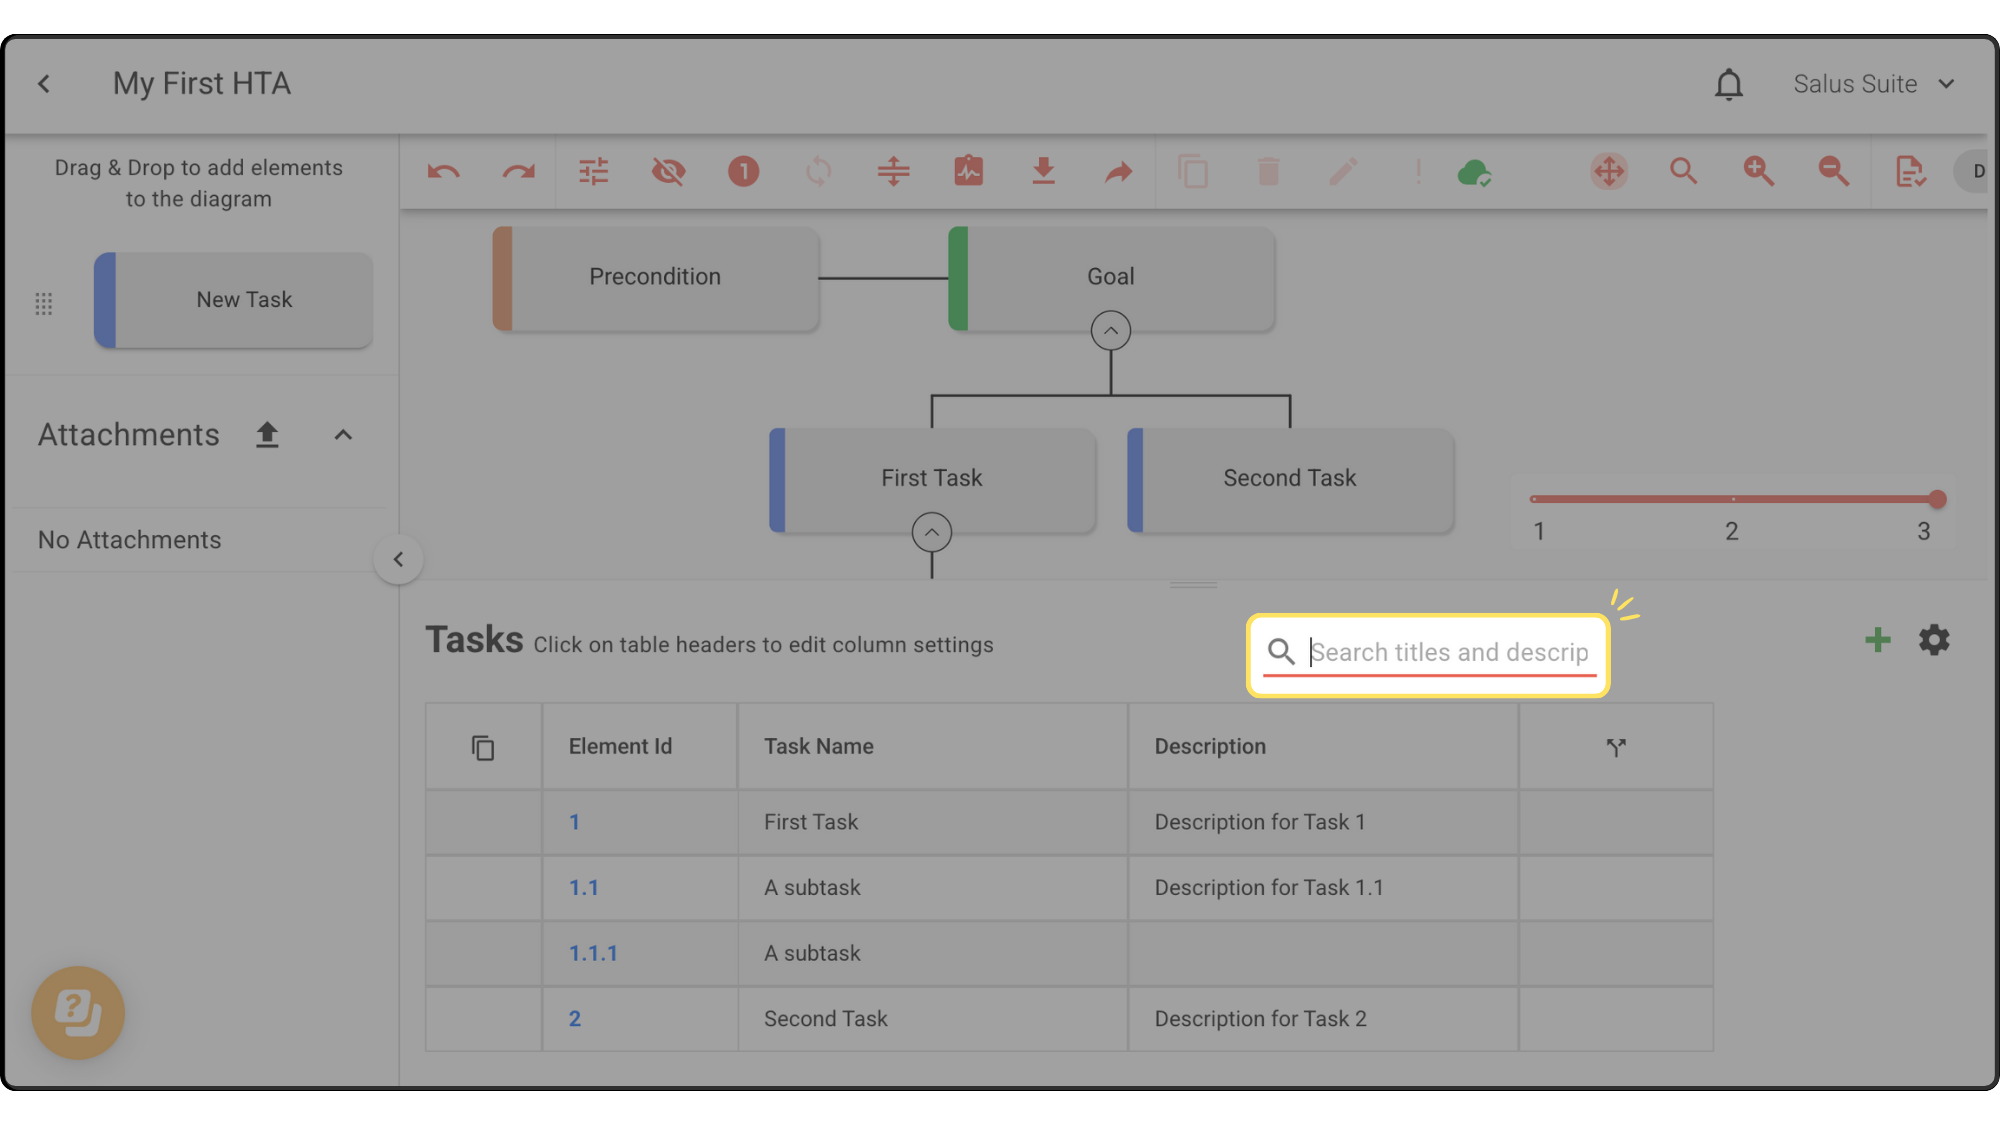
Search bar
The search bar in the Tasks table helps you find tasks or descriptions without scrolling the whole table.
Keyboard shortcuts
Safe Task includes shortcuts to help you navigate the table:
- Arrow keys - move around the table
- F2 - start editing a free-text cell
- Alt + F2 - open and edit the cell in a full-screen popup
- Enter (during edit) - confirm the edit
- Escape (during edit) - cancel the edit
- Escape (while searching the table) - cancel the search